Image Size
It is highly recommenced that you do not use an image bigger than 2MB on your website. Using a lager image will cause your website load speed to be significantly slower.
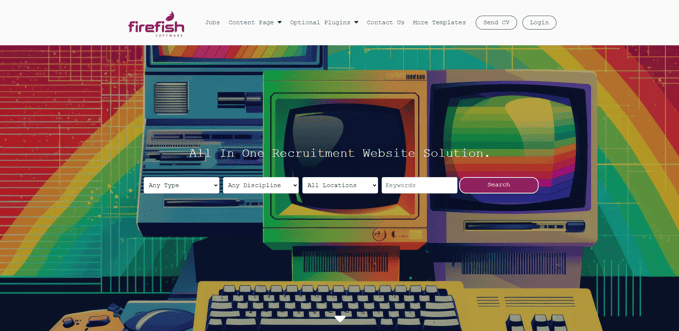
How to add a banner image
Your banner image is the image that displays across the main front of your website:
To add your banner image to your Homepage, click through Website > Web Content, select the homepage then hit Images.
This will allow you to upload to the Banner Image section by hitting select Image.
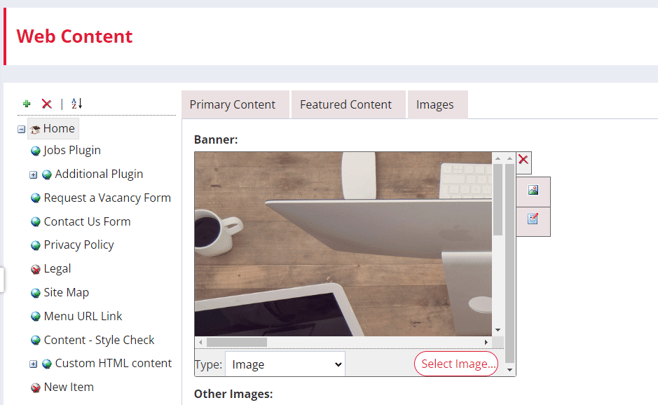
You can then upload and select the banner image you wish to use. Please Note: On Oyster there is only space for a single Banner image.
Image Dimensions
The following image dimensions are recommended for the templates:
| Template | Banner Image Dimensions | Extra Info |
| Angelfish | 1500x1500px (Homepage) | 2000x900px for other pages - scales from the centre and then sides. |
| Barracuda | Two 685x850px (Homepage - images populated under Other Images) | 2000x900px for other pages - scales from the centre and then sides. |
| Blowfish | 1920x1080px | Scales from the centre and then sides. |
| Clownfish | 2000x450px | Height is not fixed. |
| Coral | 1500x600px (Homepage) | 1500x750px for other pages - scales from sides, height is dependent on amount of page content. |
| Mahi Mahi | 2000x450px | Height is not fixed. |
| Mandarin | 2000x250px | Cuts off top half due to layout, scales from the centre and then sides. |
| Marlin | 1920x1080px | Scales from the centre and then sides. |
| Oyster | 1920x1080px | Scales from the centre and then sides. |
| Shark | 1920x1080px | 2000x450px for other pages - scales from centre, cuts off on right side. |
| Squid | 2000x450px | Scales from the centre and then sides. |
| Tetra | 1920x1080px (Homepage) | Other pages stretch image to height of content section. |
Once completed, hit Save and this will add the banner image to your Homepage!
-
The colour is important - ensure your website is eye catching and pops on the screen with vibrant colours
-
However, make sure the colours and content of our banner image match your brand colours and values
-
Ensure your banner image colours don't clash with your menu text and logo colours - otherwise, they will become impossible to see on screen! (Example - Don't have a light-coloured banner if your logo and menu items are white)