- Firefish Software Help Centre
- Websites & Candidate Onboarding Portal
- Optimising Your Web Pages
-
Getting started
-
Business Development
-
Recruitment
-
Candidate Management
-
Reporting
-
Analytics
-
Compliance
-
Websites & Candidate Onboarding Portal
-
Integrations
-
Marketing
-
Configuration
-
Firefish Product Releases
-
User Community
-
Love Firefish... Refer a Friend Here! 🐠
-
Firefish Status
-
FAQs
-
Submit a Ticket
-
Personalised Company Playbooks
Adding Tables to Your Web Pages
Here's how to add tables to your web pages.
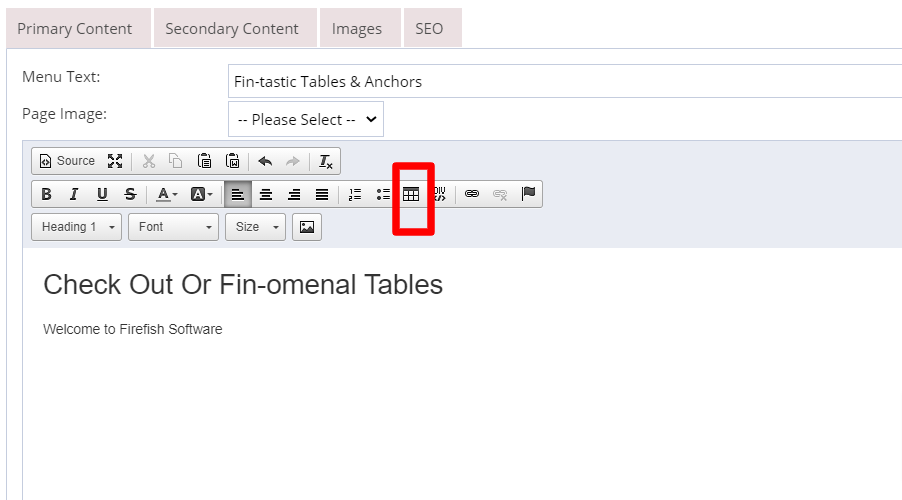
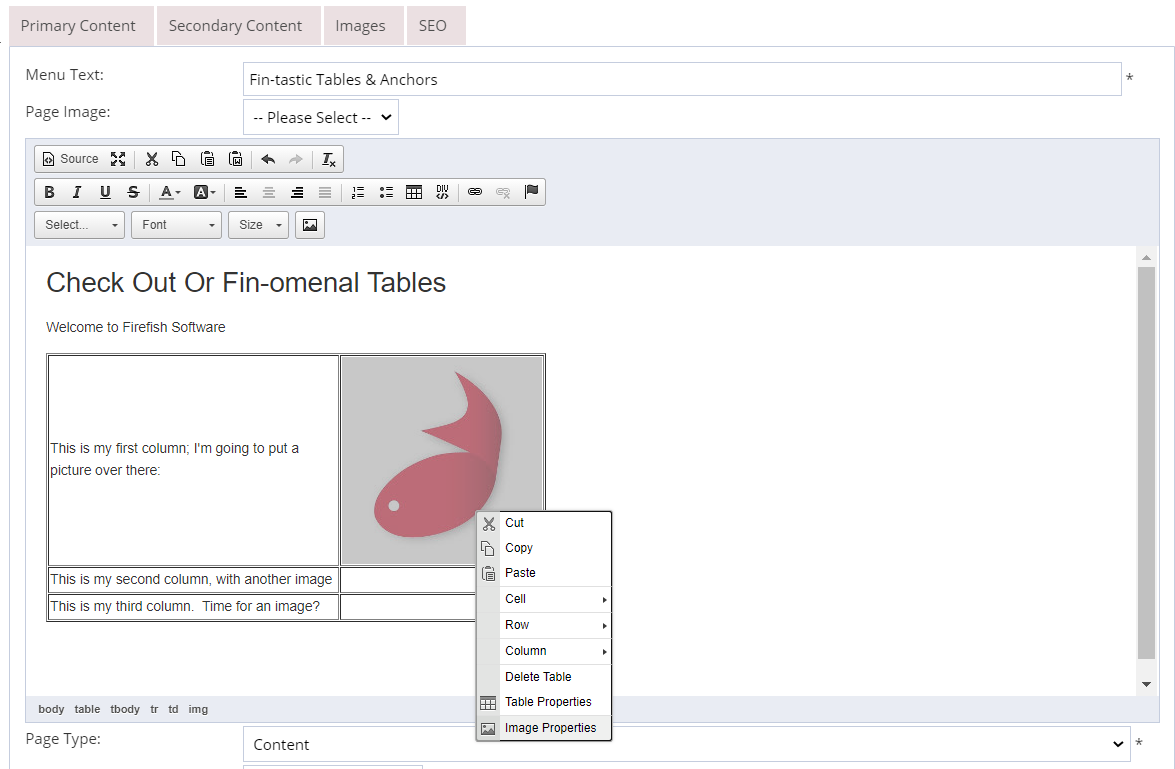
To add a table to your content page, click the position that you'd like to add your table, then click the Table button to add in a table.
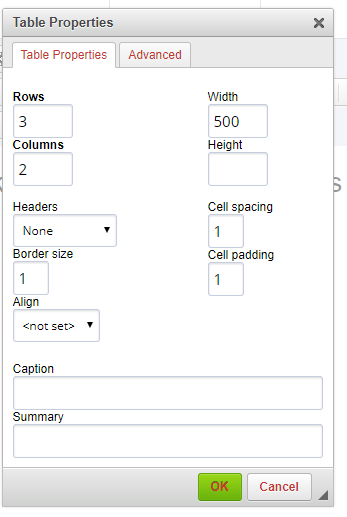
You can select the number of rows and columns, what height and width you'd like the table to be and also its alignment.
You can also edit the following:
-
Headers - Select whether you’d like your first row, first column, or both to be headers
-
Border size - Control the size of your table’s lines. If you don’t want the lines to show, just enter 0
-
Cell spacing - Create space between the cells within your table
-
Cell padding - Set the space between the cell wall and the cell content
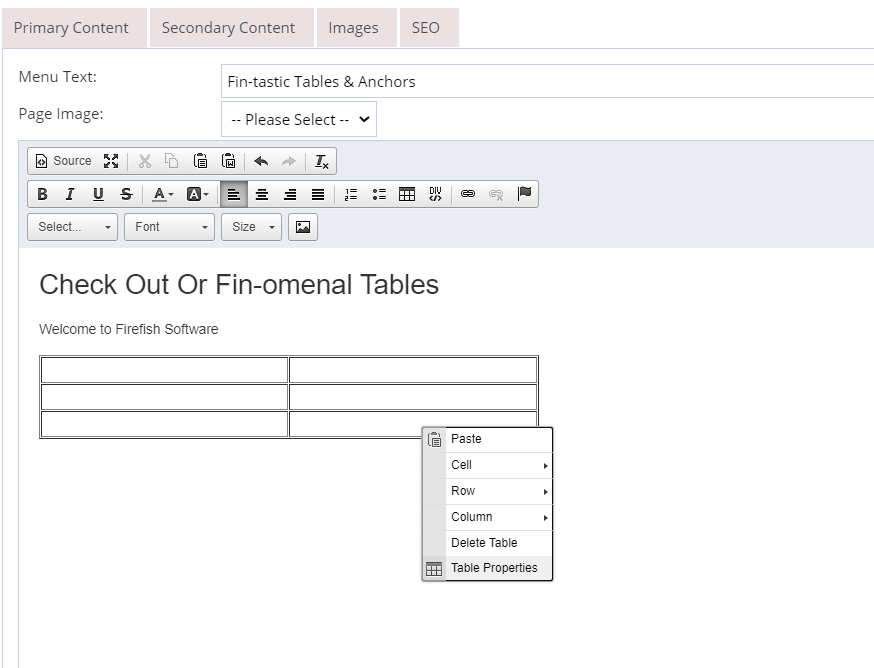
Once your happy, click OK. Further changes to your table can be made at any time - just right click, and select Table Properties.
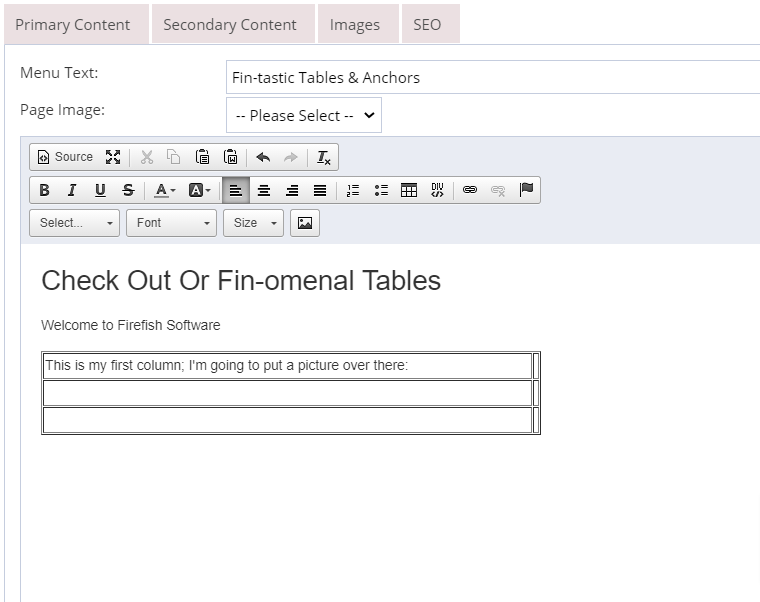
As you start to type into the first column, it might appear as if the other columns are getting squashed. Don’t worry about this - when you tab into that column it will realign.
You can also add images to your table using the Picture button.
You can amend the size of the image when you upload it or if you decide it’d look better in a different size once it’s in place just right click, select Image Properties and enter the height and/or width you’d like.
Don't forget you can click Preview at any time to see how your changes will appear when live.