Campaign Plugin
With the Campaign plugin you have the ability to set up new campaign pages and/or campaign lists with filtered jobs. You can filter the jobs by hiring company, discipline and role, location and specialisation so you can create really powerful campaigns.
If this is your first time creating a campaign, go to Website > Web Content and create a new page and set the Page Type to Campaign List!
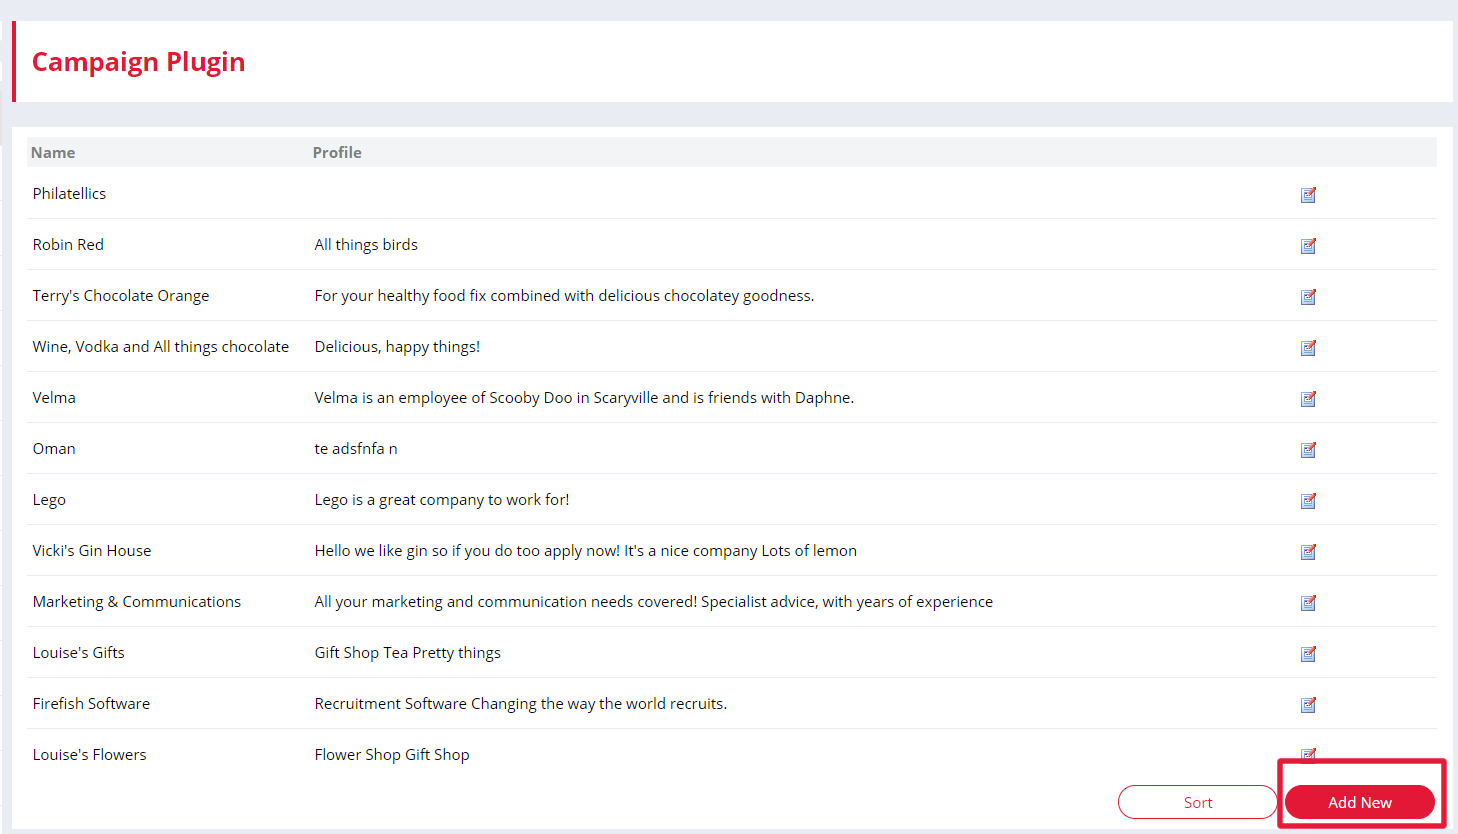
Go to Website and select Campaign Plugin. To create a new campaign select Add New:
Give your campaign a name, and you're now ready to enter the information you'd like to give on the campaign page in the Profile area:
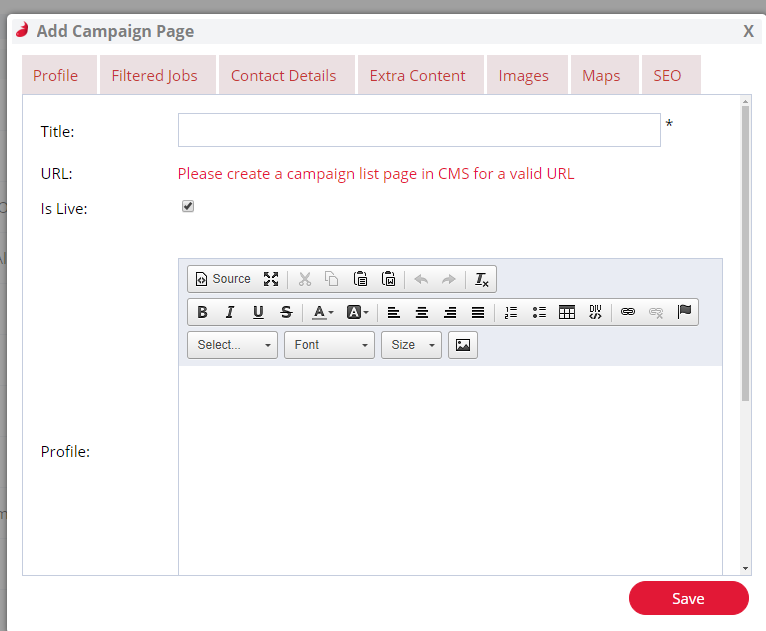
You can format your content, insert images and videos and link to documents and web pages in the same way you did with your website content.
Want filtered jobs to appear on your Campaign? Just pop in to the Featured Jobs tab and you can select which positions you'd like to appear: they could be filtered by type or preference:
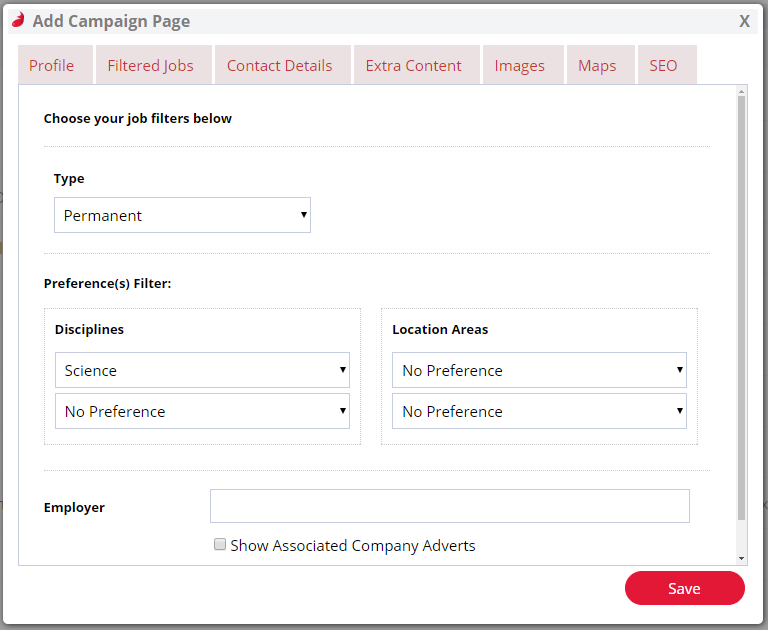
Or you may want to display positions with a particular employer:

You now have even more options for content you can include!

In the Contact Details tab you can include any company information that you'd like to appear on the Campaign.
You can include banner images, featured images and embed video in the Images tab. You can add a Map which shows where the employer is based. The SEO tab is where you enter your page title, keywords and page description.
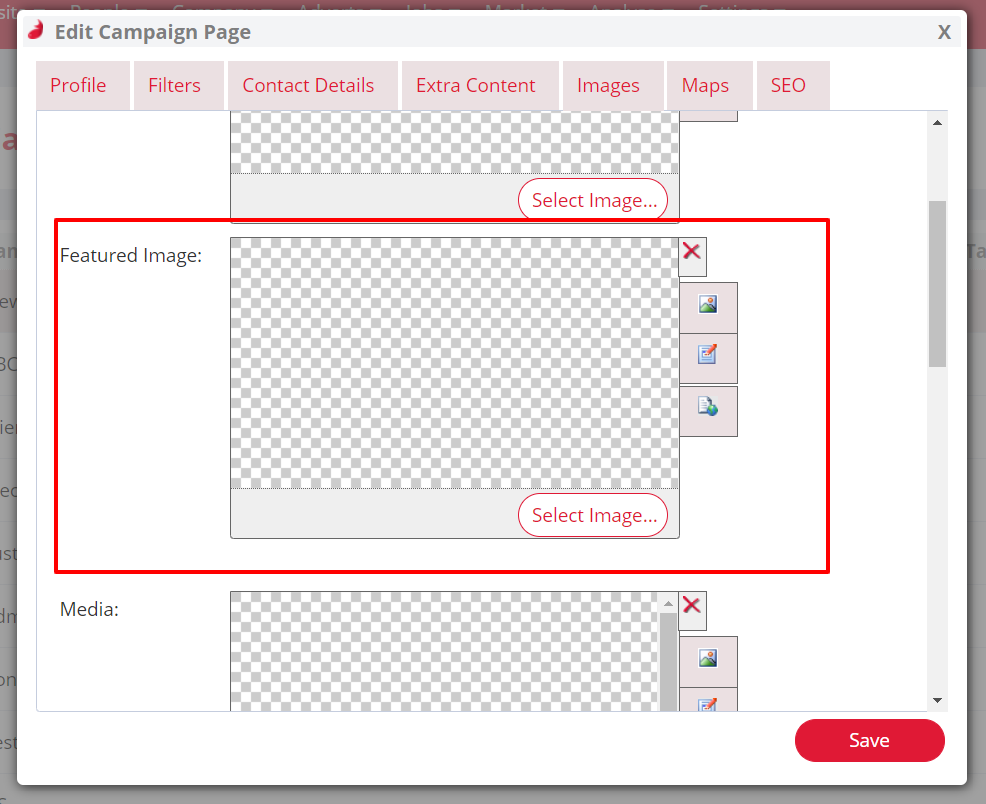
Using the Images tab you can also add images or logos to create a carousel. To do this upload the images or logos to the Featured Image section (one image per item you have listed/are creating):
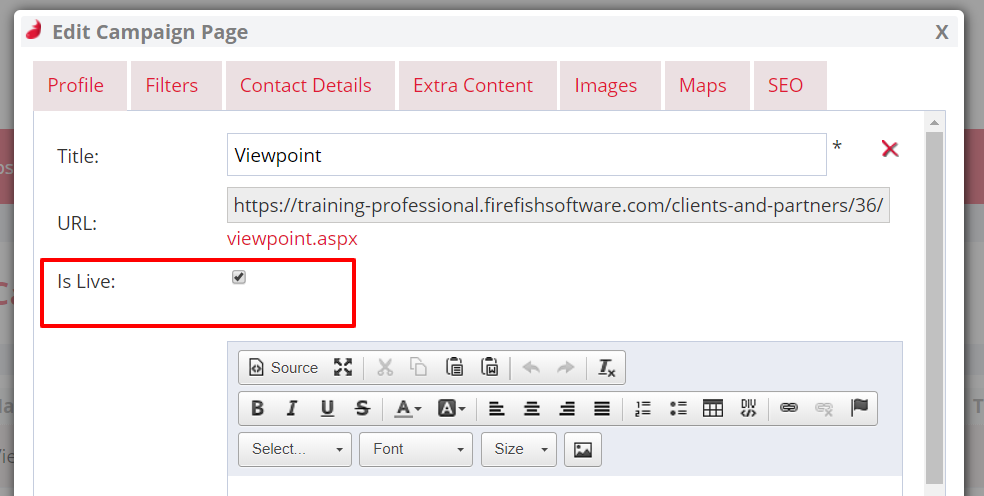
Then click on the Profile tab and ensure that the Is Featured, Is Live and Show on List boxes are checked:
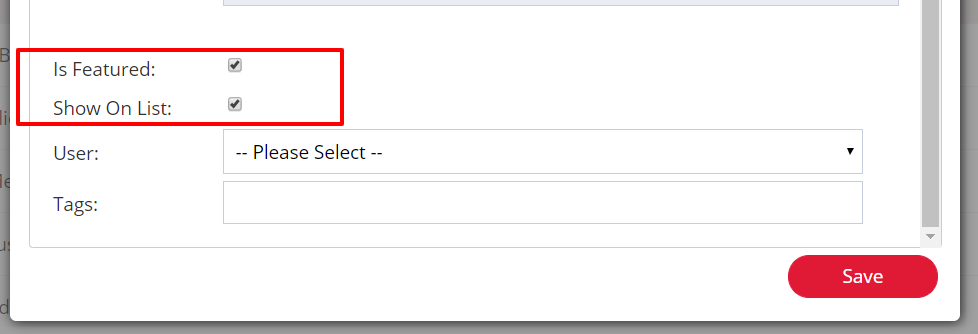
Then click Save.
If you want to change the sort order you can do this by selecting the Sort button at the bottom of the Campaign Plugin page:

Your Campaign Plugin items will now appear as a Carousel with the Featured Images displayed in your sorted order.
Once you're happy with your content and want to feature your Campaign on your website, just go back to the Profile tab and tick the Is Live box, then Save and your profile will be live on your website!
Contact Support to find out more or to add the Campaign Plugin to your Professional or Enterprise site.