Here's how to create a new web page on your website.
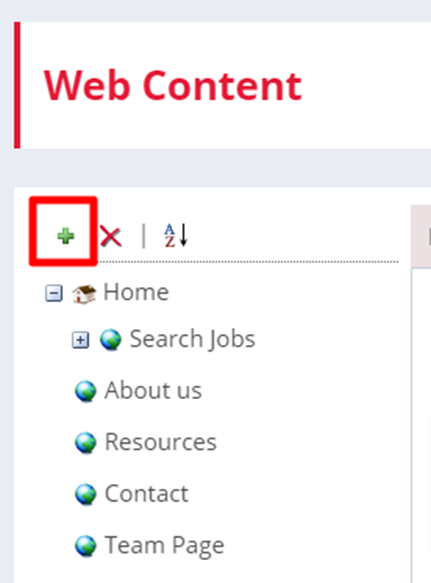
To create a new web page by clicking the green + symbol, within Web Content.
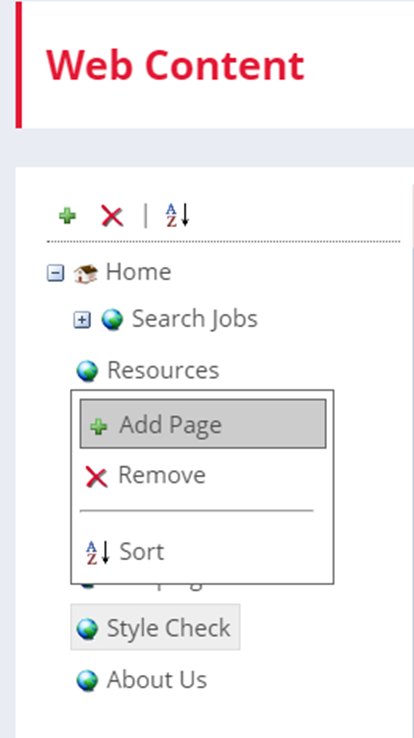
You can also create secondary web pages by selecting an existing web page listed and right clicking, then selecting Add Page.
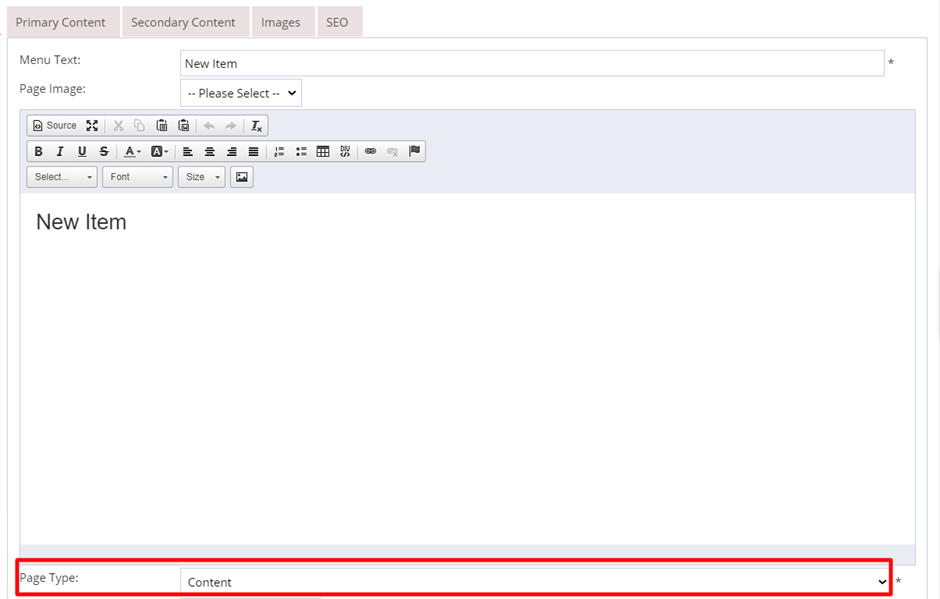
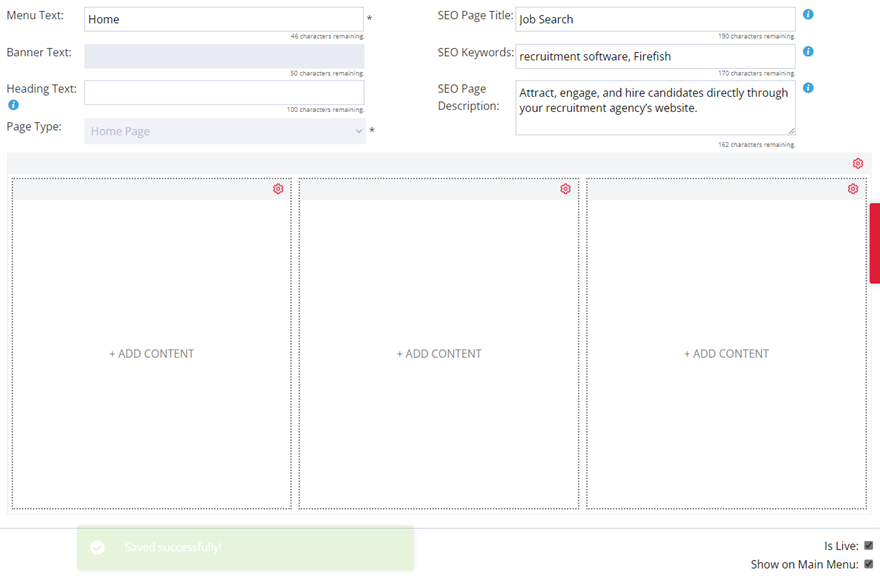
In Menu Text, add in the name of your page that will be displayed on your website.
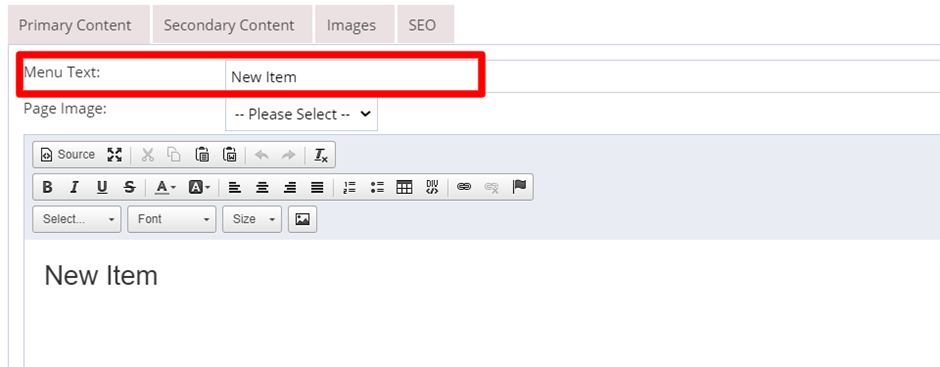
You will also need to select a Page Type; by default this will be a standard Content Page.
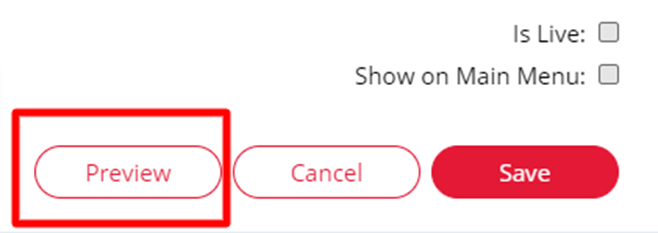
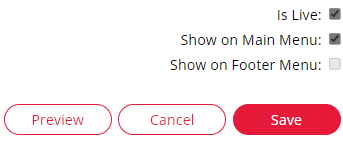
Once you've added in all of your content, use the Preview button to see what your page will look like when it's live on your website.
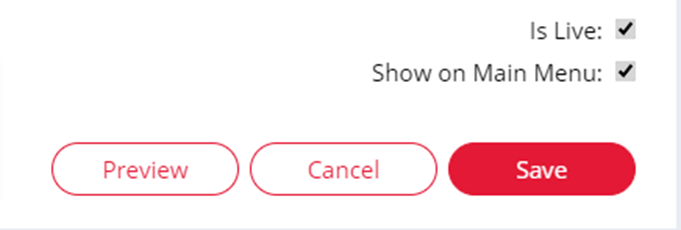
If you're happy with your preview, then tick the Is Live checkbox to make your new page live.
If you want the page to appear on your main menu then tick Show on Main Menu and click Save.
You can take a page offline at any time without having to delete it - to do this, just un-tick Is Live. Re-ticking will make your page live again.
SEO
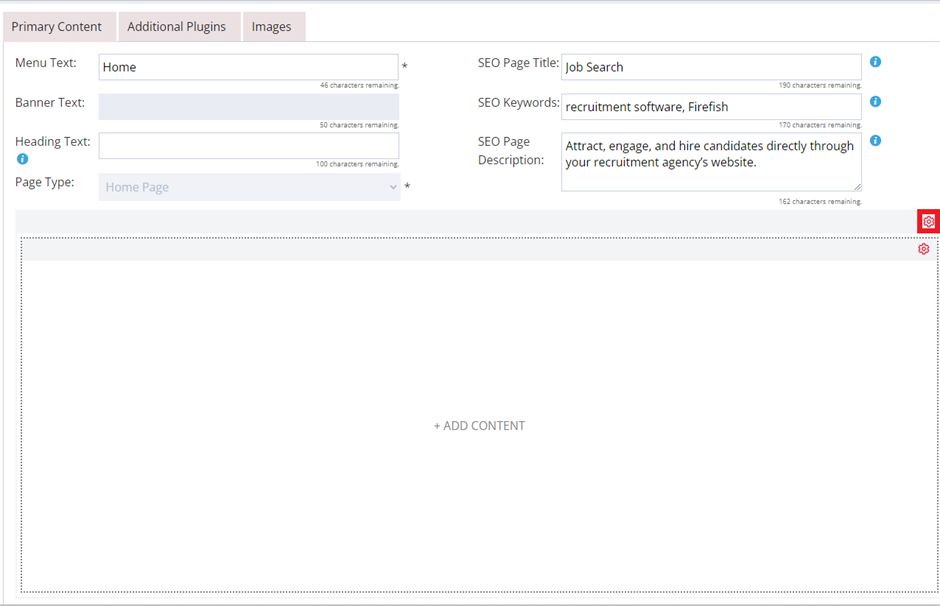
You can also manage your Search Engine Optimization (SEO) for all new pages you create. Check out our SEO guide to find out how giving your content pages titles, descriptions and keywords will make a huge difference to your website's search engine rankings.
Split Content Sections
We have improved the way you can add content to your web pages. Previously if you wanted to customise your content pages, you would need a knowledge of HTML or you would need to contact our support team. We have now created a way you can have more control over how your different content sections look.
Where you usually create your content, we now have a Cog at the top of the section.
On selecting this cog, you are shown the following option for customising your content page:
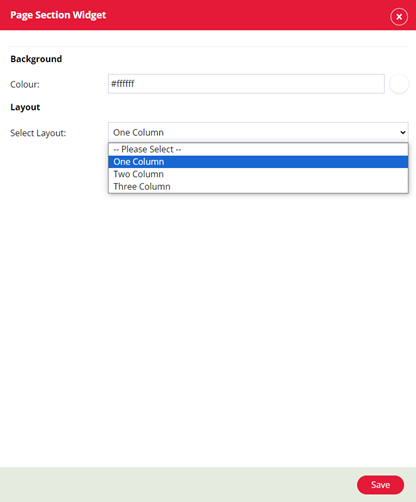
In this Page Section Widget, you can select how many columns you want your content page to include, and what colour you want the overall background of the page to be.
You can select up to 3 columns. Choose your option and then select save to progress back to your content page.
Once you have selected your number of columns, you are now able to the content of each column but clicking on it. This will bring up a text editor so you can input your text/images.
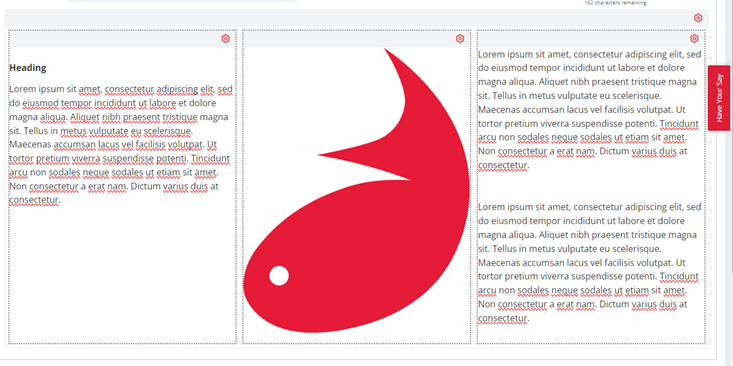
Once you have done this, you are also able to customise the background colour of each column by selecting their Cogs. These columns will sit inside of the background colour you chose in the page section widget.
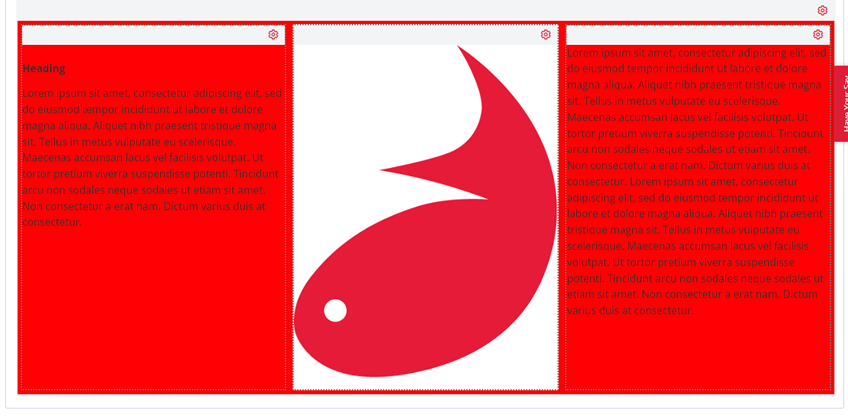
Split content is available on all templates.
Chat GPT - Web Content
The Suggest functionality in the Web Content area uses Artificial Intelligence to generate a web content based on the title of the page and uses the brand voice for tone.
To use this, navigate to a web content page via Website > Web Content and edit of your site pages. In the content area, we have the 'Suggest' button used in other parts of the site. Selecting this will use AI to generate content for your page. 
You are then able to edit this content directly, or select 'Suggest' to try the content generation again. Like other web content before, once you are done, select Save to have this show on the front end of your website.
Please note: This is currently only available on templates with Split Content enabled.
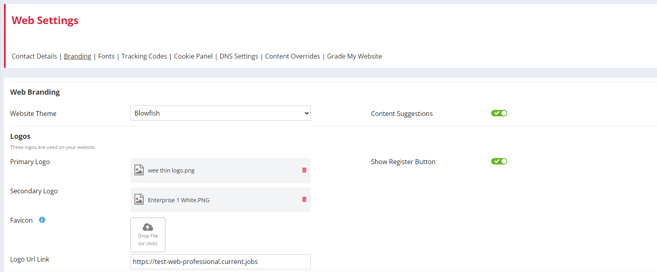
Enabling Content Generation
Content generation can be enabled by accessing Website > Web Settings > Branding. There is a toggle on the top right of the page named 'Content Suggestions.'
Once enabled, the suggest functionality will be available in relevant places over Web Content and Plugins.