Creating and making placements in Firefish
Compliance Information
To place a candidate at Offer stage, you'll firstly need to complete the candidate's compliance information.

Depending on your settings, this may be something a Super User or Compliance user needs to authorise.
The compliance at the job offer stage is completely customisable too, but this needs to be completed before a placement is made.
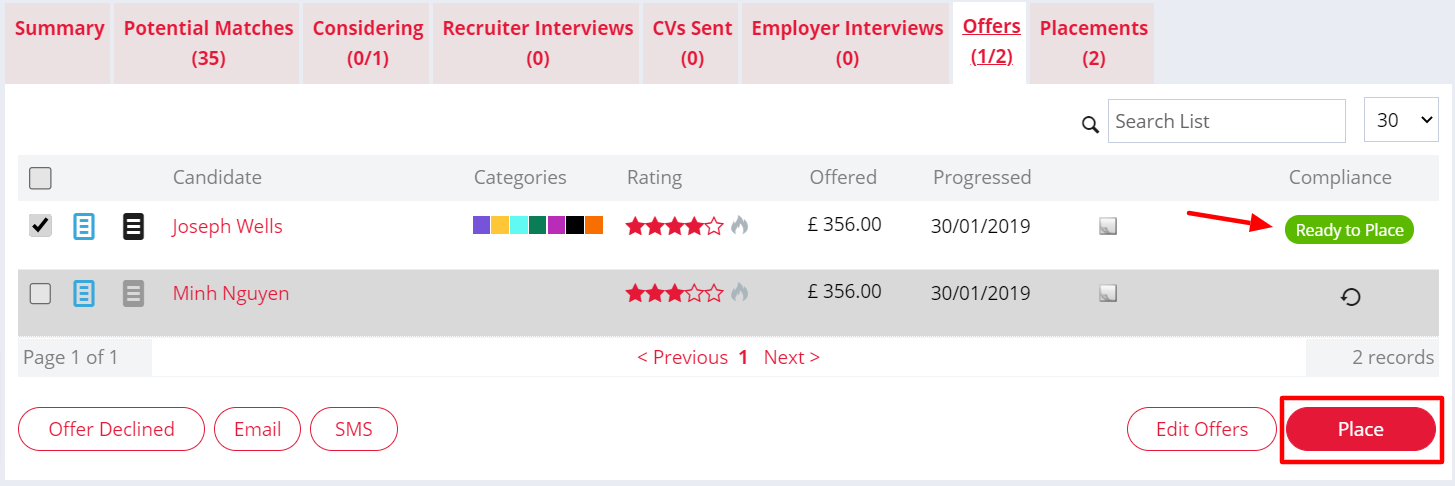
Once the compliance has been completed, the status will change to "Ready to Place".
Next, you can select the candidate you're ready to place and click the Place button at the bottom of the page:
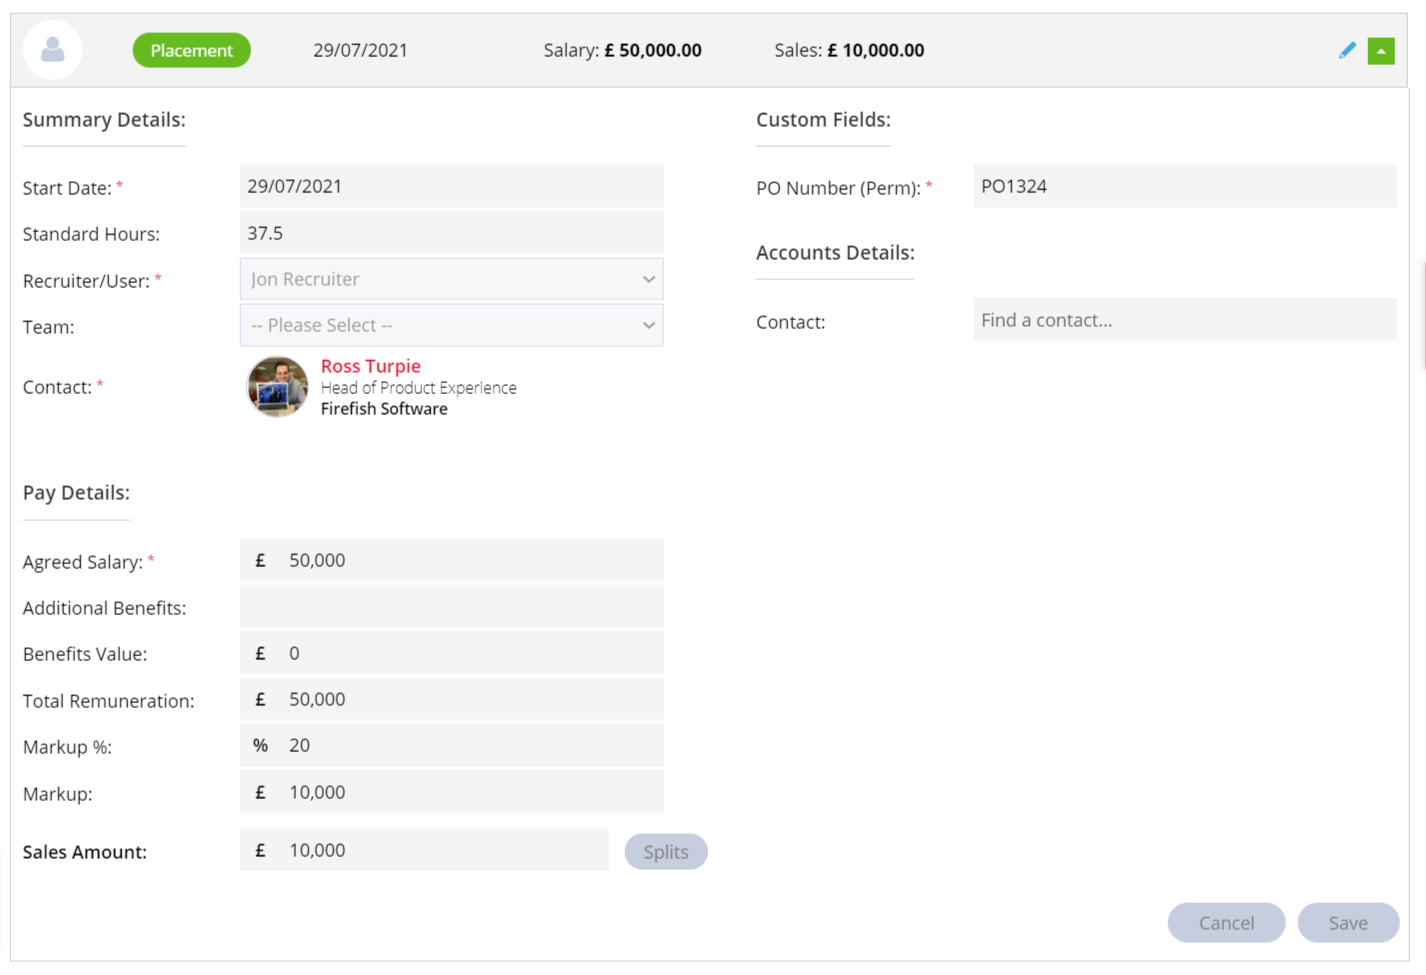
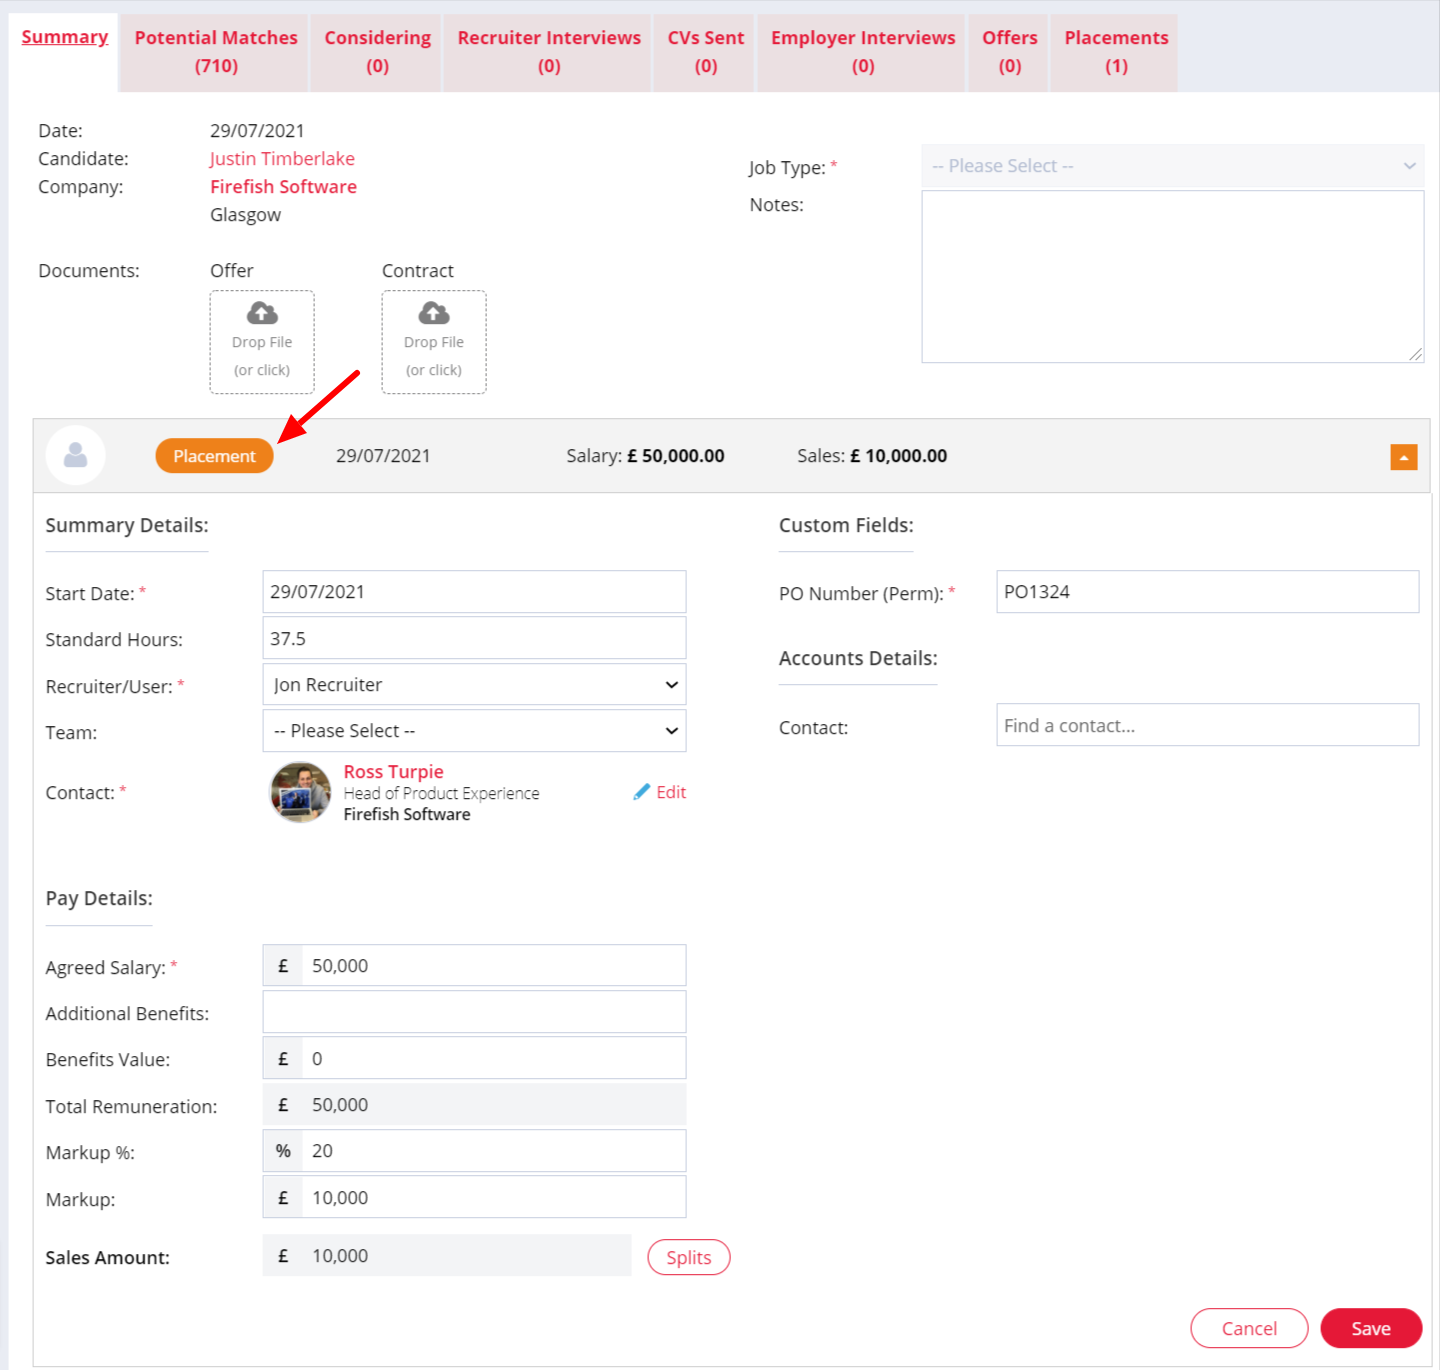
Before the confirming the placement, you'll have a final opportunity to edit the placement details:

From this page you can make any amendments to the start date or pay if these have been negotiated since the offer was made.
If a candidate you are placing or extending is a Hot Candidate, their Hot status will automatically be removed when the Placement or Extension is confirmed. This will help identify your remaining Hot Candidates who are still available for opportunities. Hot Status can be manually re-added within the Candidate Record.
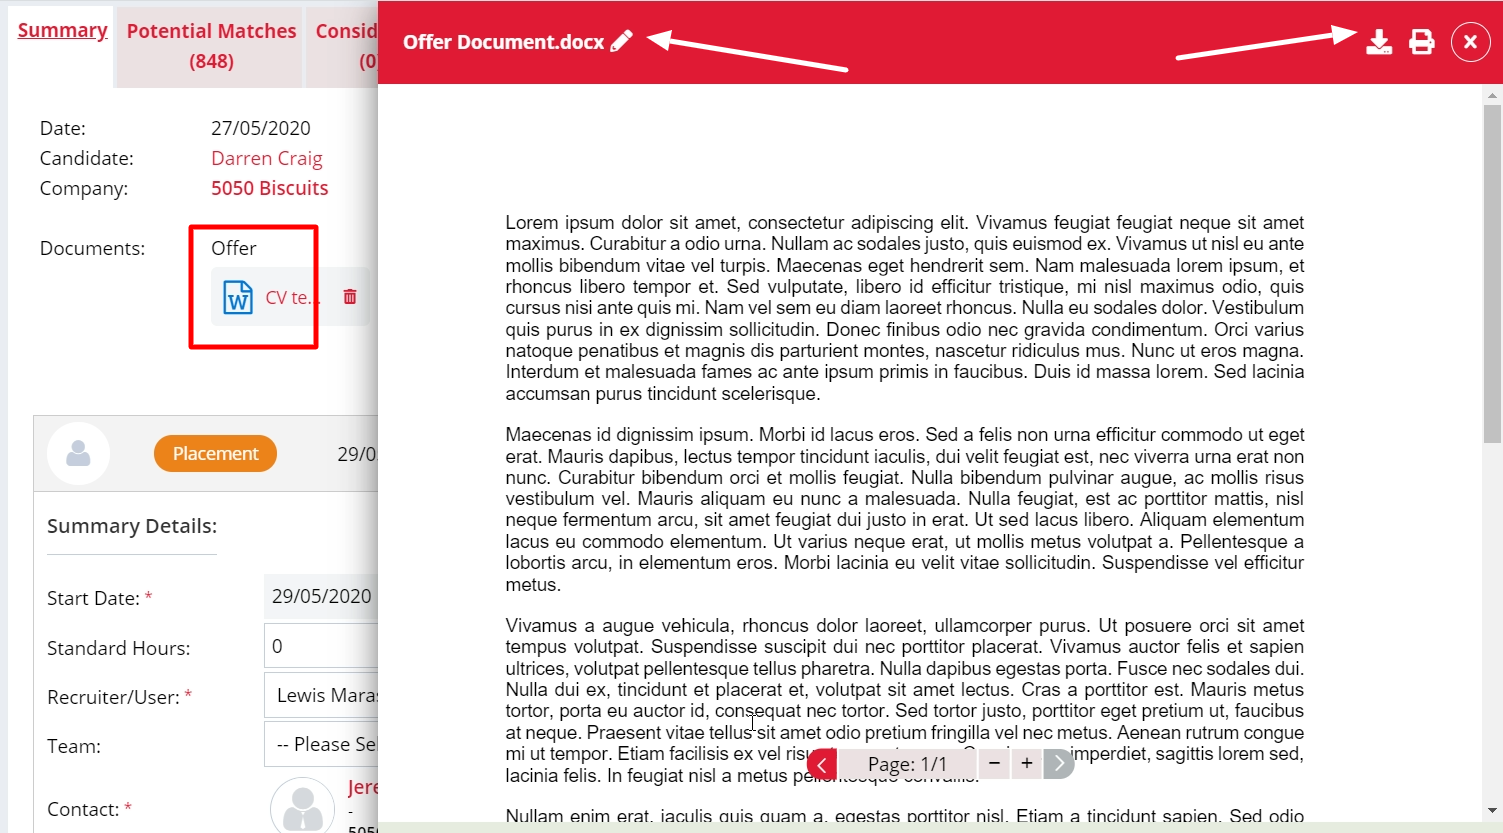
For Permanent placements; you can add any Offer and Contract documents to the Placement Summary. Once uploaded, clicking the document opens the document preview side panel; you can download, print and even rename the document here
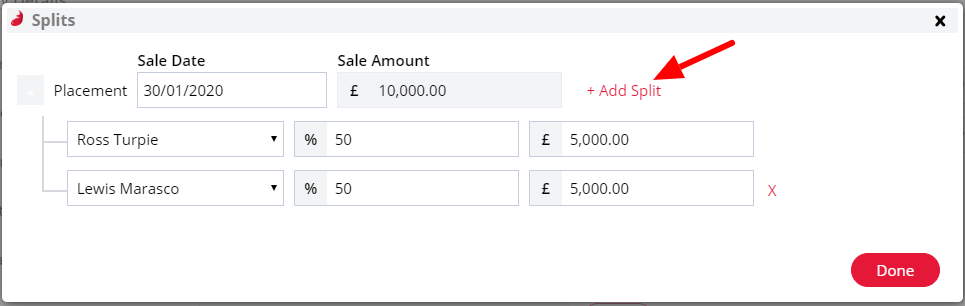
Recording fee splits
If you've been working on this role with a colleague, you can add use the Splits button to split the sales between you and a colleague:
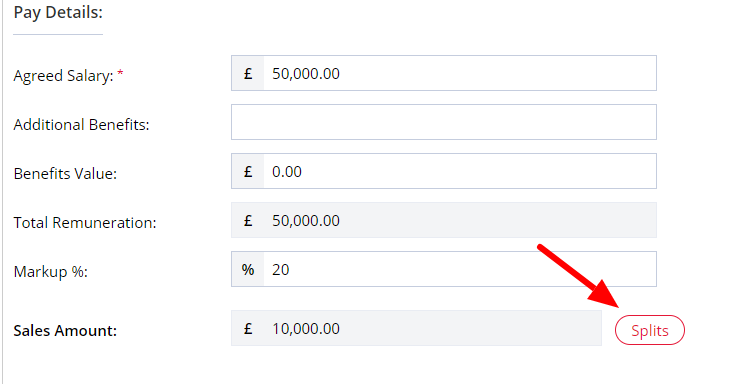
This will open up a new window allowing you to Add Split and split the fee between you and a colleague. You can add up to 3 splits on any placement:
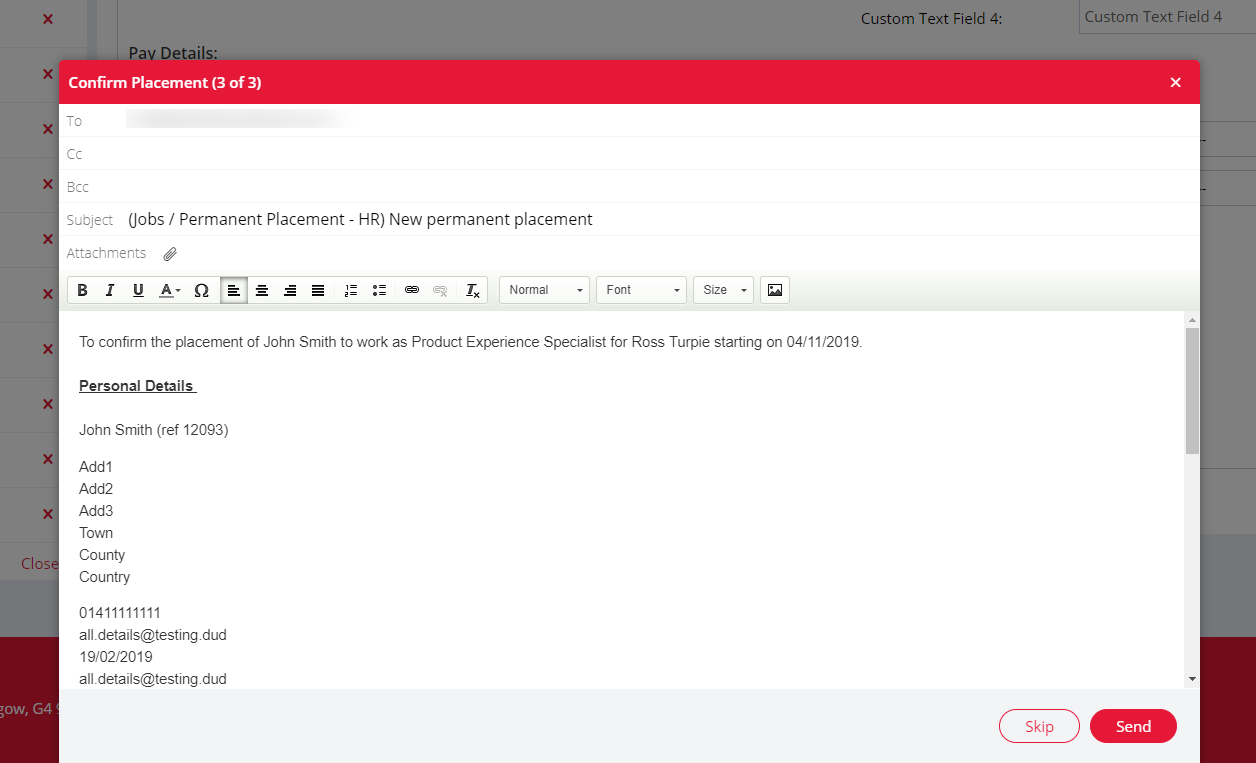
Once you confirm the placement, emails will be generated to the candidate, contact, HR and Accounts (if email addresses are populated in your job configuration).
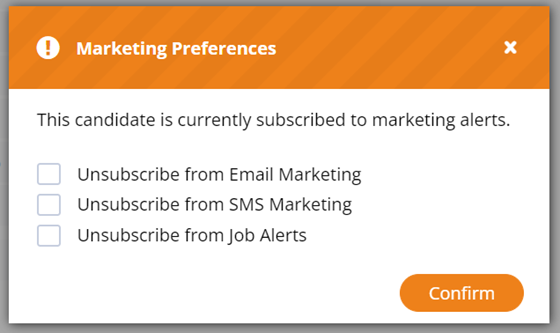
After you either skip or send these emails, a pop-up will appear giving you the option to unsubscribe the placed candidate from future marketing emails, SMS or job alerts:
Your placed candidate will then be listed in the Placements tab of the job workflow.
Placed candidates will appear on your To Do list and under the Diary section of your Dashboard, so you can easily keep track of placements...
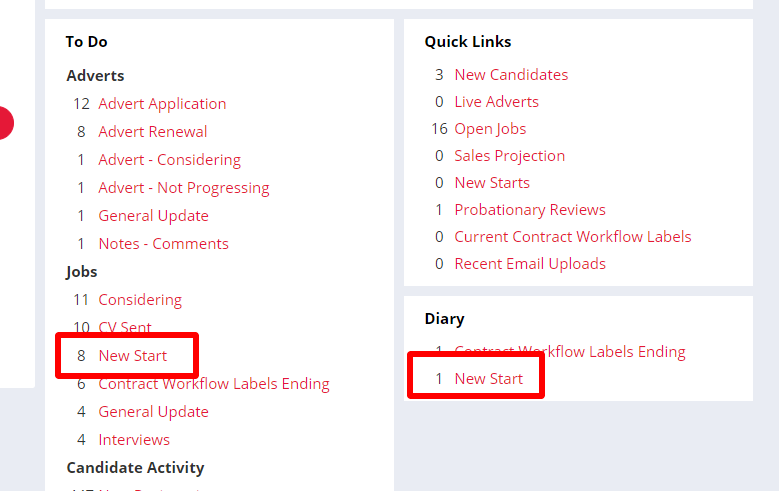
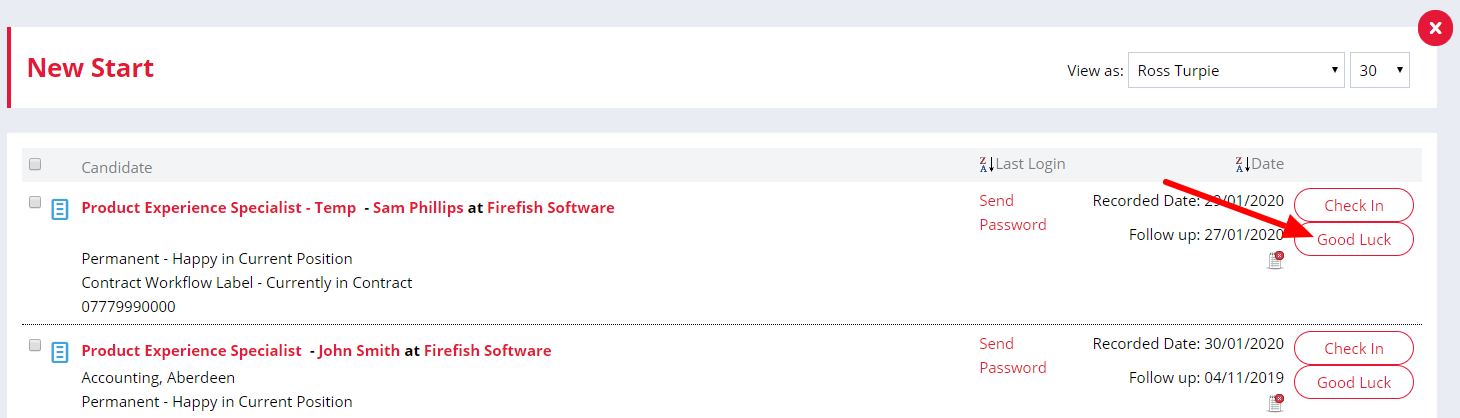
...or within the New Start to do list, wish the candidate good luck on their first day:
Your Sales Plan will also be updated to include the new placement figures - find out more about recording permanent sales figures.
Editing a placement
Once a candidate has been placed, you can edit their placement details any time through the Placements tab on the job workflow:

Click the cog at the right hand side of the placement then Edit to bring up the placement details and make any required changes.
You'll notice the Placement icon change to orange, this means you're in editing mode. While in editing mode, you can edit any summary details, custom fields and/or pay details including sales figures and splits.
Once you've made the necessary changes, remember to Save the changes.
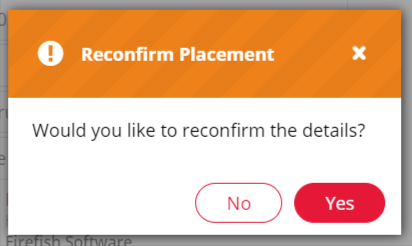
You will be asked if you wish to Reconfirm the placement.
-
Click Yes to save changes and regenerate emails to the candidate, contact, HR and Accounts.
-
Click No to save the changes without emails.
Click Yes to save changes and regenerate emails to the candidate, contact, HR and Accounts.
Click No to save the changes without emails.
You'll see a "Saved Successfully" message and your placement will go back to green to confirm you're no longer in editing mode: