How to access and use the API settings page.
In the Custom API Settings page you are able to customise your integration with the Firefish API. The Firefish Application Programming Interface (API) provides access to Candidate, Contact, Company, Jobs, Placement/Offer Details, Actions, & Adverts made within the Firefish system and allows filtering by Candidate, Contact, Company, Date and Team.
The Firefish API helps us integrate with other platforms you might use (such as timesheet, HR or accounting systems) without the need for CSV or Excel exports.
If you're a Super User, you can set up and manage your Firefish API integrations in Integrations settings.

How to use the API Settings feature which can be found in Settings > Integrations > API.
To create a new profile you would click the +Add button:

Once you click add a side panel will appear allowing you to create a profile so you can access the API:
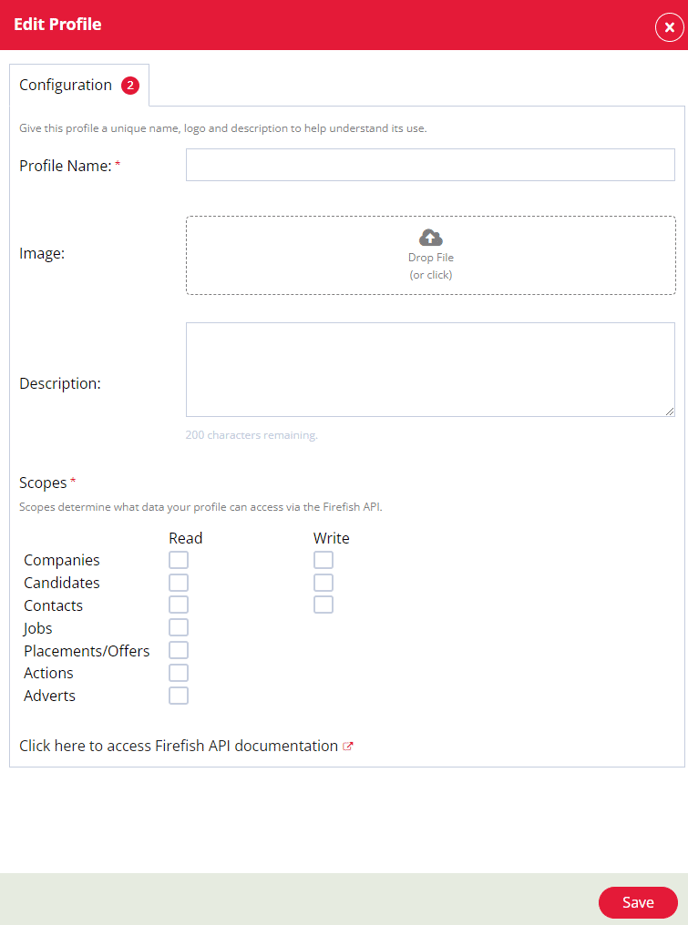
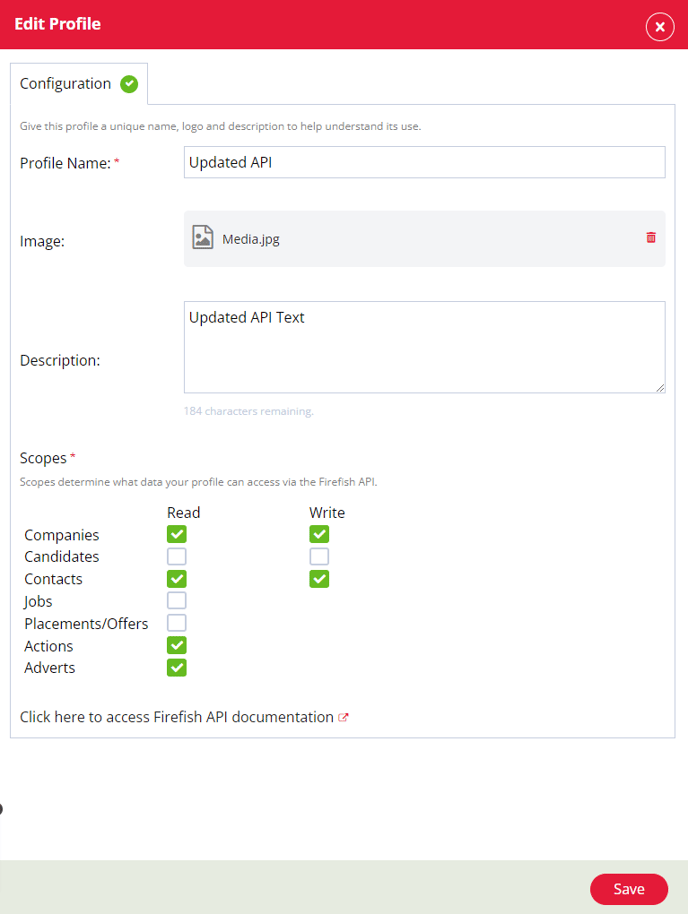
The side panel is broken down into four sections with two of the sections needing completed before you can create a profile. Here is a breakdown of each section:
Profile Name - The profile name is a mandatory section as it has the red asterisks and will need text added as this will be create your profile name.
Image - The image is a non-mandatory section but you can add an image which will be visible in the API settings page.
Description - The descriptions section is a non-mandatory section but you can add text to explain what this profile is for.
Scopes - The scopes section is a mandatory section and you must select at least 1 scope to create the profile. In this section you select the parts of the API you are looking to access.
Using the Profile
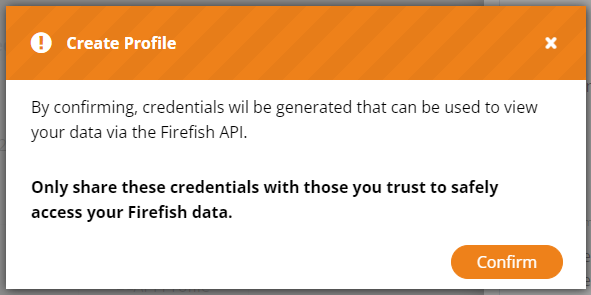
After pressing Save there will be the first or two pop-up messages. The first message is to explain that after the credentials are created to only share this information with Users you trust as the login details will allow users to access your Data.
Here is an example of the create profile message:
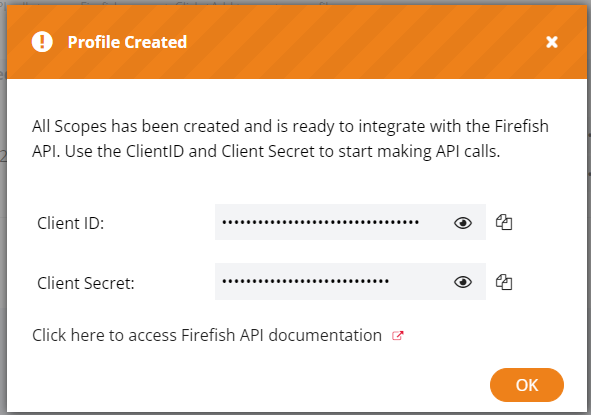
After clicking confirm the second pop-up message will appear confirming that your profile has been created, the pop-up will also include your credentials to access the API. The credentials are hidden but you can copy and paste these details or you can view the credentials by clicking the eye.
Here is an example of the profile created message:
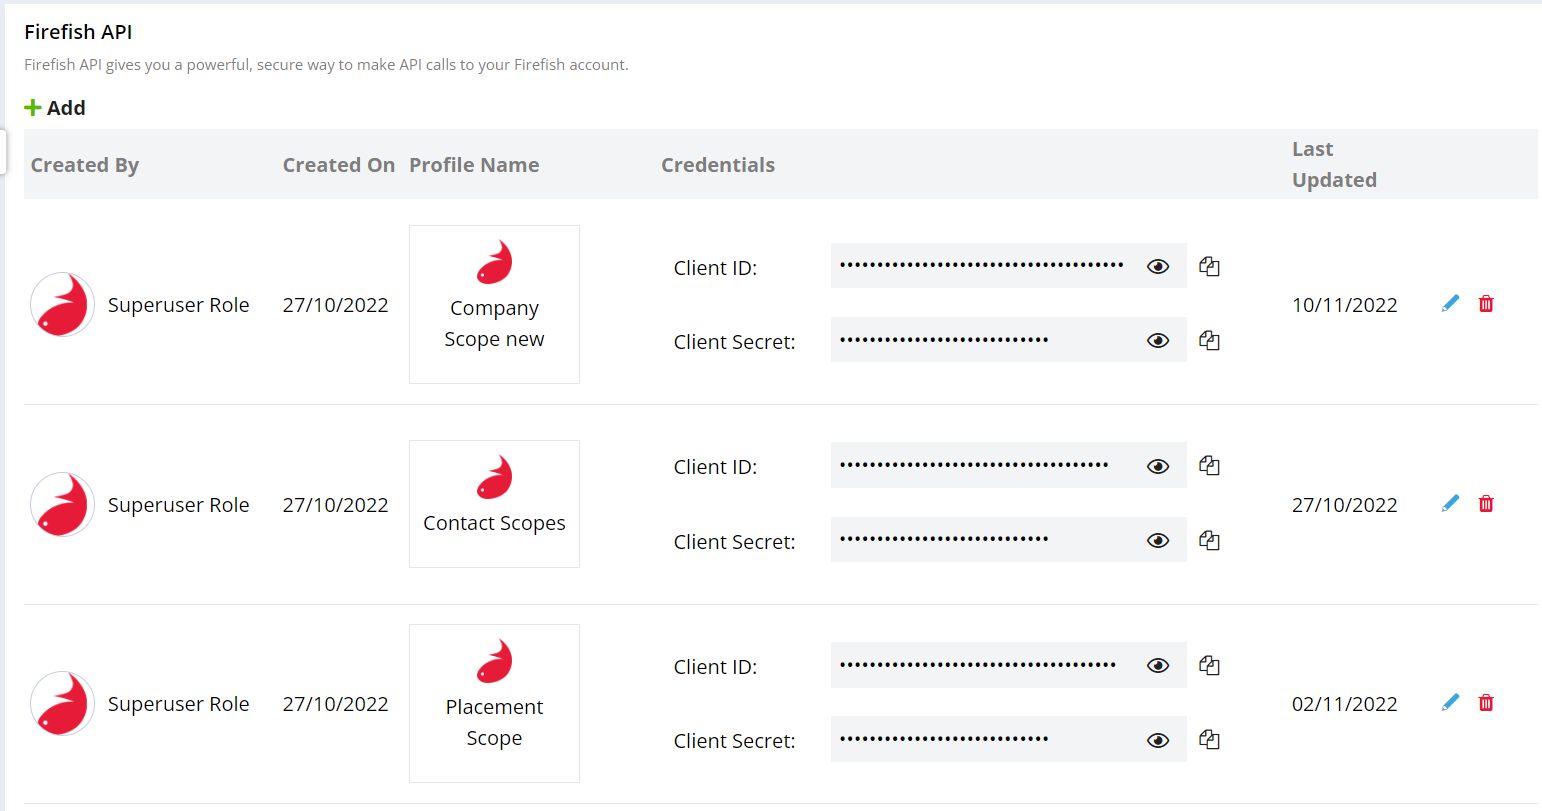
After clicking okay the pop-up will disappear and you will be back in the API page, in this page you can view the profile you have created and this will allow you to copy or view the credentials.
Edit Profile
In the API Settings page you can also edit the profile to give yourself access to more scopes.

Using the Blue Pencil this will allow you to edit your profile, after clicking the blue pencil this will display the side panel again allowing to change the Profile Name, Delete and Add a new Image, Description or Scope.
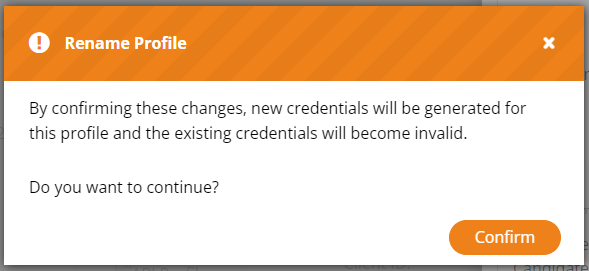
After updating the profile you would click the save button which will show a new pop-up message which will advise you that saving this change will create new login credentials so your original credentials will no longer be valid and will not allow you access to the API's you selected until you update the credentials.
When clicking confirm you will get the second pop-up message will appear and the side panel will close. The profile created pop-up message will then display your new login credentials which you can use to access the API scopes you selected.
Delete Profiles
In the API Settings page you can also Delete the profile which will also stop users from accessing your Data.
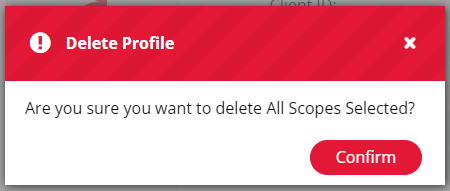
Using the Red Bin icon this will start the process to delete your profile:

After clicking the red bin a new pop-up will appear which is to confirm you want to delete the profile:
After pressing confirm this will delete your profile and the API page will update which will not include the profile you have just deleted.