Tasks and actions you can perform on candidate records
In Firefish, Many actions can be taken directly from the candidate record including Emails, Call & SMS and recruitment activity such as considering the candidates to jobs. Check out the below video for a tour of these actions, or jump to a specific section using the menu below:
![]()
-
Sending emails
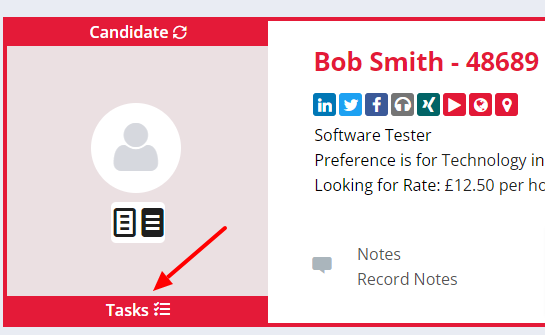
You can perform a whole range of actions on a candidate’s record using the buttons in the header.
For example, you can add Notes, record a Call, send an Email or arrange a Meeting.

Arranged Calls, Meetings and Follow-ups will sync with your Outlook or Gmail calendars, provided you've enabled the Calendar Sync feature (find out how to use this feature in this guide).
You'll find also find the candidate's Hot Status and Star Rating in the record header and more actions under Tasks.
You'll find individual guides on how to use the buttons CV on Spec, Suggest, Archive, Delete, Consider and Merge by using these links.
Recording notes
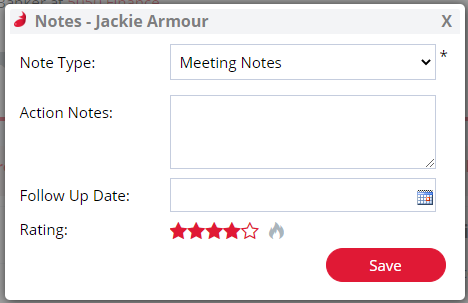
Whenever you perform an action within the candidate header, you'll be able to specify the Type of action too.
For example, when you're recording Notes, you can specify the Note Type. When you record a note type, this will track your actions in your Reports Dashboard and Weekly KPIs.
If you enter a Follow-up Date while recording an action note, this will appear in your corresponding To Do section on the Dashboard.
You can also change the candidate's Star Rating by clicking on the number of stars you want the candidate to have.
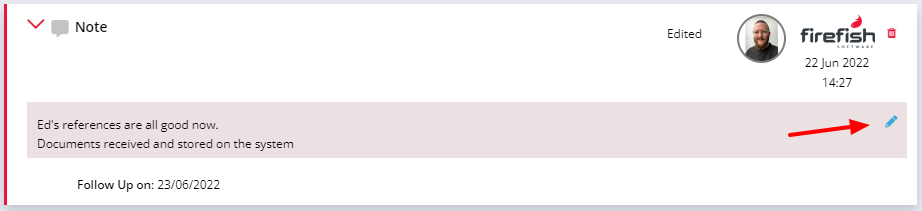
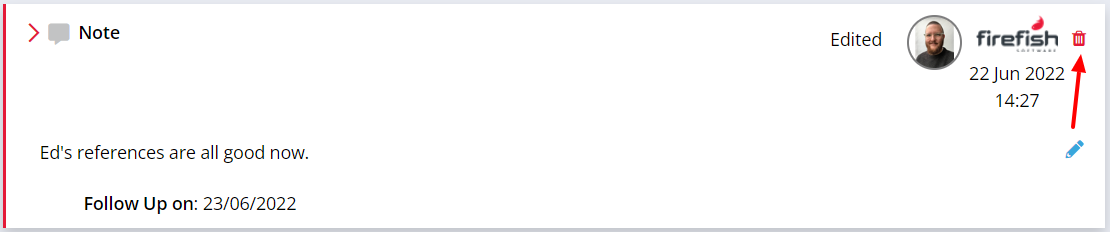
Once you have saved your Note, you can edit it by clicking on the blue Pencil icon on the right-hand side of the Recent Activity stream.
You can also edit the Note by clicking on the text field, which will be highlighted in grey when you hover your cursor over it.
If you change the Follow-up Date while editing, this will change the item's date in your corresponding To Do section on the Dashboard.
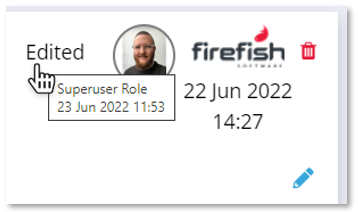
Once your Note has been edited, this text saying ‘Edited’ appears and the tooltip shows who edited it and when they did it.
Call & SMS
If you have the Call feature feature enabled, click on the number you want to call. You'll be given options for what number to present to the call recipient and if you would like to record the call.
Similarly, if you have the SMS feature enabled, you can send a text to the candidate within Firefish.
Simply click on the number you want to text and select SMS.
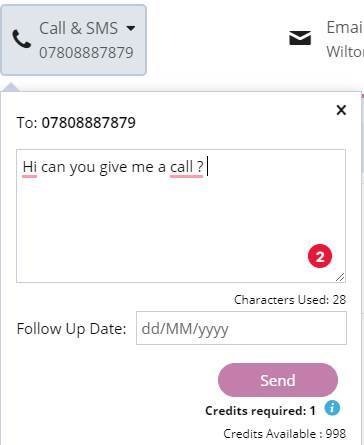
Sending text messages will use credits from your account. You'll find information on usage and how to top up in this guide.
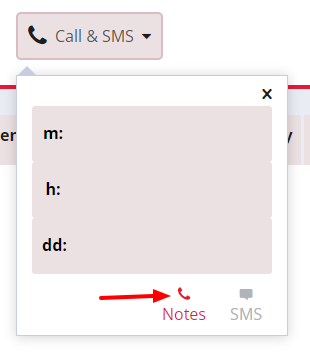
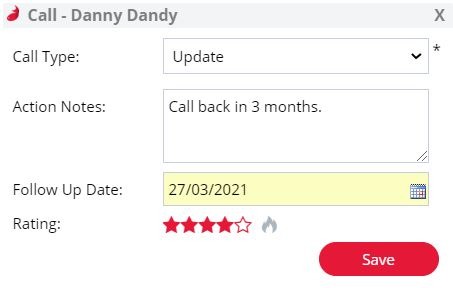
If you don't have the Call & SMS feature enabled, you can still record action notes on calls by clicking the phone icon.
You'll also be able to add Follow-up dates, adding those items to your To Do section on your Dashboard . They will also be added to your Outlook tasks list, or your Gmail calendar.
Once you have saved the action notes on your Call, you can edit it by clicking on the blue Pencil icon on the right-hand side of the Recent Activity stream.
You can also edit the Call by clicking on the text field, which will be highlighted in grey when you hover your cursor over it.
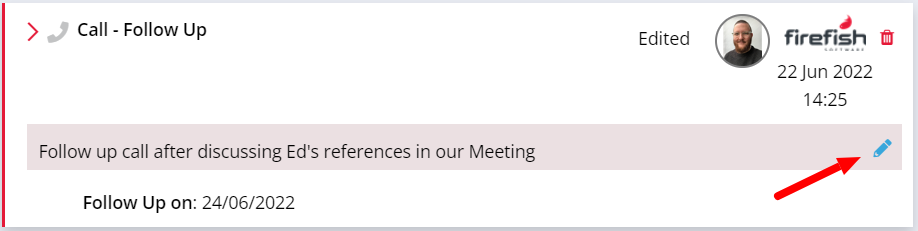
If you change the Follow-up Date while editing, this will change the item's date in your corresponding To Do section on the Dashboard. It will also change the item's date in your Outlook tasks list, or your Gmail calendar.
Once your Call has been edited, this text saying ‘Edited’ appears and the tooltip shows who edited it and when they did it.

Sending emails
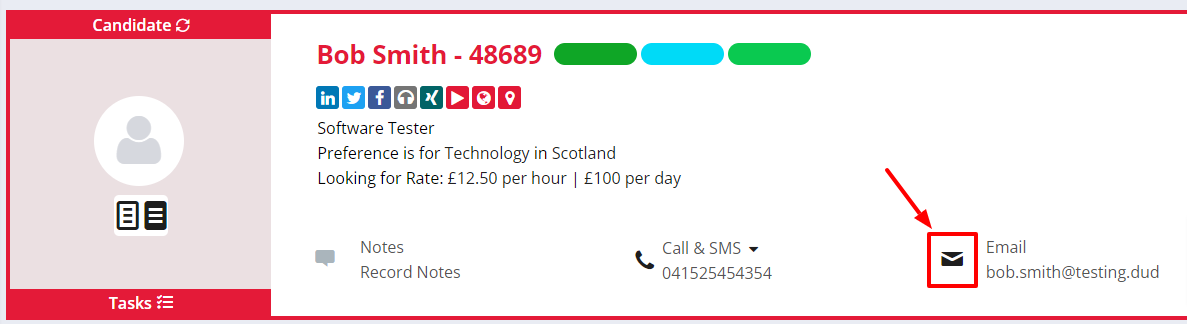
To send an email to your contact from within Firefish, just click their listed email address in the header.
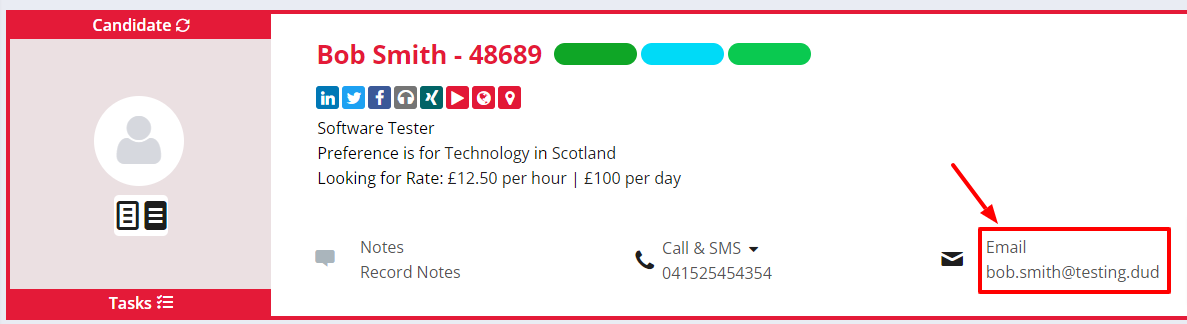
To send an email to your candidate directly from your external inbox, just click the Email icon instead.
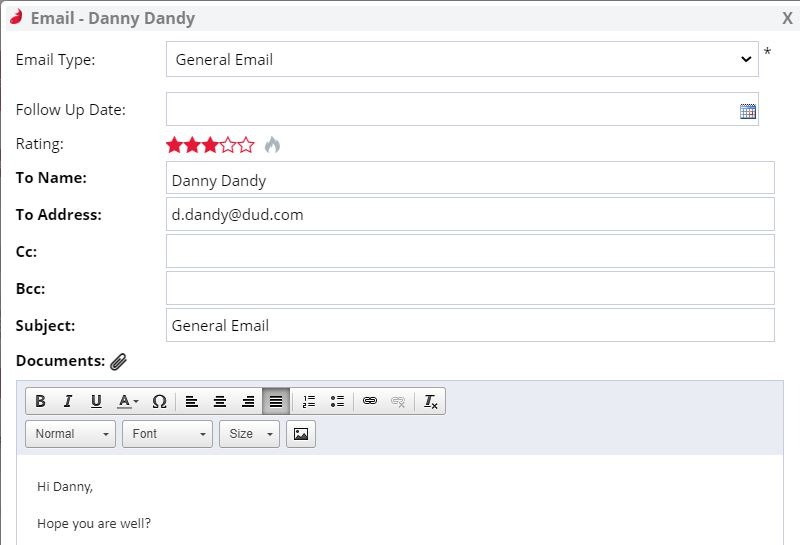
There are a number of candidate specific Email Templates within Firefish and your Super User will set these up for you to use.
From the candidate record, you will be able to select the following email templates: Get In Touch, General Email, Reference Details, Request Update, Prescreen, Thank You, Follow Up and Key Information Document.
When selecting Pre-screen or the Key Information Document you will see the Candidate Pre-screen document or Key Information document is automatically attached, provided you have this document uploaded in your System Document Library. Clicking the Pre-screen Document or Key Information Document in the email allows you to preview it before sending; you can also download and print a copy from here.
Arranging meetings
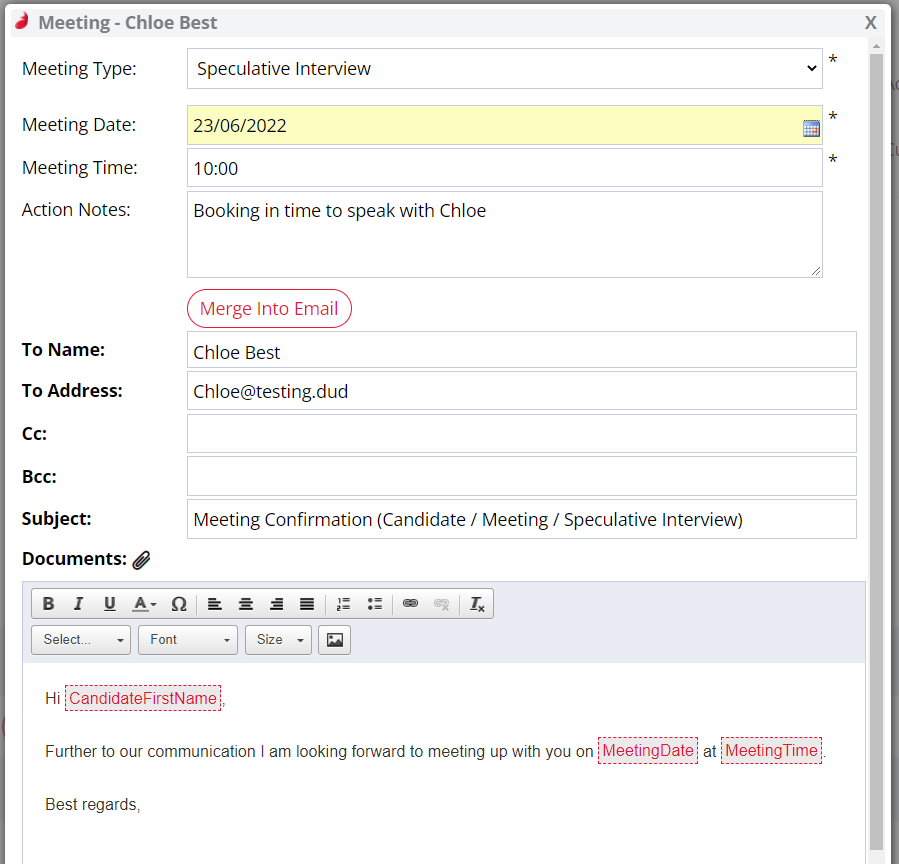
Click the meeting button and you'll be able to select the Type; Speculative Interview, Registration Interview, General Update and Contract Review are the available options.
You can also select the date and time, confirm the recipient details and add action notes before sending.
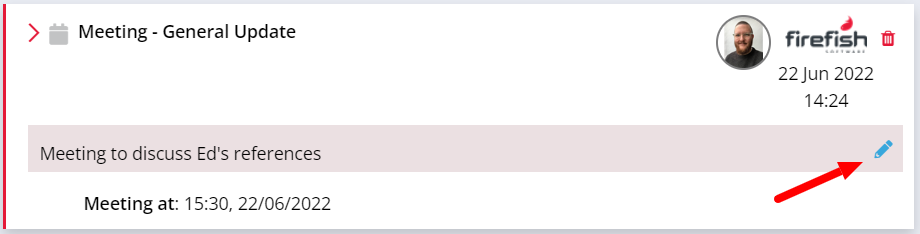
Once you have saved the action notes on your Meeting, you can edit it by clicking on the blue Pencil icon on the right-hand side of the Recent Activity stream.
You can also edit the Meeting by clicking on the text field, which will be highlighted in grey when you hover your cursor over it.
If you change the Follow-up Date/Time while editing, this will change the item's date/time in your corresponding To Do section on the Dashboard. It will also change the item's date/time in your Outlook or Gmail calendar.
Once your Meeting has been edited, this text saying ‘Edited’ appears and the tooltip shows who edited it and when they did it.

Archiving and Unarchiving Candidates
When you archive a candidate they will:
-
Not show up in Potential Matches or live searches
-
Have any open To Do items closed
-
Retain the ability to apply to Adverts, but they will be automatically not-progressed
-
Retain access to their Candidate Portal
-
Retain their Marketing Preferences settings
-
Continue to receive Job Alerts, if they have already opted in to those
Recent Activity
The Recent Activity section allows you to see all actions that have been recorded against a candidate in Firefish (including when they were created, any interviews, offers, placements and all recorded communication).
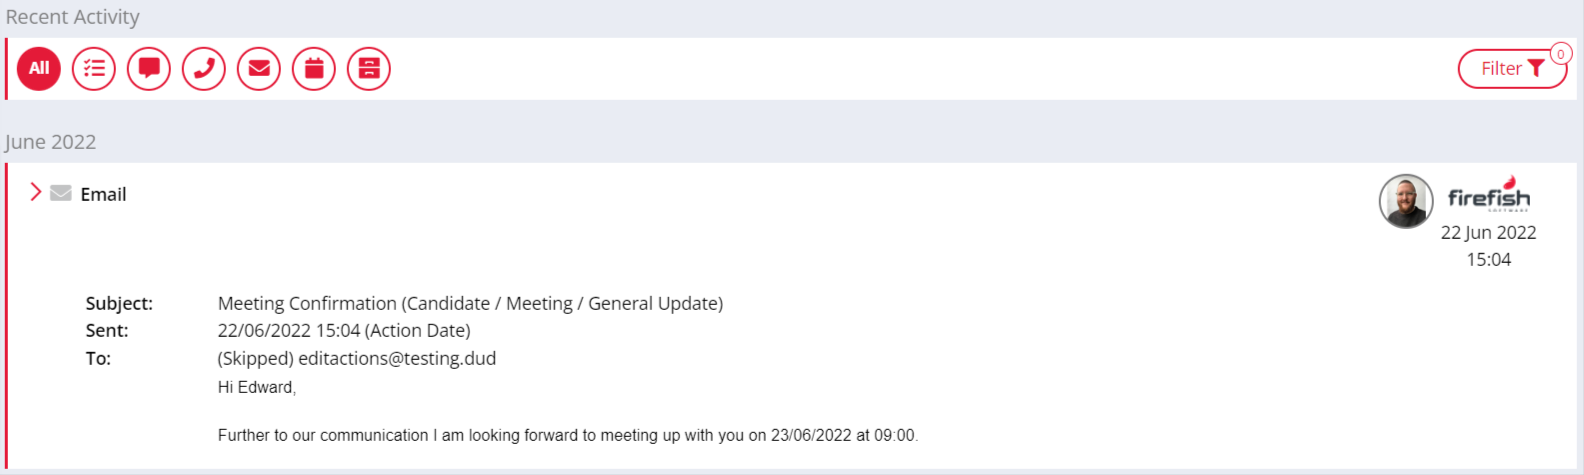
The actions are ordered by date, with the most recent action appearing at the top. By default, the Recent Activity will display the 5 most recent actions, but if you scroll to the bottom of the page, the next 5 actions will appear.
Editing Notes, Calls or Meetings does not change the order they appear in.
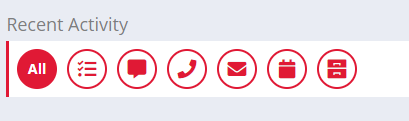
Using the icons on the right-hand side, you can quickly filter Recent Activity and display by action type: Task, Note, Call & SMS, Email, Meeting, Recruitment, as well as All.
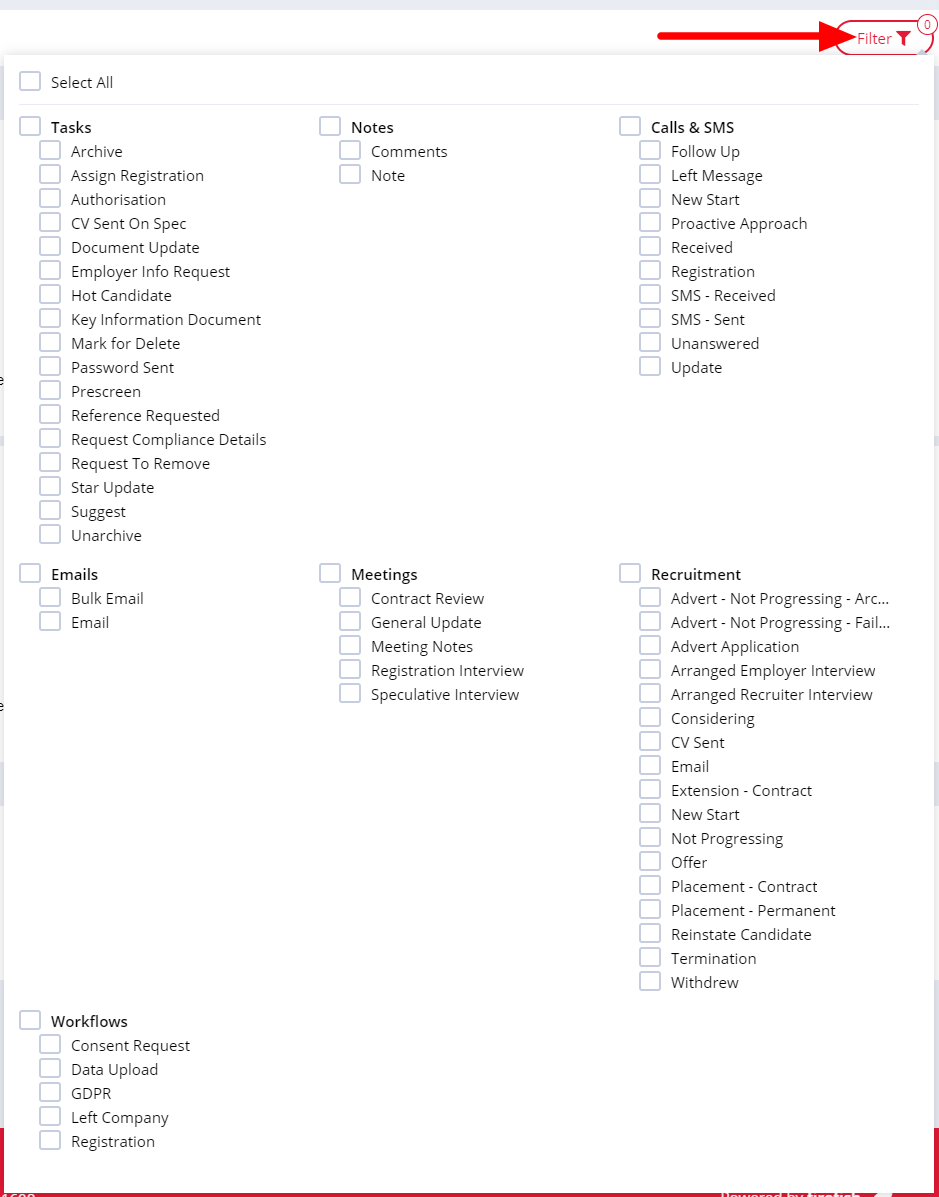
By clicking the Filter button, you can select individual action types so you can view the full history of a specific or customised selection of actions.
Actions which display a red Bin icon when you hover your cursor over them can be deleted. Simply click the Bin and confirm you would like to delete them.
These include actions relating to Notes, Calls, Meetings and certain Emails.
Read more about deleting actions here.