Create and edit job adverts, set up job alerts and pre-screen questions
It's really easy to create job adverts in Firefish and share them with your database.
In this guide, you'll find out how to do this -check out our video guide, or use the menu below to jump to a specific section:
Quick Jump to:
Create an Advert
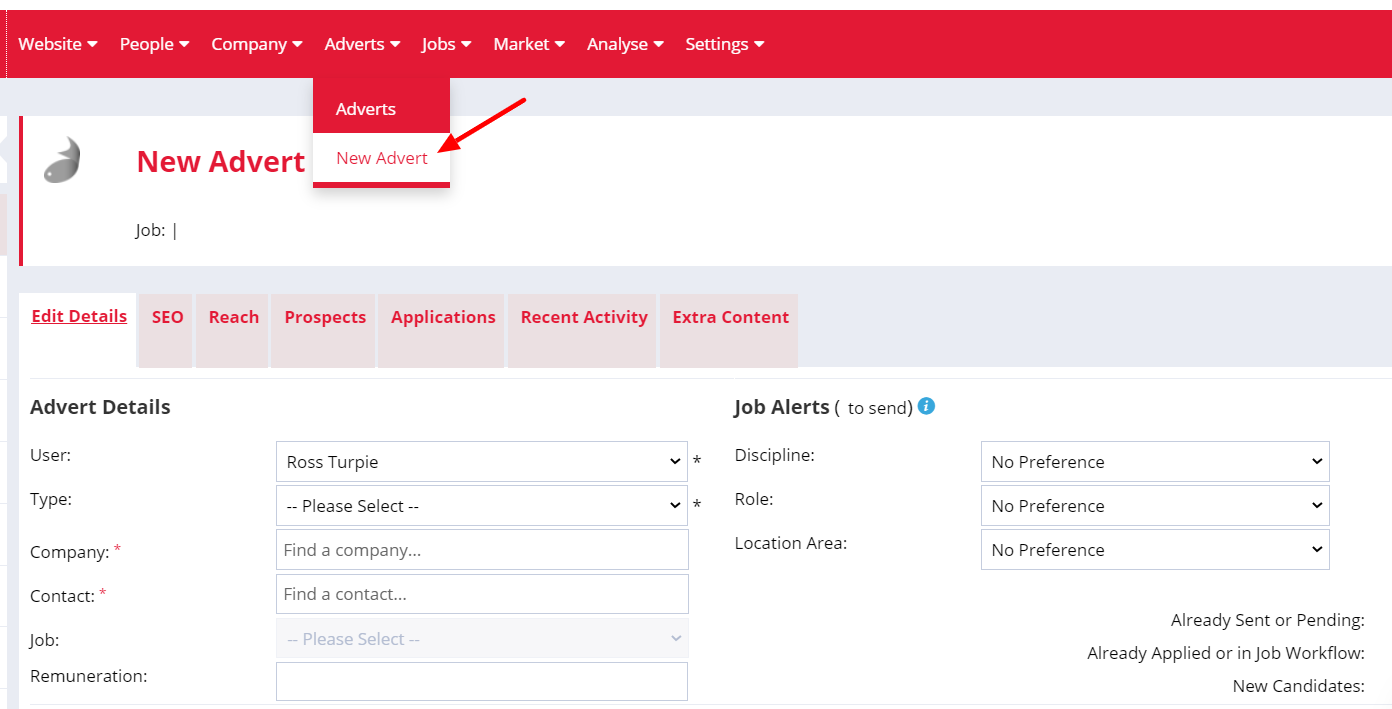
To create a new advert, click Advert > New Advert from the top menu and you'll be taken to the above screen where you can use the Edit Details tab to create your advert.
Adding Advert Details
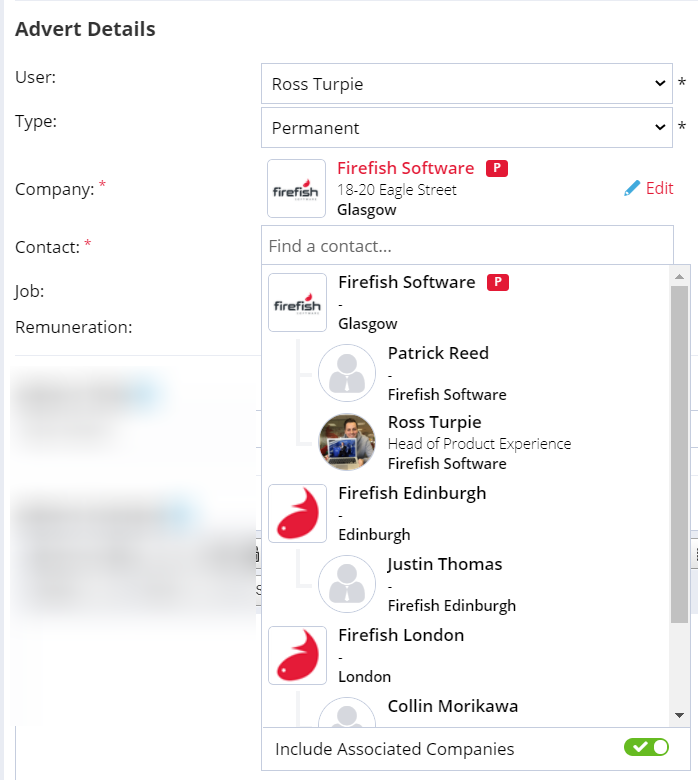
The Advert Details section on your new advert will allow you to select the basic details of the advert you are creating such as the advert owner (user), workflow, company/contact, job record link, and remuneration.
When selecting the company and contact the advert is assigned to, you'll be able to assign a contact from an associated company too.
You also have the option to mark the Advert as Remote Working which will list your Advert as Working from Home when posted to Google for Jobs. You can find out more information on Google for Jobs job posting properties here.
Set up Job Alerts
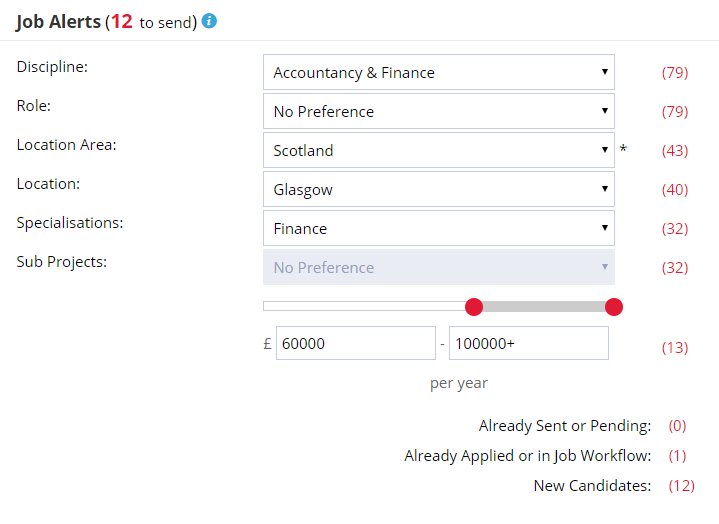
In the Job alerts section, set the criteria as to disciplines, locations, and specialisations the advert fits into. The advert will then be automatically emailed out to candidates who match on these details and are opted into Job alerts.
You'll notice the numbers down the left-hand side - this is the system showing the number of candidates who are filtered down as suitable for a job alert based on the selections you have made.
These selections will also form the basis for the Discipline, Location, and Specialisation search functionality on your Firefish Jobs page.
Adding content to your ad
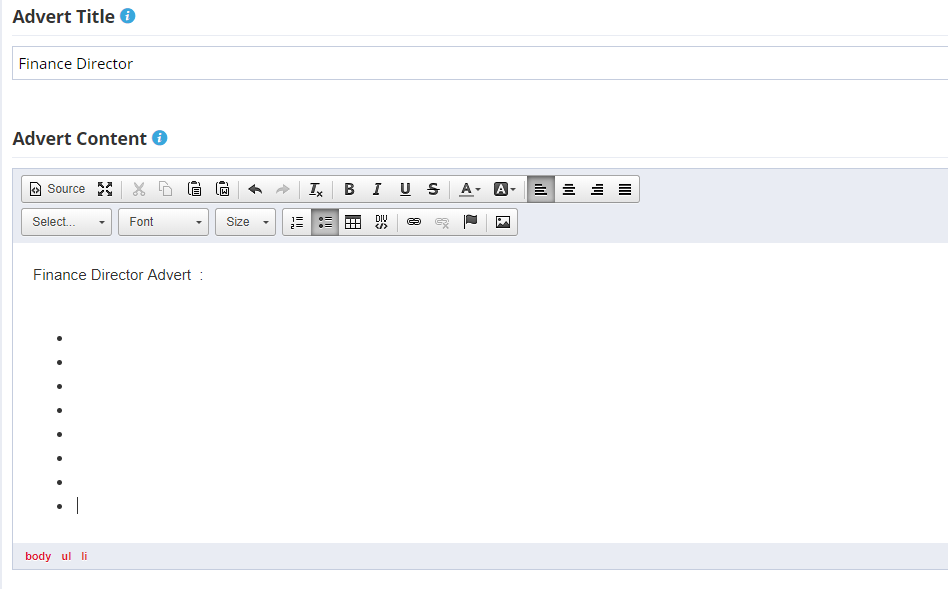
The Advert Content section will allow you to add the title and content to your advert.
We would recommend keeping the title short and snappy as it will also be used in the URL - anything over 65 characters may be shortened when posted to Job Boards.
The content section will allow you to add in details and format your posting. You can make text and font changes, as well as adding links, tables images, and more!
Adding pre-screen questions
You can add a level of pre-screening to your adverts by including questions for the candidate to answer as part of the application process.
To start, click the Add Questions button in the Pre-Screen Questions area:

Type the questions you would like to ask, and choose the desired answer: this could be a "yes" or "no" answer, or maybe you'd like the applicant to type a response. Just select Yes, No, or Text:

To make it mandatory for a candidate to answer the question before they can apply, just pop a tick in the Mandatory Question box.
If you've selected Yes or No as the expected answer and want candidates who do not choose your desired answer to be automatically rejected, tick the Auto-Reject Question? box (Text questions can't be auto rejected)
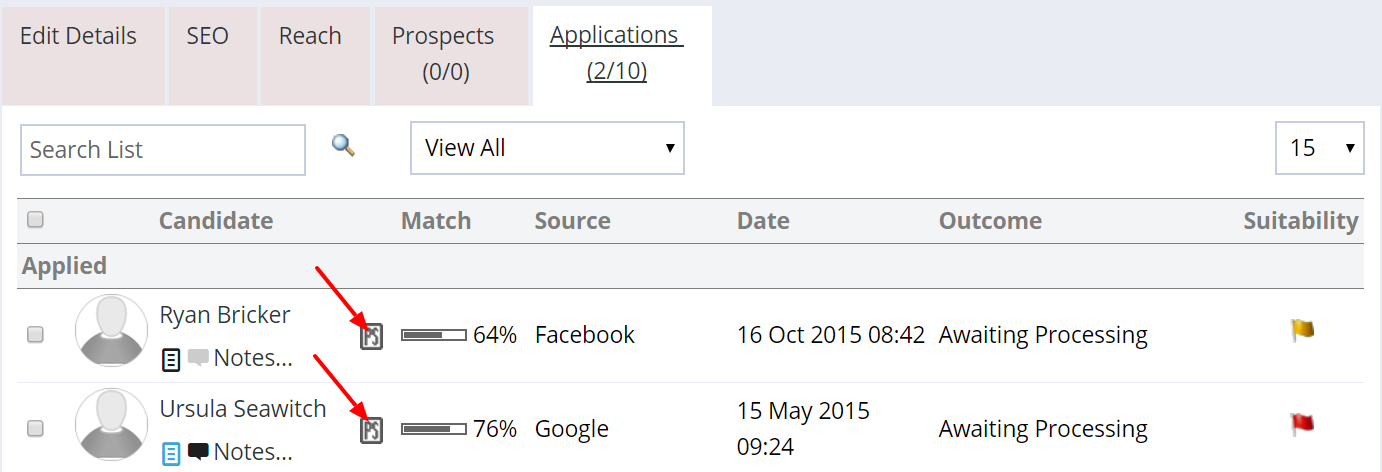
You can view the candidate responses to the pre-screen by selecting the PS document icon in the applications tab.
If a candidate fails the pre-screen by failing to choose your desired answer on an auto-reject question, you can have this set so they will receive an automatic Not Progressed email 24 hours after they applied. The candidate will appear to the recruiter as Not Progressed and the candidate's action notes will advise that they failed the pre-screen.
If a candidate completes your application form but does not complete the pre-screen questions, the candidate will still be registered and show in the Applications tab as 'Incomplete'. This will allow you to review the candidate’s suitability for the role (and switch them to ‘do not progress’ if necessary) or you can reach out to them to see if they need any support with their application.
Pre-screening questions can be added and edited at the time of creating the advert or once it's been posted. If you make a change to pre-screening after the advert has been posted, this must be done before any applications are made.
Post On Secondary Sites
If you're an enterprise client, with one or more secondary sites, you have the option to post the advert onto your secondary site(s) while creating it on the primary site.

This option will only show on the recruiter portal.
The adverts posted on each secondary site will be an exact copy of the original advert created on the primary site. This will include preferences and pre-screen questions.
When reposting or updating an advert on the primary site, any changes made will not carry over to the sibling adverts created on secondary sites. The reposting and updating workflows will not be affected by these changes.
Choose your Posting Options
Lastly before hitting post, we need to update our Posting Options. These are the fields that will allow you to put the finishing touches on your advert:

Branding allows you to add images to your advert on the site.
If you choose the Branding option None, there will be no images displayed with your advert, other than any you may have uploaded to the content.
You can then you can choose Our Logo to use your own company logo for advert Branding, which takes your logo that has been uploaded in your System Settings.
Or if you're happy for people to know which company you're representing, you may want to choose Company Logo. For this option to appear, you must first go the record of the company you're advertising for and upload an image by clicking on the area within the company header.

Content Image will display an image from the main advert content you have just created. Please note that if you have multiple images in the content, only the first image will be used for Branding. We don't resize Content Images for you, and some social media platforms do have their own restrictions on image size, so we recommend you upload images no smaller than 200 x 200 px* however you'll find full details in the tooltip (Blue "i" Icon)
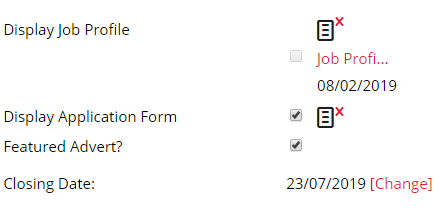
Next up You can choose whether to Display Job Profile and Display Application Form - if you chose to add these in they will both display on your website within the advert for the candidate to download.
You can also choose to make your advert a Featured Ad if your site allows - this will give your advert a prominent position on the website. Lastly, you have the option to edit the closing date.
Once you have put this all together, you can preview your advert and Post.

Reposting Adverts
Adverts are easy to repost to the site - just click update or Repost on the bottom of the Edit Details tab. The date shown in here will become the new closing date.

When your live adverts are due to expire shortly, Firefish will also give you some helpful reminders to make sure you don’t forget!
Advert Renewals List
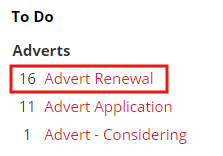
In the week that an advert is due to expire, it will appear in the Advert Renewals list of your To-Dos. Click on the link to view the full list of adverts due for renewal.
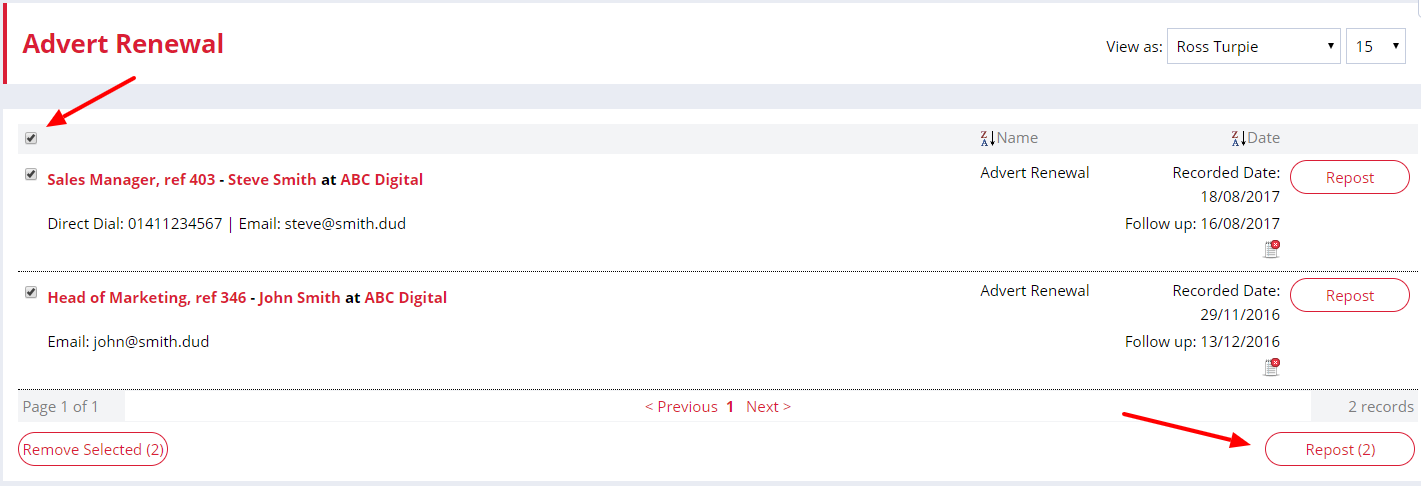
From here, you can quickly Repost individual adverts or multiple adverts. Simply select the adverts you'd like to Repost then use the button at the bottom right of the list. If you’d like to close off Advert Renewal items without reposting the adverts, simply select the items and click Remove Selected instead. This is a dynamic list, so as soon as you’ve reposted an advert it will disappear. However, if no action is taken, it will remain in your To-Dos for action so be sure to keep on top of this so you can keep attracting candidates and keep your lists manageable!
Advert Reminder Emails
As well as listing expiring adverts under To-Dos, we’ll also send an Advert Reminder email to the user who owns the advert a few days before the Closing Date. The default number of days is 3, but if you’d like to change this, just let us know by contacting Support.
When you receive the Advert Reminder, click on the link to be taken to your Firefish system to renew the advert. For security, any links in Advert Reminder emails are only valid for 24 hours from being sent.
Closing Adverts
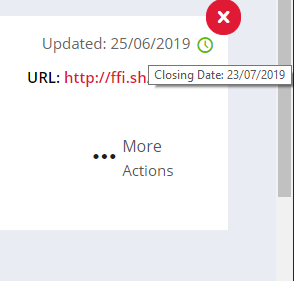
Adverts within Firefish will either be closed automatically or can also close manually. You'll be able to see when an advert is due to close by hovering over the green clock icon next to the date in the right-hand side of the banner.
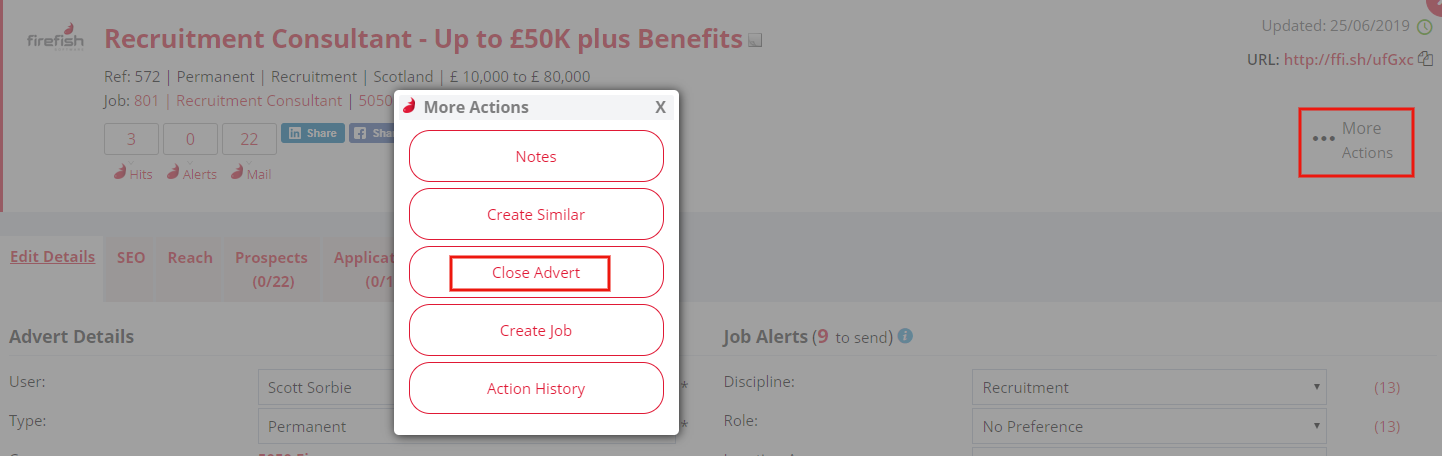
In order to close your adverts manually, use the More Actions option on the banner and select Close Advert.
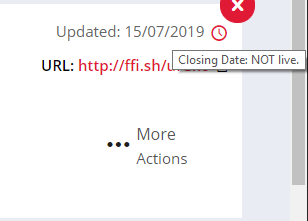
This will then allow you to make a note then complete the action. Once you have successfully closed the Advert, you'll see the green clock has become red.
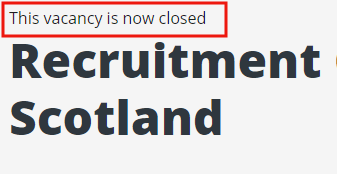
Anyone who tries to use the URL the Advert was displayed on will now find some text to show the advert but also confirm the advert has now closed.
View Recent Activity
On each Advert Record the Recent Activity tab allows you to view and filter all of the recorded actions associated with that Advert:
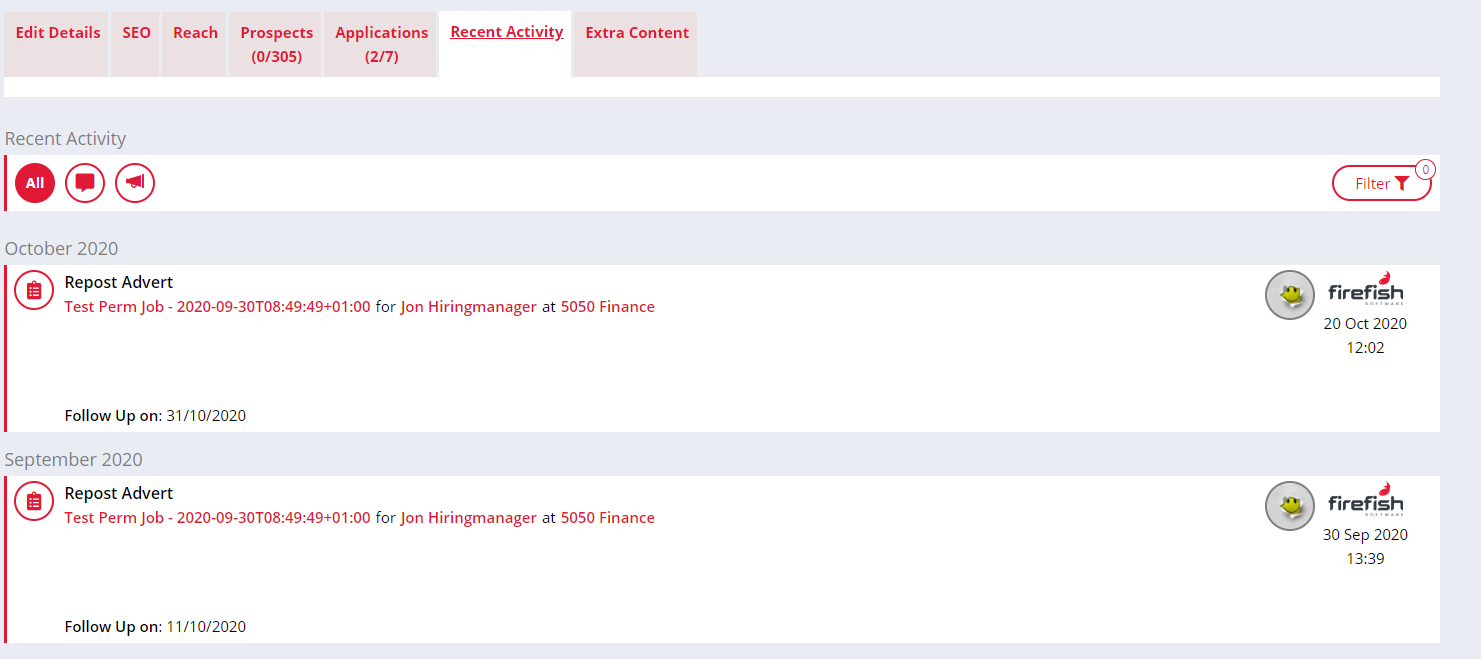
Actions are displayed in chronological order with the most recent action appearing at the top of the list. By default, you will see the 5 most recent actions displayed, however anytime you scroll to the bottom of the list the next 5 actions will load and display automatically.
By using the icons on the left-hand side of the Recent Activity header, you can quickly filter and display actions by type; Note, Job Board Post, and All:
Clicking the Filter button allows you to filter and display actions by specific type, by individual Job Board, or display a custom list of multiple actions: