How to use the Firefish Gmail add-in
Check out the below video for details on installing and utilising our Gmail Add-In, or review the below guide!
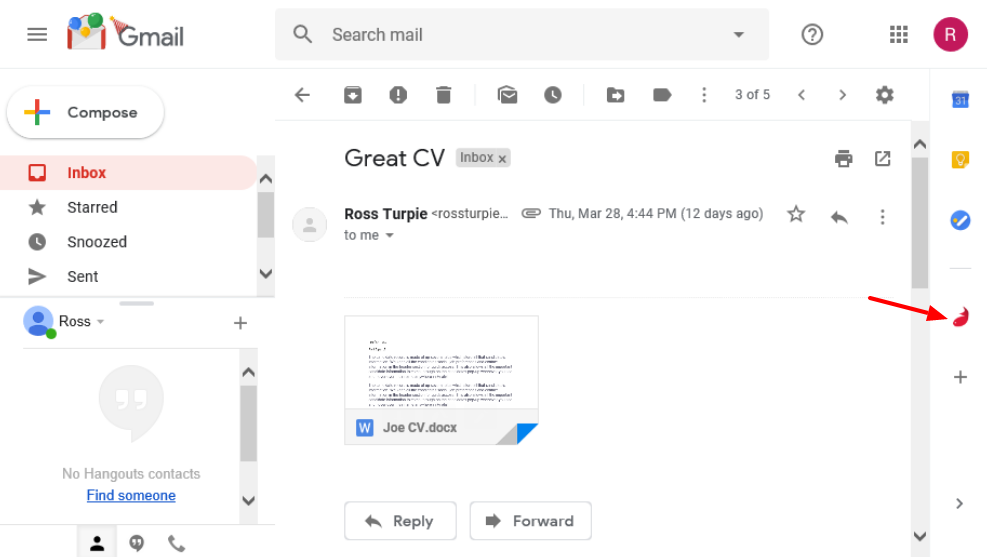
To open the Outlook add-in, first open an email in your Gmail inbox and click the Firefish icon on the right side of the page:
When you've opened the add-in, it will detect the first name, surname and email address straight from the selected email and populate the search fields automatically.
If the email has been sent from a third party (e.g. forwarded to you by a colleague), make sure you edit these fields accordingly.
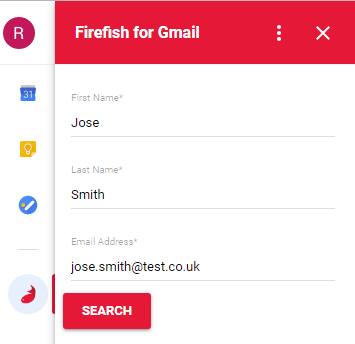
When you click Search, the add-in will search your database for existing records that may match, based on the name and email address provided. You can switch between Candidates and Contacts using the 'Show Contacts'/'Show Candidates' link at the top of the list:
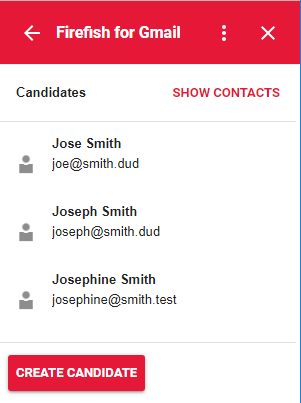

From the search results page you can view a persons name, email address, unique ID and if the record is archived. Any 'greyed out' results mean that this record is not active e.g. from the above screenshots: Josephine Smith has an active candidate record, but does not have an active contact record.
Simply click to update/activate an existing record or click 'Create Candidate'/'Create Contact' to create a new record.
If Firefish finds an exact match (matching on first name, surname and email address, you'll be taken straight to the candidate or contact record to update.
Populating Candidate Fields
On the candidate form, any fields which are pinned to the top of the form are mandatory and must be populated before upload (these correspond with your mandatory settings within the system).
'Update Email Address' field defaults to enabled and will update the records email address once the changes are saved. Disabling the toggle will prevent the records email address from being updated.
'Legal Basis' is mandatory by default and cannot be changed. This field allows you to choose a legal basis for processing the candidates data.

You can also click into the Marketing, Preferences and Application sections which contain any remaining, non-mandatory fields.
Once all fields are populated you can click Next to choose your attachment types, or if there are no attachments on your email, your candidate will be uploaded and you can click View Profile to go straight to the candidate record.

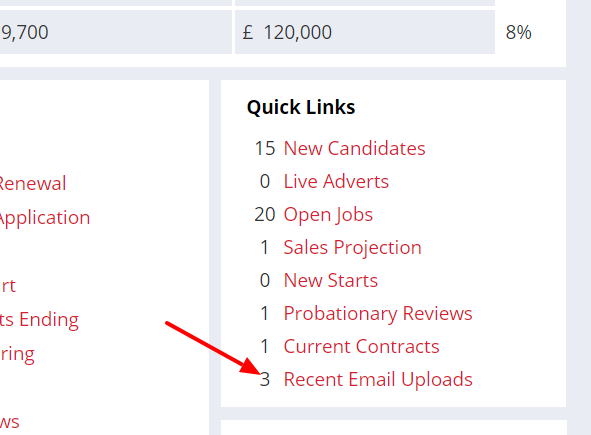
Once you've uploaded your candidate, you can also use your Recent Email Uploads quick link to easily access the record.
Uploading Attachments
If your email upload has a compatible attachment, the add-in will detect this atuomatically and you'll have the option to select documents to upload and which fields in the Documents tab to upload them to:
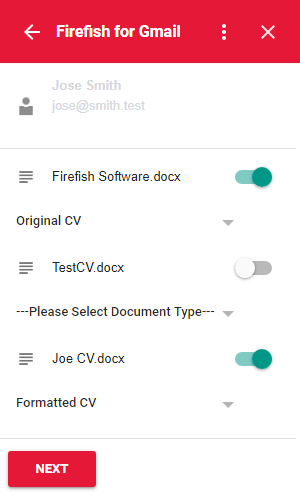
Any documents ver 9.5MB cannot be uploaded and will be disabled automatically.
Uploading a Contact Email
Once you've searched for possible matches and chosen to create a new or update/activate a contact record, you'll have the option to review the Contact you're about to update. Any changes to the contacts email address will be highlighted:
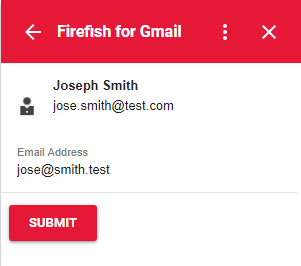
Once you're happy to upload/update the contact you can click Submit. You can then click View Profile to go straight to the contact record.
Once you've uploaded your contact, you can also use your Recent Email Uploads quick link to easily access the record.
Viewing Uploaded Candidates or Contacts in Firefish
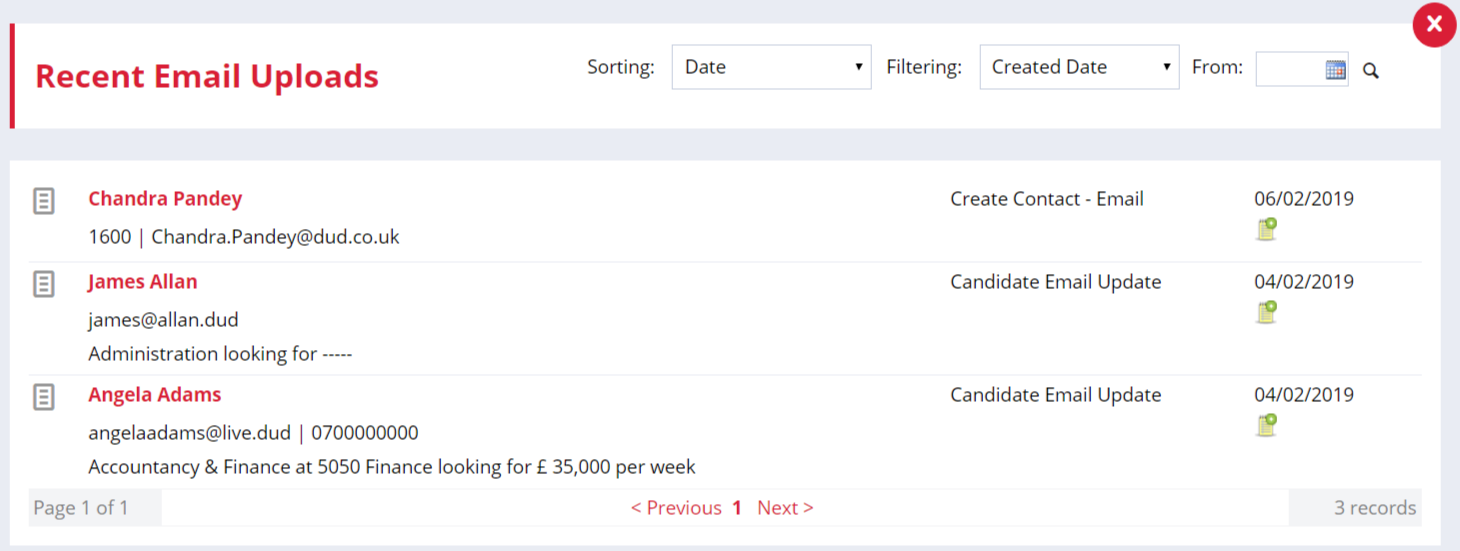
As soon as a candidate or contact email is uploaded, the action will appear in your Recent Email Uploads Quick Link on your Firefish dashboard. Any original CVs will be processed in a couple of minutes and be fully searchable in your database, and assessed for any potential matches or talent pools you may have.