This guide will walk you through managing your website, focusing on key functionalities under the Web Content section. You'll learn how to create and organise web pages, add plug-ins and forms, link to external sites, and enhance your pages with images, videos, and featured content.
Creating Pages
Managing Content
- Sorting Web Pages
- Deleting Web Pages
- Adding a Plug-in Page
- Adding a Form
- Adding an Image
- Embedding an Image
- Embedding a Video
- Adding Featured Content
Where Do I Manage My Website?
All your website content and settings are housed within the Website tab. This article is going to walk you through everything that you need to know under the Web Content section.

Creating Web Pages
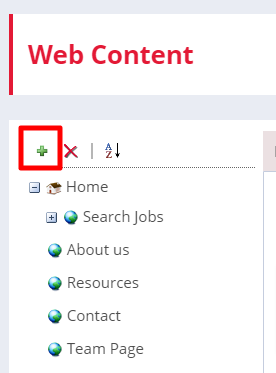
Create a Web Page
To create a new web page by clicking the green + symbol, within Web Content.

Create a Secondary Web Page
To create a secondary web page, right click the main page in the list view on the left hand side then select Add Page.

This will allow you to create a secondary option on the menu when you hover over or click on the main menu option.

Managing Content
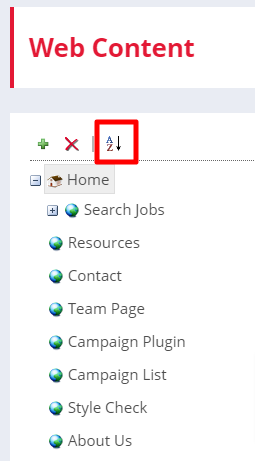
Sorting Web Pages
Sorting your web pages can be done at any time. Click the A-Z button to sort the whole menu, or select a menu section to sort the secondary pages in that section.
You can also sort by right-clicking on an individual menu item.
The web pages will then display as a list. Just drag and drop into the order you would like them to appear then Save.

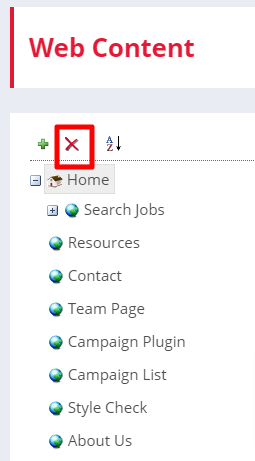
Deleting Web Pages
To delete a webpage, just select that page then press the red X at the top of the menu to delete it.
You’ll be asked to confirm that you want to delete the page, and when you select OK it'll be removed.
Alternatively, you can right-click on the page and then click remove.
You can not undo a web page deletion, so make sure you're certain that you want to action this before you confirm the delete request.
Adding a Plug-in Page
If you have any additional plug-ins, you'll be able to select the Plug-in from the Page Type options when creating a new page.
Add in the Menu Text, URL and Header Text.

You can now add to the content area on your Plugin, however the majority of the content automatically pull across from the Plugin itself which you can access from the Website menu on Firefish.

You can find out more about what Plugins are available and how to manage them here.
Adding a Form
You can either add a Contact Us form or a Request a Vacancy form to your website. These are both pre-built forms.
To add these in, when creating a new page, in the Page Type drop down, you can select either 'Contact Us' or 'Form - Request a Vacancy' as needed. 
Make sure that the checkboxes for Is Live and Show on Main Menu are checked at the bottom of the page.
Linking to a Page Outside of Your Firefish Site
If you want to link your website to a site that is not hosted on Firefish, you can do this by adding a Menu URL Link.
This could be used for links to external video channels or for a link to a sister company for example.
To add a Menu URL Link, create a new web page by clicking the green + symbol, within Web Content.
Then select Menu URL Link from the options within Page Type.

This removes the need for a content section and you'll only need to add in the Menu Text and Page URL; this is the link that the page will display.

Finally, make sure that the checkboxes for Is Live and Show on Main Menu are checked. Your new menu item will now appear on your Website and link to your specified page
Adding Images
To add images to a content page on your website, select that page you're wanting to add the image to in the Web Content section and click on the Images tab.
Pick the relevant area, then click Select Image.
Info on adding your banner image can be found here.

Choose your image from the Image Browser or Upload a new image and then click Attach.

You can edit the width and height of your image using the Media Details icon. However, we recommend resizing the image before you upload it rather than resizing the image in Firefish.
You can also add Alt Text, Title Text and a Link to your image:

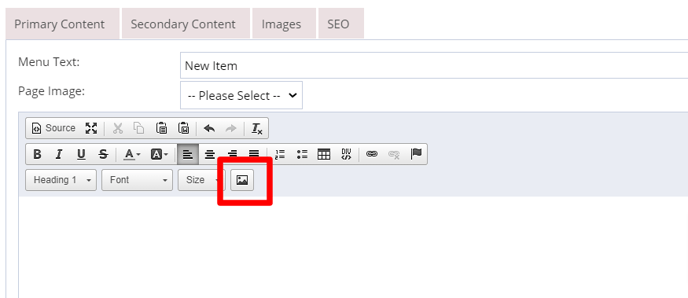
Embedding an Image
You can also choose to upload an image straight from your computer into the content area of your page and Firefish will host it for you.
To do this, select the picture icon.
Select Browse Server then choose and upload your image.

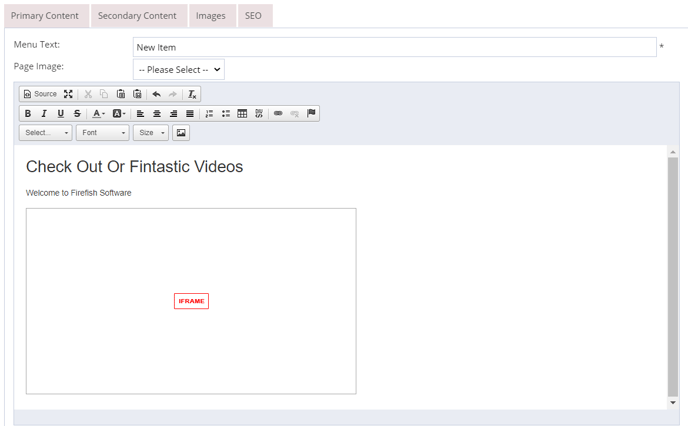
Embedding a Video
Once you've created or selected the page you want to add a video to, click the Source button.

Paste the video script in the position you would like it to appear; for example, below the existing text.

You can use Preview button to check how it will appear on your live web page and once you are happy click Source to return to content view.
Finally, click Save (don’t worry if you can’t see the video here – as long as you see an iFrame image like the one below, your video will be there).
Adding Featured Content
You can click into the Featured Content tab at the top of any web page you'd like to add featured content to.

From here you can click Add button on the right-hand side. This will display a pop-up side panel called Section X ( The X will be a number depending on how many records you already have e.g. Section 1).

Select the Type of featured content you wish to add to this page.
From here you can also select to brand your featured content by populating the following fields:
- Background image
- Background colour
- Card background
- Title
- Text
- Hyperlink
You can also choose to add a content area for this featured content by populating the Content area.
Learn more about featured content here.