Creating and Updating Adverts
Create, manage, and optimise job adverts
Learn how to create, enhance, and manage job adverts within Firefish. This guide covers everything from setting up adverts and job alerts, to adding pre-screen questions, branding, posting across platforms, and closing adverts once filled.
Contents
Creating an Advert
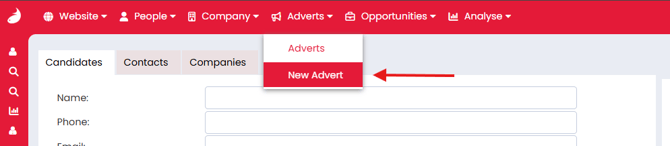
To create a new advert:
-
Navigate to the Advert menu
-
Select New Advert
-
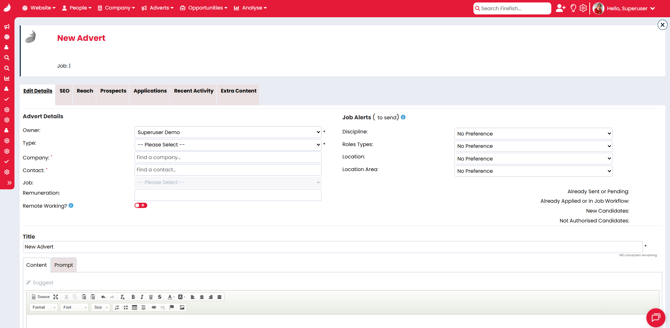
The creation screen will open on the Edit Details tab
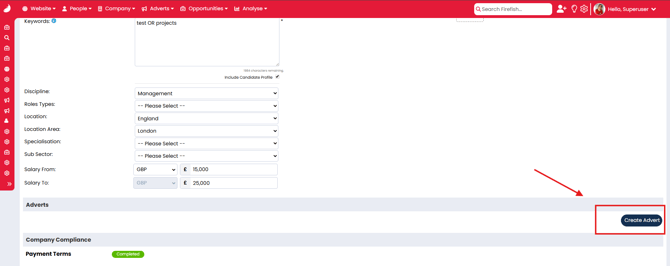
In Advert Details, enter key information:
-
Owner, advert type, company, and company contact
-
Select a job role from available roles linked to the chosen company
-
Enable Remote Working for adverts marked "Working from Home" (visible on Google for Jobs)
In Job Alerts, set criteria (e.g. disciplines, locations) to:
-
Match candidates opted into alerts
-
Trigger automated job alert emails
-
Power search functionality on your Firefish Jobs page
💡 Creating adverts from a job
You can create and access adverts from the adverts section of your job.
Adding Content
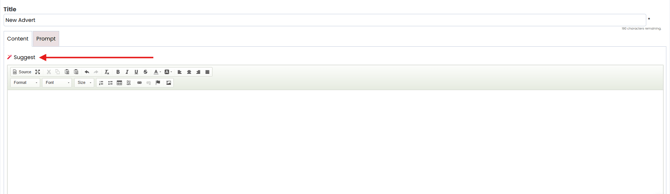
Keep advert titles concise (under 65 characters) to ensure full visibility on job boards.
Use Suggest to auto-generate advert content based on your company style and existing information.
You may:
-
Edit the auto-generated content
-
Write content manually
-
Paste content using Paste from Word to remove unwanted formatting
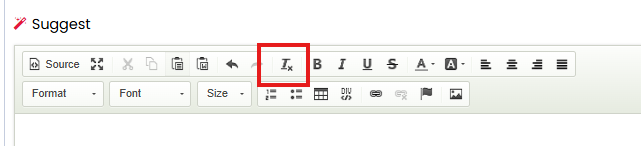
If layout issues occur, use the Tx button to clear formatting, then reapply styling.
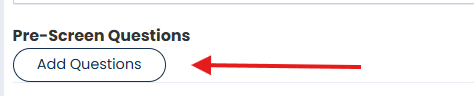
Pre-Screen Questions
💡 Use Pre-Screen Questions to Save Time and Improve Quality
Add custom questions to job ads to auto-reject unqualified applicants, collect key info upfront, and ensure only the right candidates get through. Great for filtering by right-to-work, certifications, or contract preferences - no manual screening needed.
Pre-screening helps filter applicants before review.
-
Type your question
-
Select an answer format: Yes, No, or Text
-
Tick Mandatory Question to make completion required
-
Enable Auto-Reject Question? for Yes/No questions to reject undesired answers automatically
Text answers cannot be auto-rejected.
If a candidate fails a pre-screen, they’ll receive a Not Progressed email within 24 hours, and appear in the system as Not Progressed.
Candidates who skip pre-screen questions appear as Incomplete under Applications. You can still review or follow up manually.
You can edit pre-screen questions after posting the advert only if no applications have been made.

Secondary Site Posting
Enterprise clients can post adverts to multiple sites.
-
Option appears only in the recruiter portal
-
Secondary site adverts are identical to the original, including preferences and questions
-
Updates to the primary advert do not sync with secondary postings
Note: Updating or reposting primary adverts does not affect secondary site versions.

Posting Options
Finalise your advert using Posting Options before publishing.
Branding
-
None: No branding images (except any within content)
-
Our Logo: Uses your logo from System Settings
-
Company Logo: Uses the client company’s uploaded image (upload this in the Company record header)
Content Image
-
First image in the content will be used
-
Recommended size: Minimum 200x200 px
-
Some platforms have specific image requirements (see tooltip for details)
Display Options
-
Tick to enable Display Job Profile and/or Display Application Form on your website
Featured Ads
-
Highlight your advert with a prominent web position (if your site supports it)
Closing Date
-
Set a custom closing date before posting

Reposting Adverts
To repost:
-
Go to the Edit Details tab
-
Click Update or Repost
The new closing date will be updated accordingly.
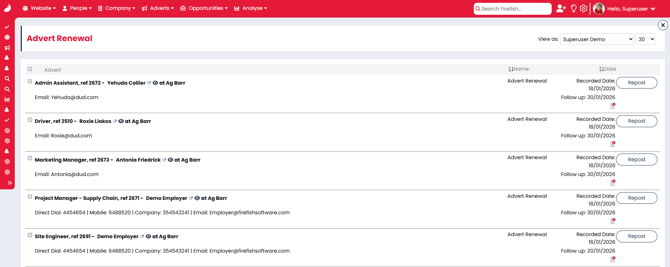
Advert Renewals
-
Adverts nearing expiry appear in the To-Dos > Advert Renewals list
-
Repost individual or multiple adverts from this list
-
Use Remove Selected to clear To-Do items without reposting
Reminder Emails
-
Advert owners receive email reminders 3 days before expiry (default)
-
Reminder links are valid for 24 hours
-
Contact Support to adjust the reminder timeframe
Closing Adverts
Adverts may close automatically on the closing date or be closed manually.
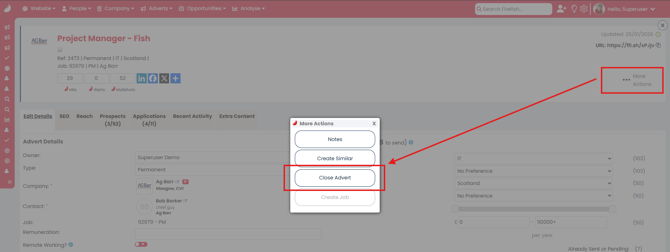
To close manually:
-
Use More Actions > Close Advert on the banner
-
Add a note, then confirm the action
The advert URL will still display the advert text, but note it has been closed.
Recent Activity
Each advert has a Recent Activity tab.
-
Displays all advert actions in reverse chronological order
-
Default view shows 5 actions, with more loading on scroll
-
Filter actions using icons (Note, Job Board Post, All)
-
Click Filter to customise by action type or job board
