Tips on how to use the editing document tools.
Firefish lets you create and edit a formatted CV from a candidate's original CV, and upload and edit any template documents within your Document Library.
When creating a formatted CV in Firefish, a candidate's original CV will be merged with your formatted CV template. While most documents will merge perfectly, it is common for PDFs to encounter some formatting issues. PDF files are not designed to be easily editable, like Word documents, but Firefish will attempt to format the CV as accurately as possible by identifying the margins, alignment, and page breaks of the document.
If you upload an original CV as a PDF file and then create a formatted CV, you will see the following message:
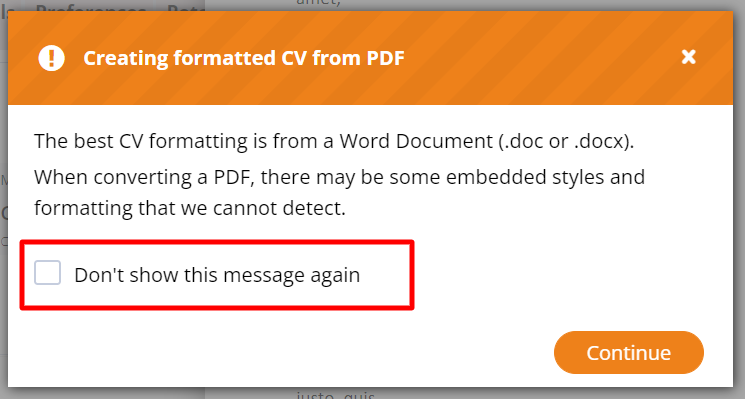
If you tick the highlighted checkbox, you won't see the message displayed again.
Below is a guide on some useful formatting tools that you can use while editing a document - these tools will come in particularly handy on those CVs that need a bit of reformatting before being ready to spec to your clients.
![]()
Header & Footer
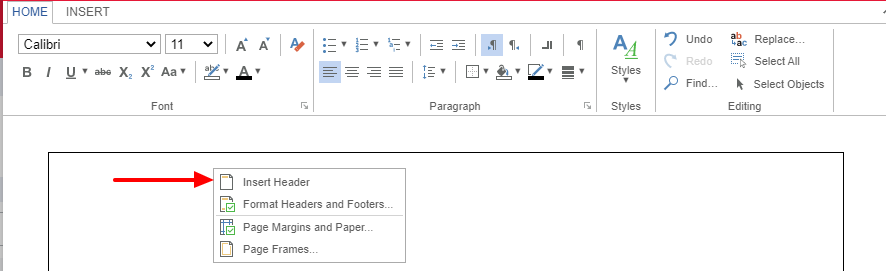
Within the Insert tab, you can add blank pages, tables, images, shapes, hyperlinks and charts. You can also add a Header or Footer by clicking Edit Header or Edit Footer:


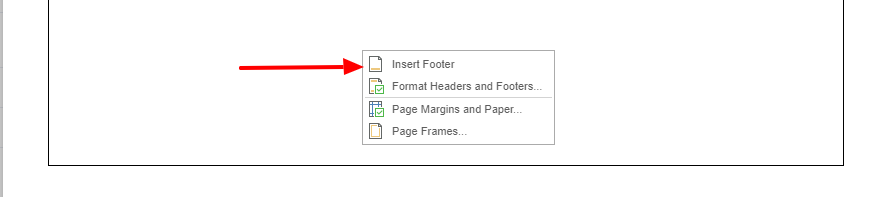
A short cut to inserting a Header or Footer is by right clicking at the top or the bottom of the page and selecting Insert Header or Insert Footer:
Adjusting Margin Height and Width
Use the rulers visible across the top and left hand side of the document to adjust the width and height of your margins.
Or if you want to adjust the position of specific text, click alongside or highlight the text then click the new positioning on the ruler(s).
Here's a quick video giving you an example:
Formatting Images
If you are having issues with the positioning of your image it might help to change the 'Position Style'.
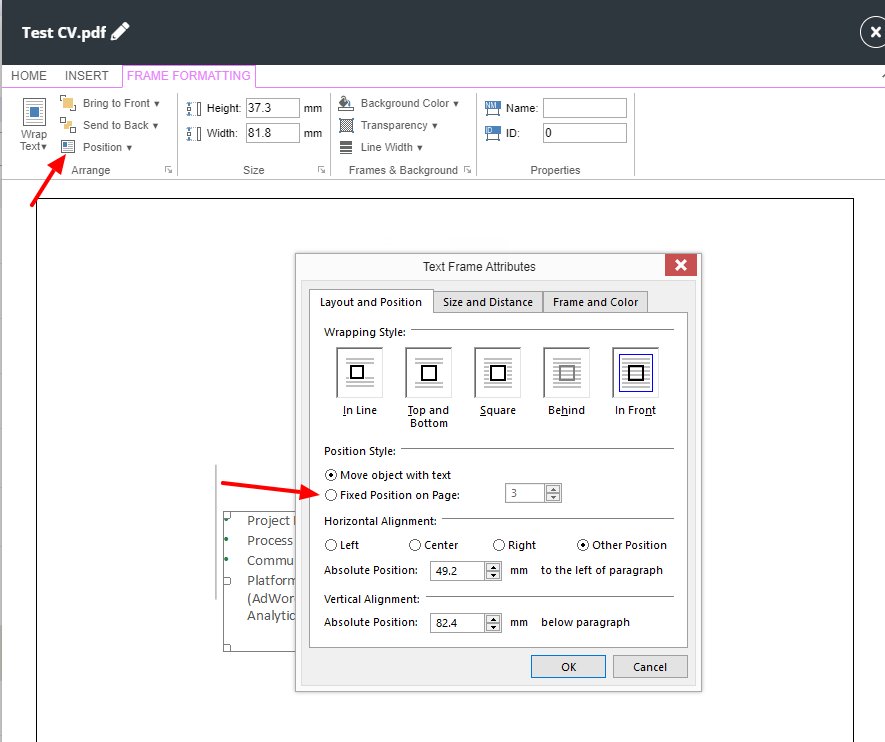
This can be done by Right Clicking on the image you're trying to position and selecting 'Format…':
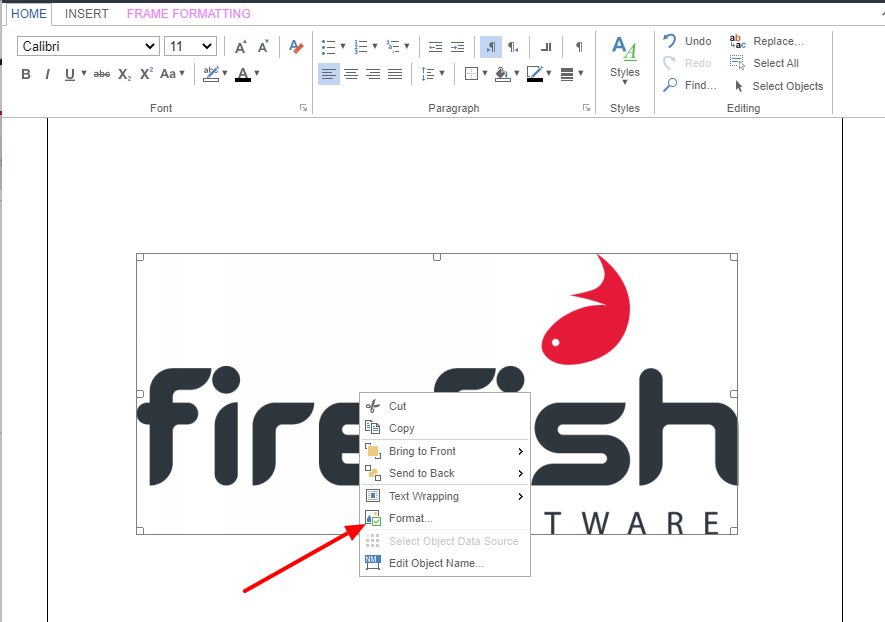
Then in the dialog that opens on the page, change the ‘Position Style’ to ‘Fixed Position on Page’.
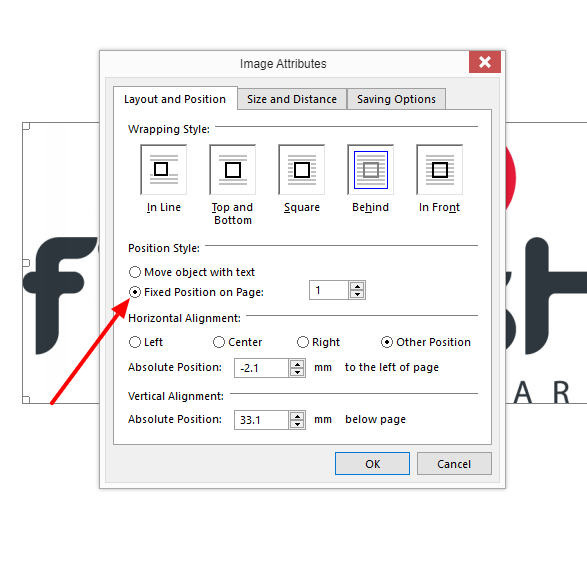
You should now find that you can move the image to any position on your document.
Realigning Text Boxes/Text Frames
You may find when creating a formatted CV that the text is has not formatted correctly and is out of aligment. This is particularly common when the candidates original CV is in PDF format - PDFs do not contain margins and page breaks like Word documents, so when the Firefish CV editor converts the candidates CV from PDF into a format that can be edited, it has to try and position the content in the same way as the original document.
If you do need to realign some text or content of the document, try the following steps:
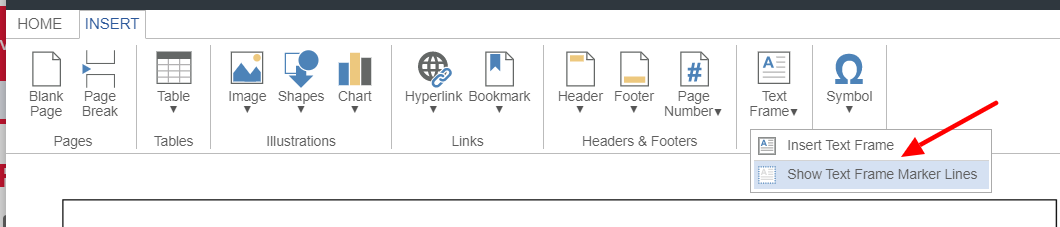
Go to Insert > Text Frame and click Show Text Frame Marker Lines. This will clearly idenfity different sections of text and content on the document.
Then, to move a text frame select the border around the text and use the squares to expand or reduce the size of the text frame.
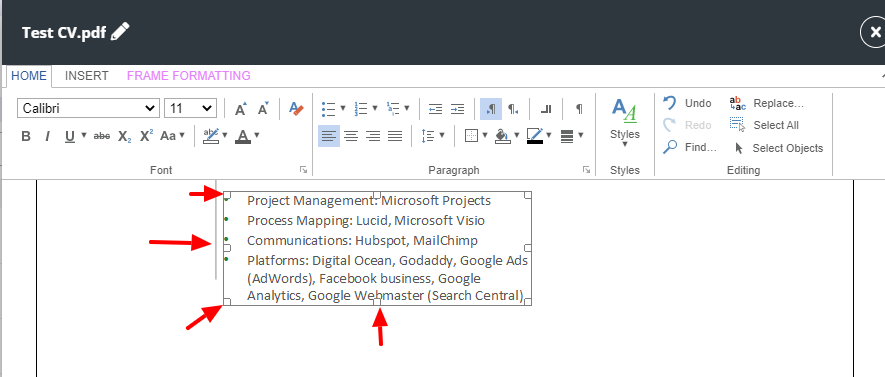
When you hover over the text frame border you will see the mouse cursor change to the 4 arrows cross and if you hold down the left click on the mouse you can drag and drop the text frame into a different position.
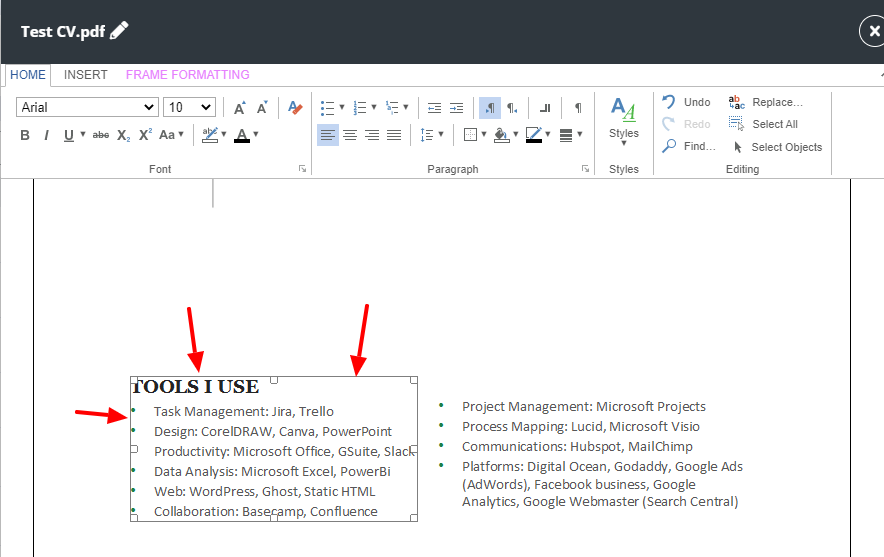
Repositioning the text frame can be done by changing the ‘Position Style’ to ‘Fixed Position on Page’. This will now allow you to position the text frame wherever you want and stops any text overlapping.
To do this, ensure the text frame is selected and click on the Frame Formatting tab. Next click on Position and in the drop down select Other Position which will bring up the Text Frame Attributes where you can select Fixed Position on Page as shown below:
Adding Page Numbers
It's really easy to add page numbers to your documents. Follow the instructions below:
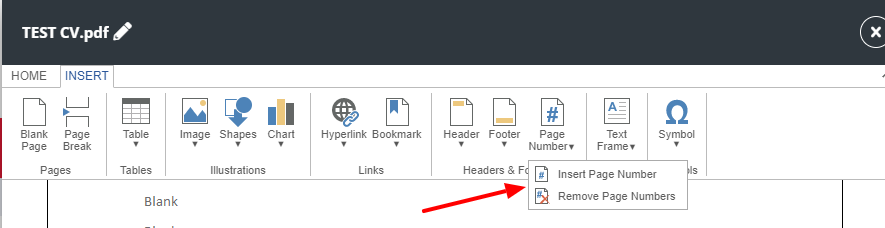
When in editing a document, page numbers can be added in the header or the footer via Insert > Page Number:
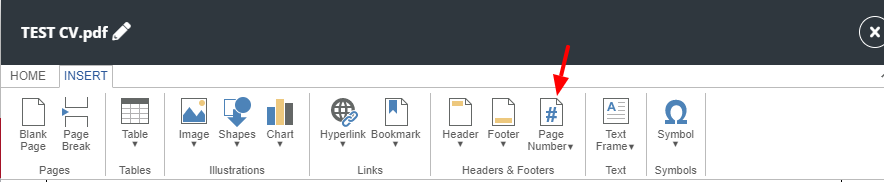
By clicking on Insert Page Number, the page number will be added wherever your cursor is positioned in the header or footer. You can also remove the page number following the same steps but select Remove Page Number.
Content starting on the second page
When creating a formatted CV, you may find that the content from your Original CV starts on the second page of the document.
To fix this issue follow the instructions below:
Go to Settings > Document Library and open your Formatted CV template to edit. Next, highlight all 'blank' lines in the template and delete them, ensuring your cursor is flashing at the top of the document (or where you want the candidate's CV content to start from).
To highlight all or to find any hidden text, you can do this by clicking Control + A (Ctrl + A) then deleting the text, you will then be able to move the text up into page 1.
I have an example of content being hidden and using Control + A to highlight all of the text then deleting the content:
Watermarks
Currently we do not support documents that have a watermark in the document, the reason for this is because our editor does not recognise watermark on the document.
As the Firefish CV editor does not recognise the watermark when you try to make amendments to the image this can cause the editor to remove the image from the document.
Merge Fields
The following templates allow you to add merge fields.
Merge fields automatically get replaced with the relevant details whenever a document is created using the template.
(Click on the 3 links above for details).