Here is your guide on how to create a new job in Firefish. Perfect for getting started using the system.
Creating a new job in Firefish is easy; here's how it's done.
Getting Started
To create your new job, you can either select Jobs > New Job from the menu:

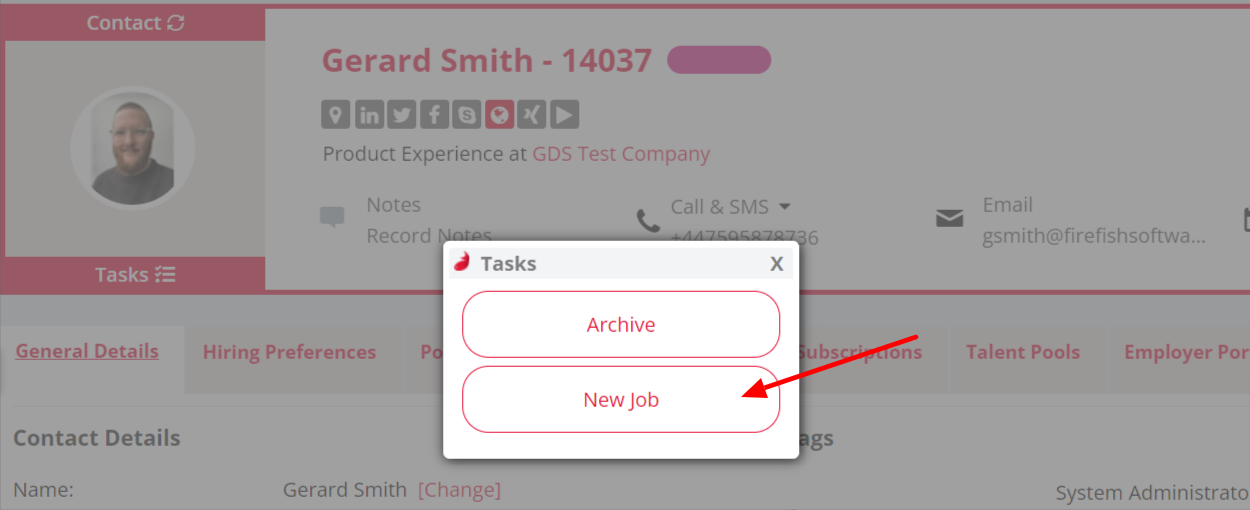
Or, if you're already in the contact record, click Tasks:

Then select New Job:
Now you're ready to enter the job details!
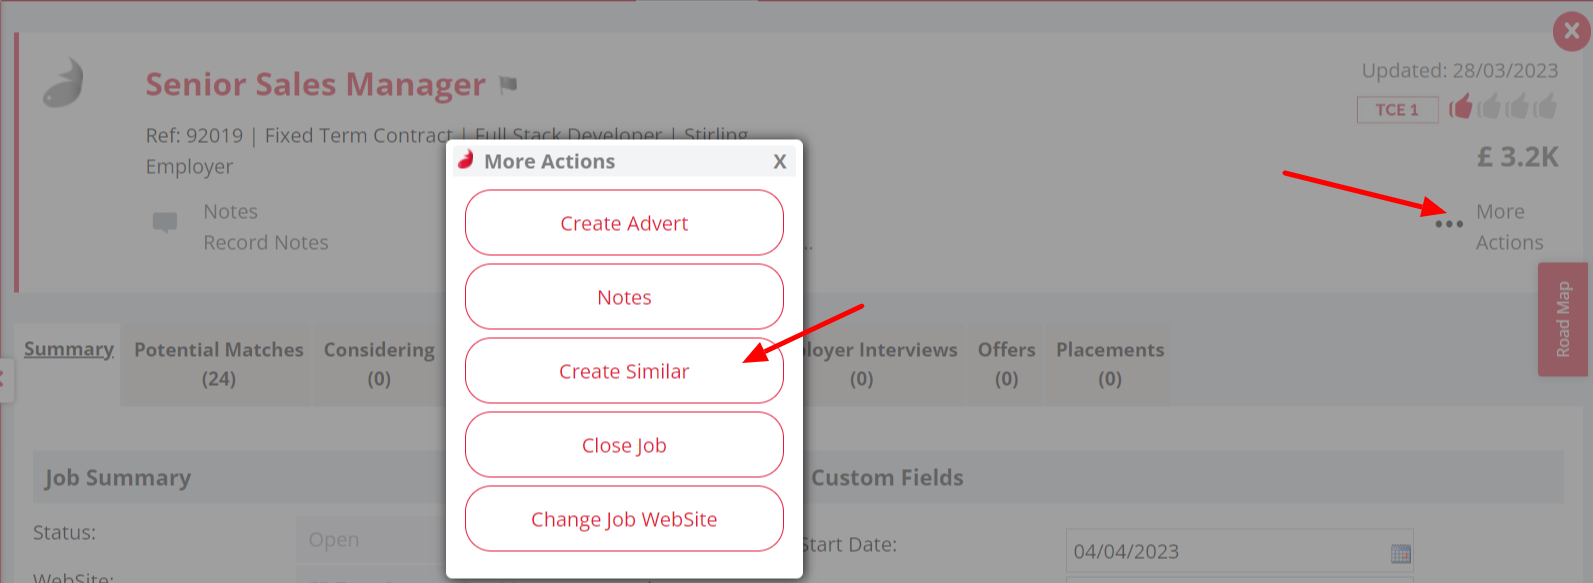
Worked on a similar job before? Save time by going to a previous job record then selecting More Actions > Create Similar to pull through the details, then update the company, contact, etc by following the steps below!
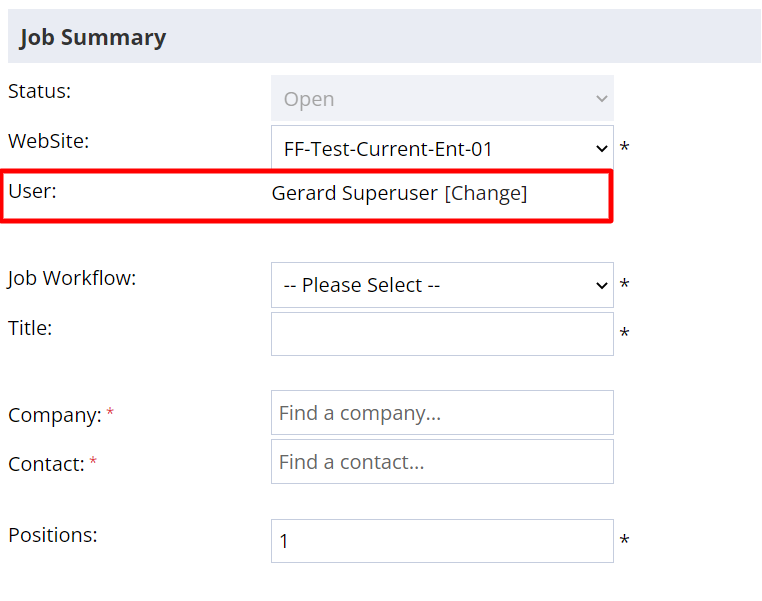
Job Summary
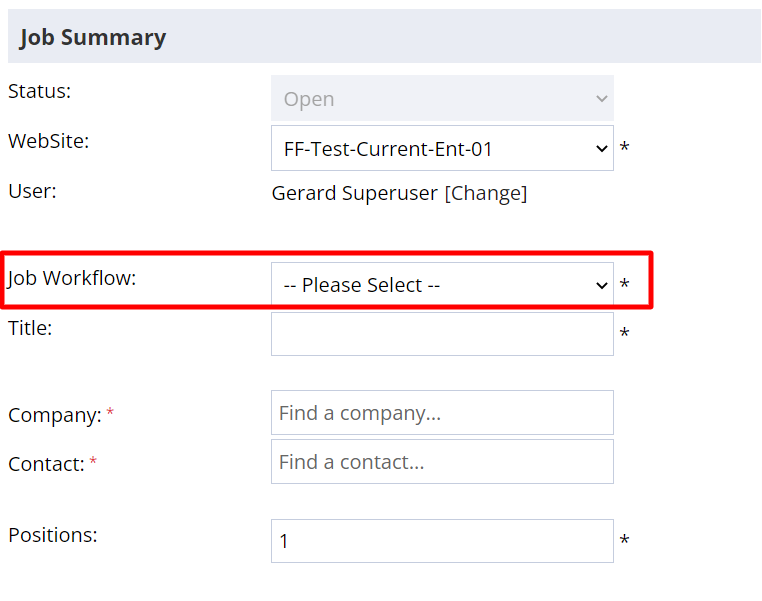
In the Job Summary section you can change the user who's responsible for the role. It will automatically default to your name, but if you're adding a job to Firefish for one of your colleagues just click Change and pick their name from the drop-down.
Next, select the Job Workflow for the role. This can be either Permanent or Contract (this may be renamed to Temp/Locum on your system). If either workflow is disabled then you'll only see one option: the option(s) available will depend on your systems Candidate Settings.
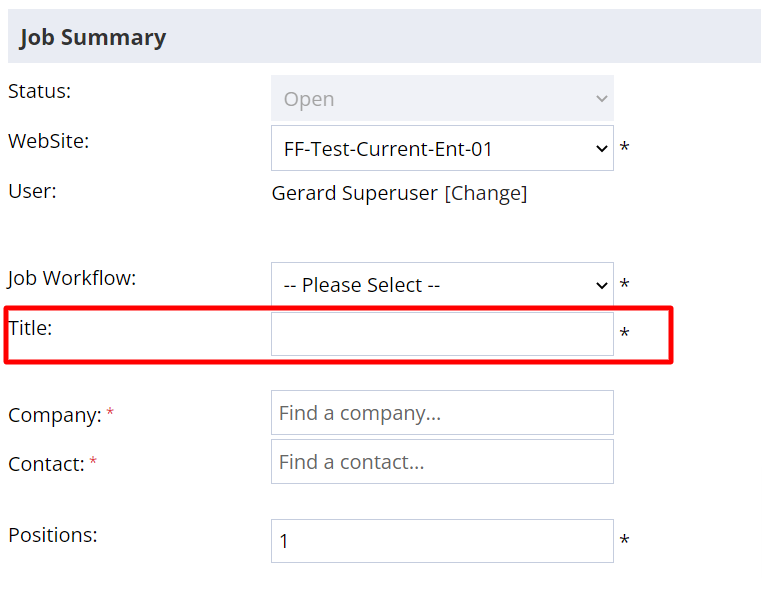
Now it's time to enter the Job Title:
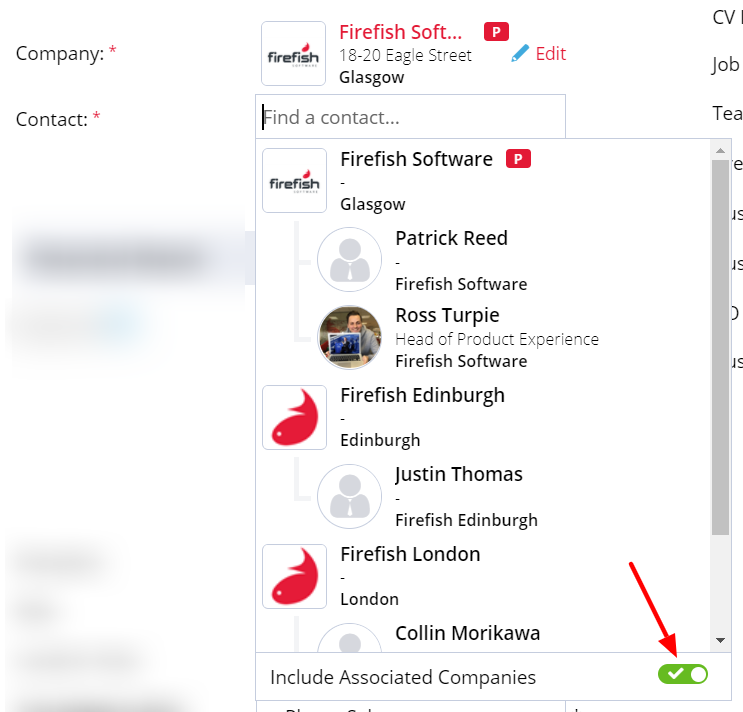
If you're creating your new job from the Actions button in the Contact record, the Company and Contact details will have auto-populated for you. You can change this information by clicking the Edit buttons next to the company and contact names:

Once you've clicked Edit, you'll have the option to select another contact from the company assigned to the job or you can tick 'Include Associated Companies' if the contact you want to assign to the job works at an associated company.
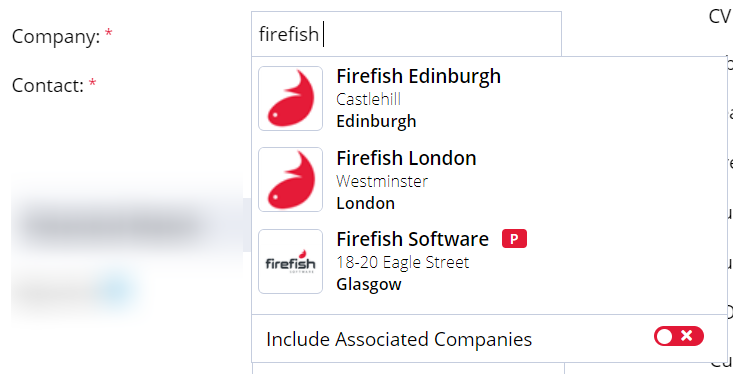
If you used the Jobs > New Job option from the menu, just start typing and Firefish will suggest matching companies on your database. You also have the option to 'Include Associated Companies' when assigning a company to the job:
Lastly, you can select the number of positions for the job.
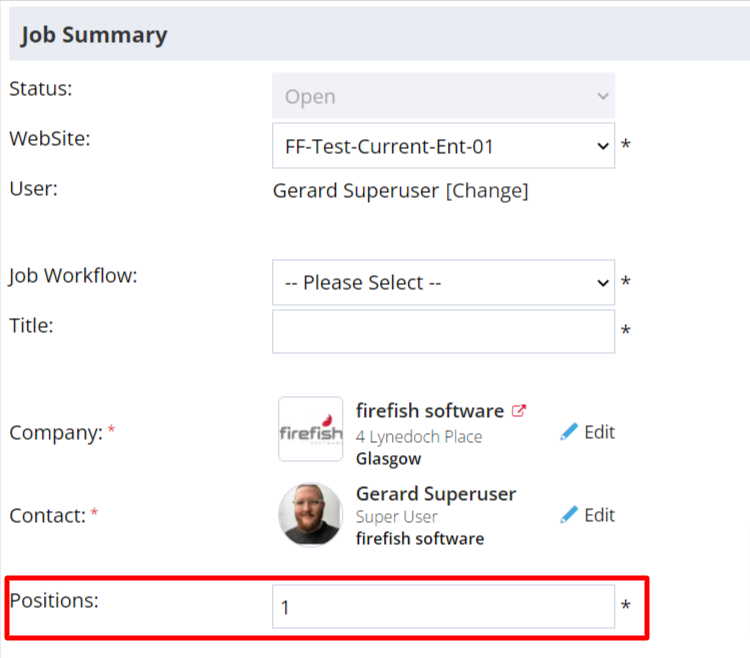
Jobs can be created with up to 100 positions.
Custom Fields
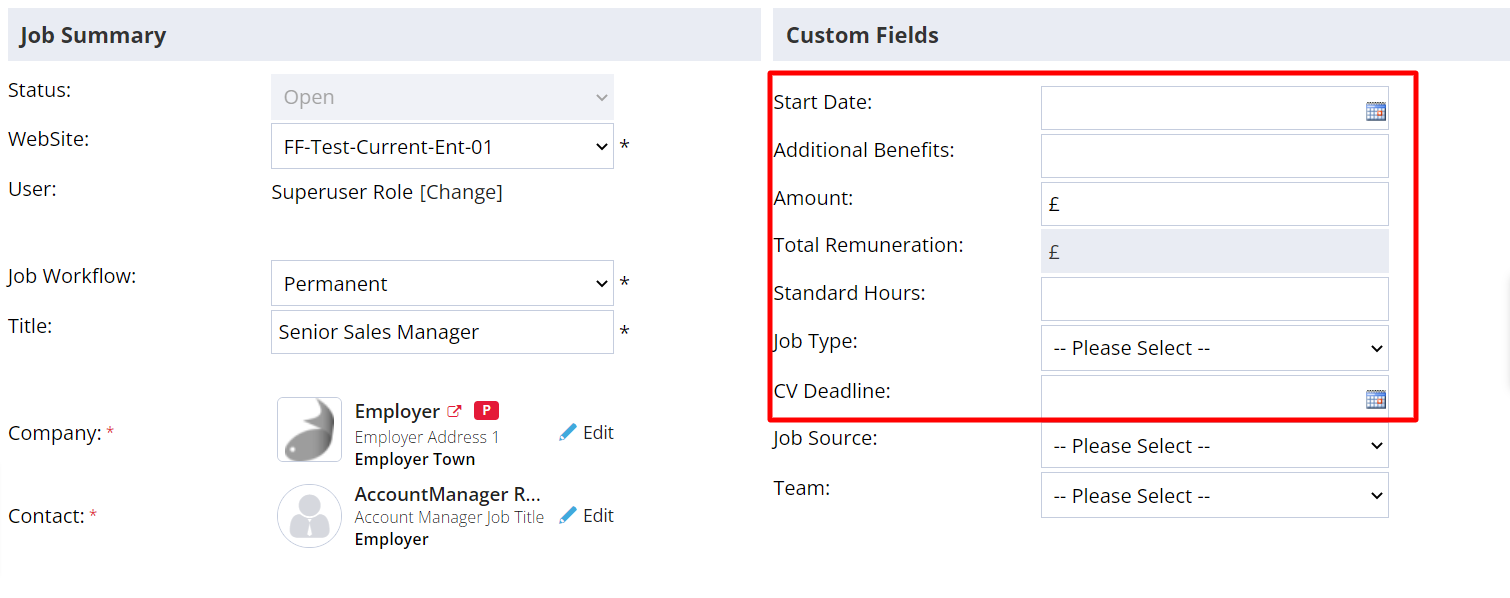
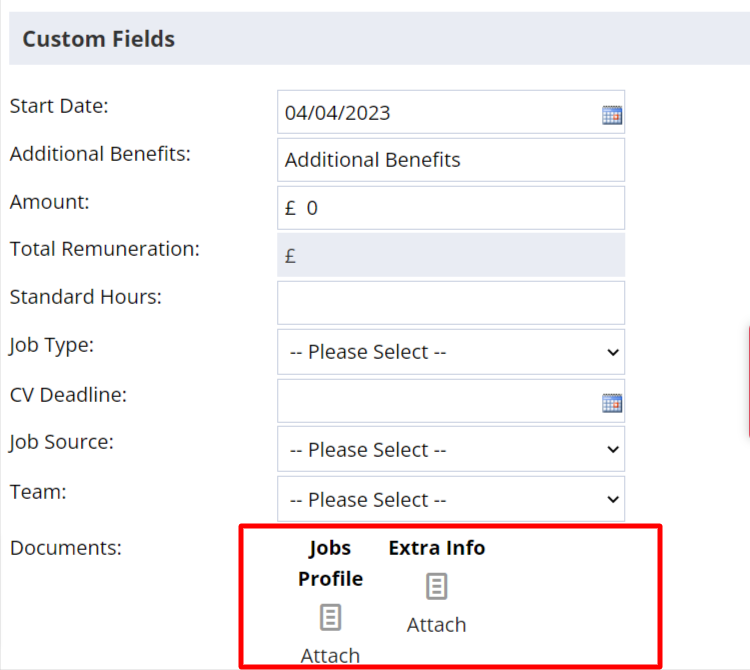
In the second column, you'll find Custom Fields. Here, you can enter the details of the start date for the role (if there is one); any additional benefits the position offers; the value of these benefits; the standard number of hours to be worked; the job type; and the deadline for CVs to be submitted to the hiring manager:
Job Type, CV Deadline, Job Source and Team can be enabled/disabled on both Contract and Permanent jobs.
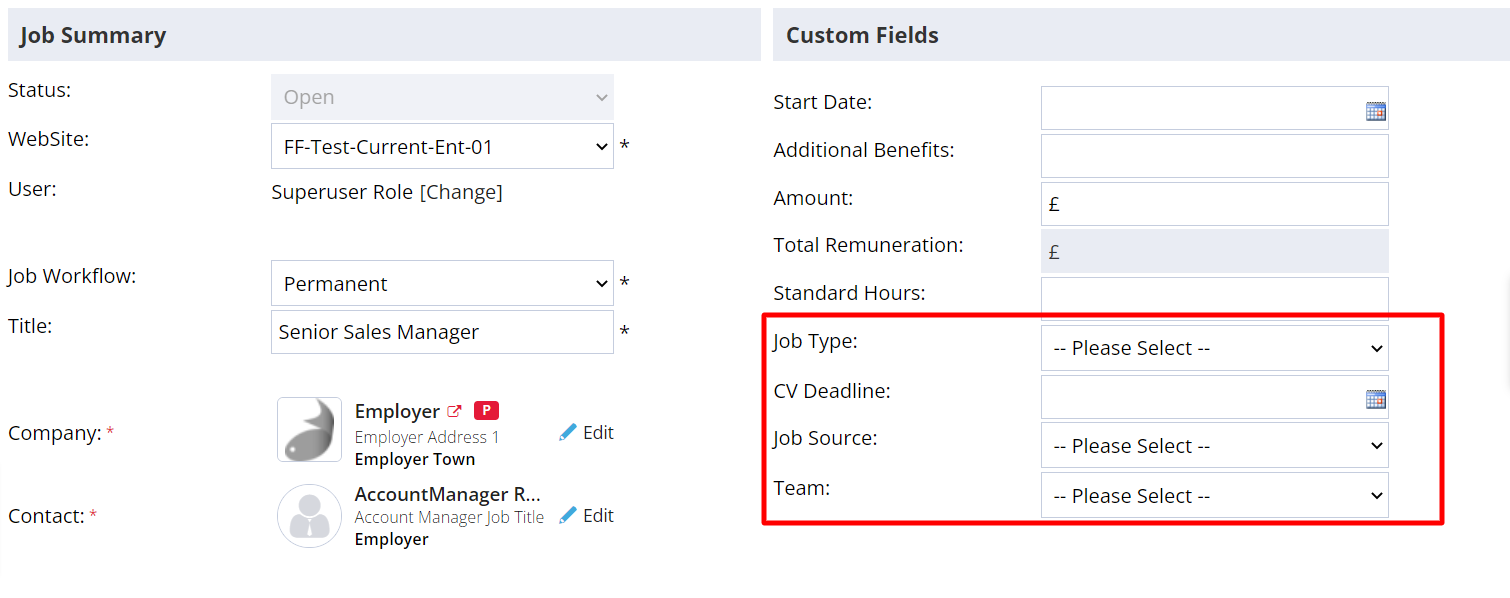
Super Users can also configure additional custom job fields to suit your business needs.
Potential Matches
When you create a job, Firefish will generate a list of candidates whose preferences match the requirements of the role. Not only that, they'll be rated and ranked so that you have a clear view of the best candidates on your database for the job.
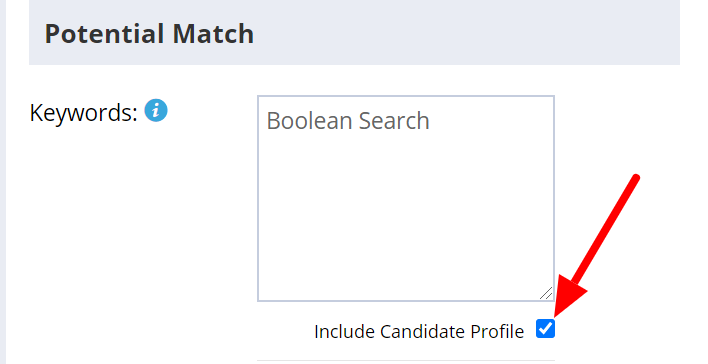
The potential matches list is generated based on how closely a candidate's preferences match the preferences and keywords entered here:
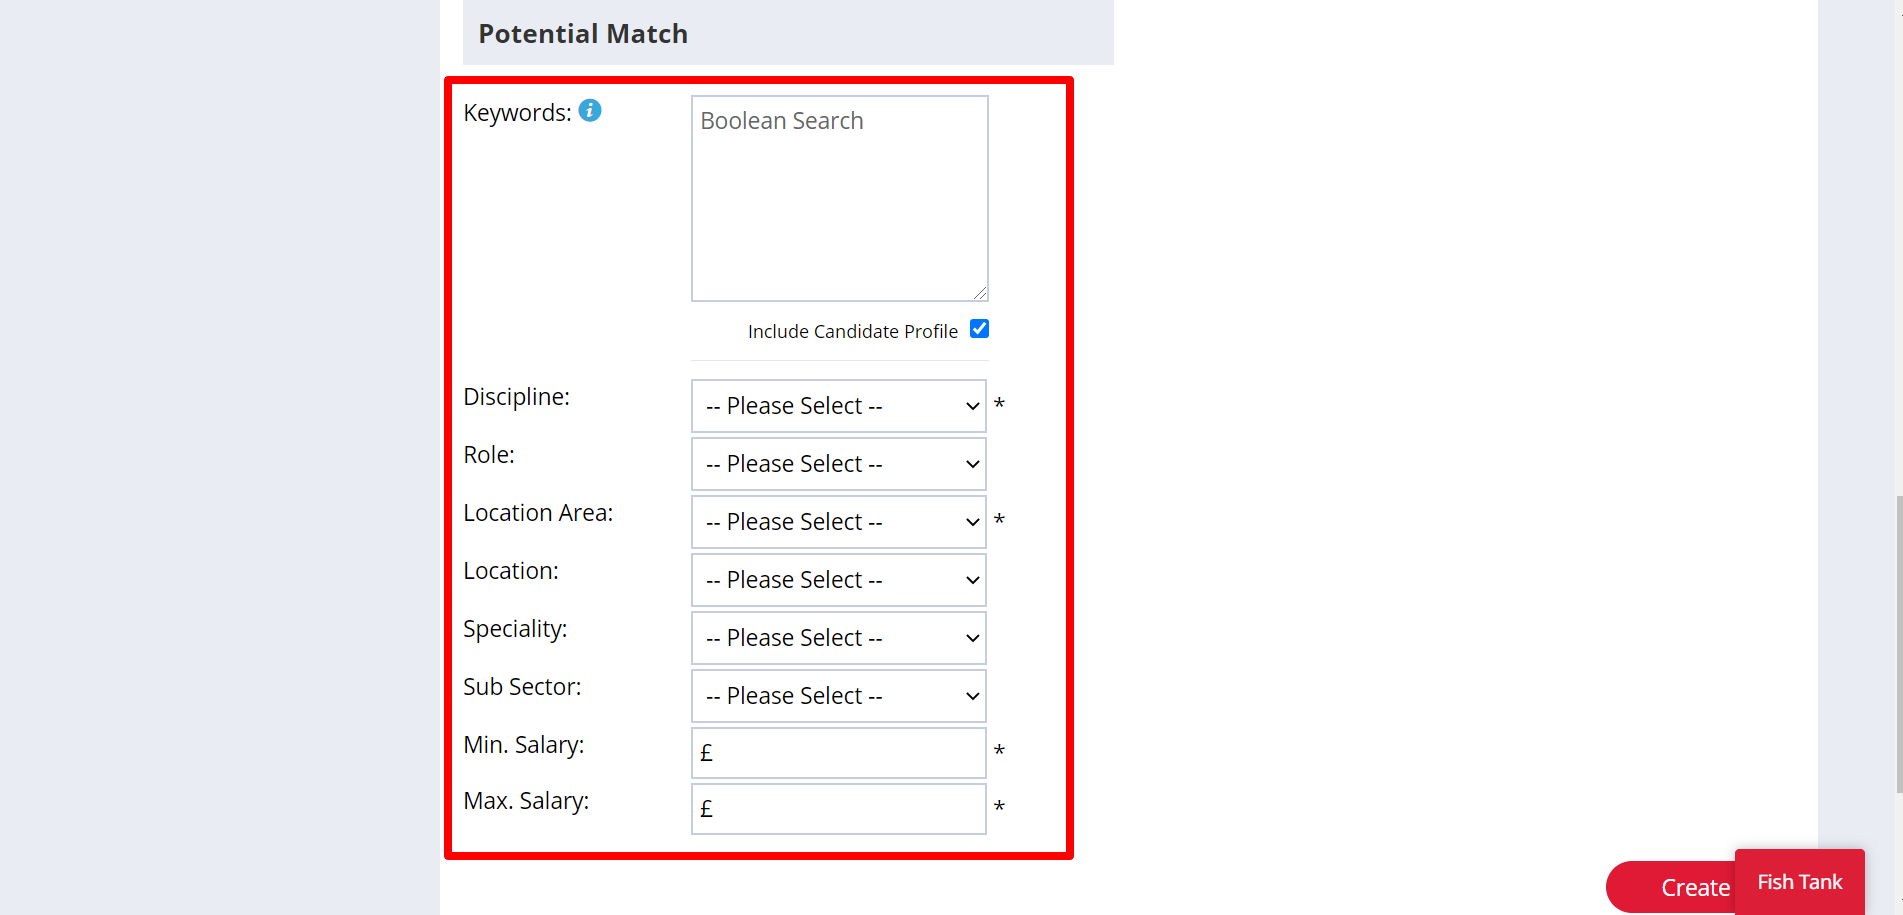
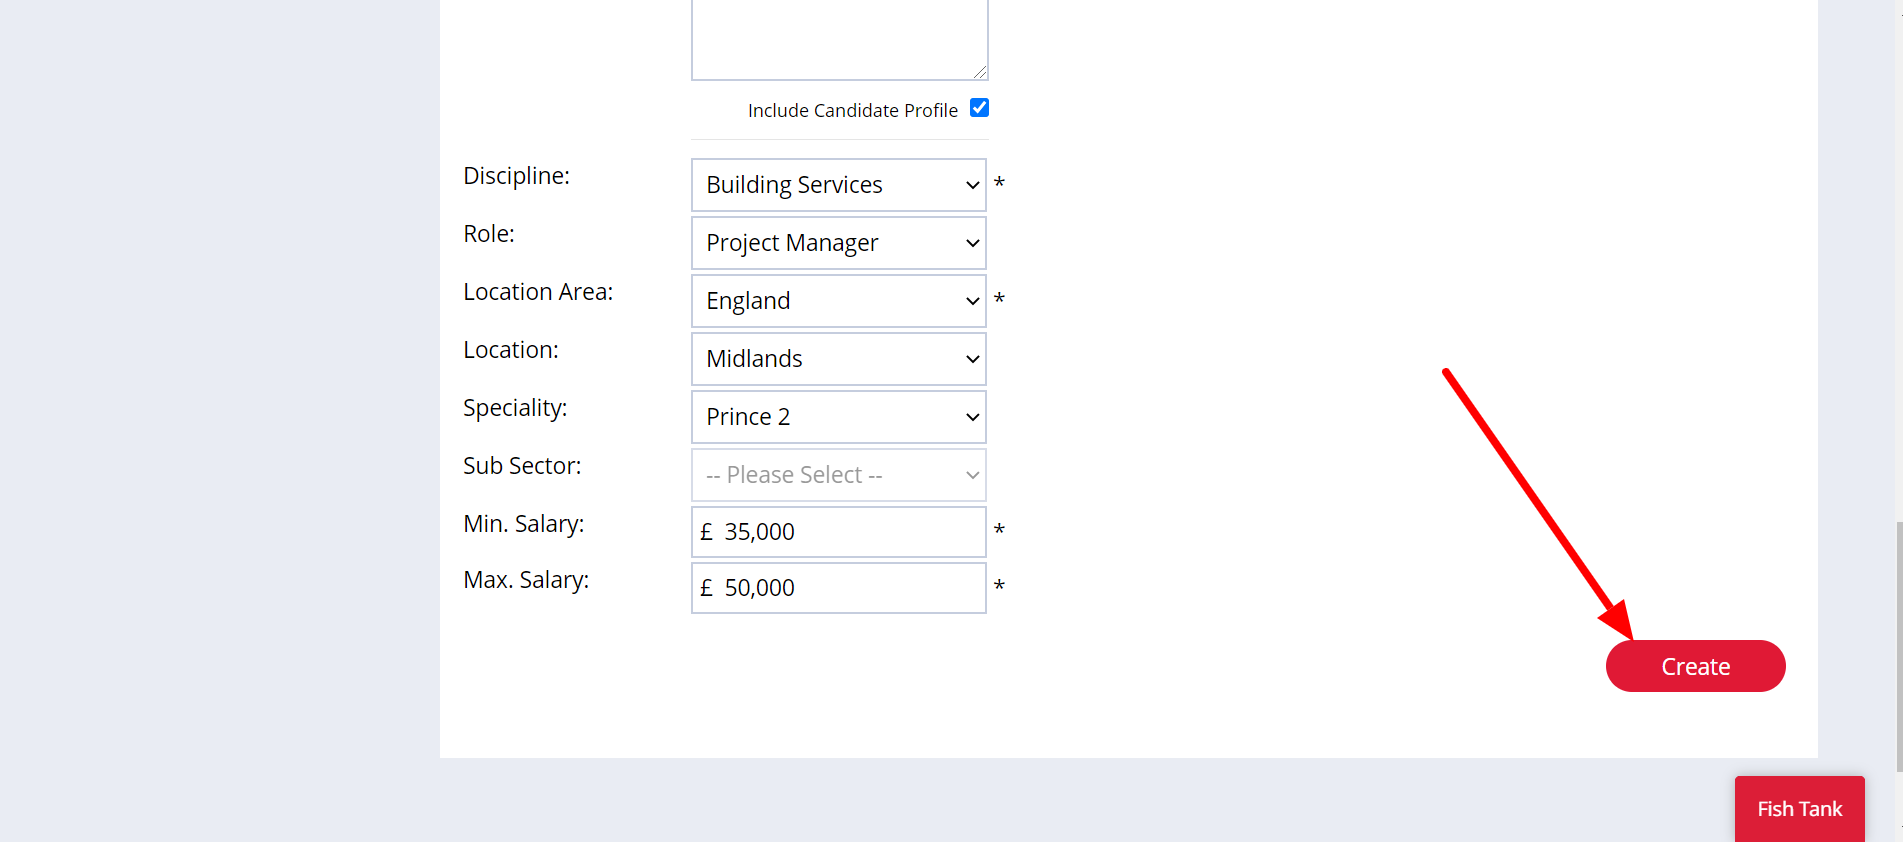
You can choose to Score and/or Filter candidates based on Salary/Rate, Discipline, Role, Location and/or Speciality. By default, Firefish will score on these elements but Super Users can adjust these to suit your business within Potential Match settings. Some of the fields in our screenshot are marked with a * - this means that our Super User has stipulated that these fields are mandatory in the Potential Match settings.
You can also use the Keywords search field to include terms from a candidate's most recently uploaded CV and their profile. If you want to search the candidate's CV only, just un-tick the Include Candidate Profile box. Don't forget you can use your Boolean search terms here!
Now that we've entered all the details of the job, it's time to hit that Create button at the bottom right of the screen!
Job Profile and Terms of Business
Your job has been created, and you now have the option to attach some documents relevant to the role.
If there is a document in the Terms tab of the company record, this will automatically pull through to the job. What's more, it will automatically attach to your emails when you send CVs to a hiring manager.
If you don't want the document to attach to your emails you can turn this feature off by going to Settings>Job Configuration.
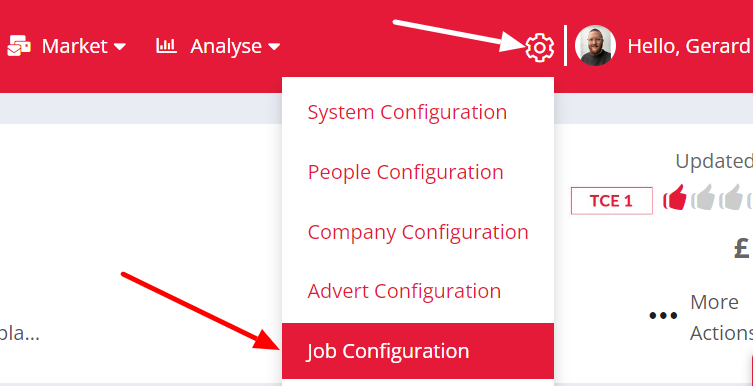
Then, un-tick the Terms box in the Documents Attached (CV Send) section and hit Save in the bottom-right corner of the page.

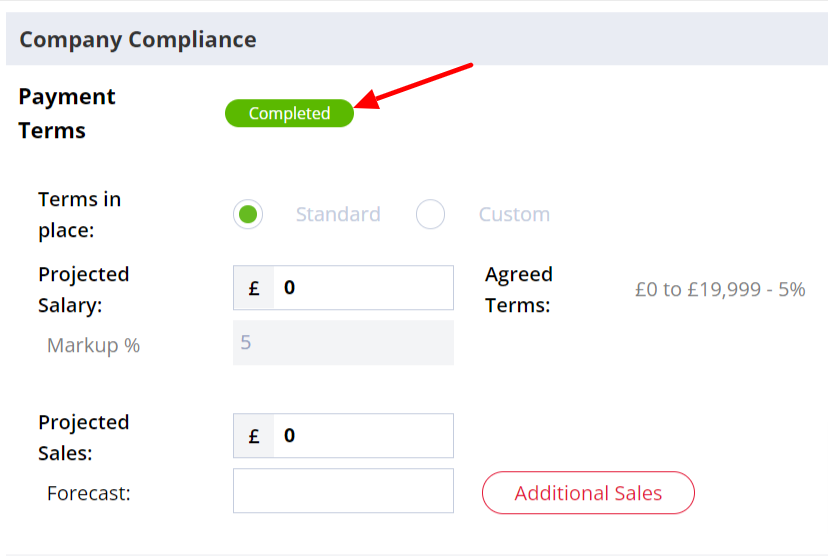
If you don't have any terms in place on the company record, then there won't be any on the job record. You can give the compliance icon a click to upload them from your computer.
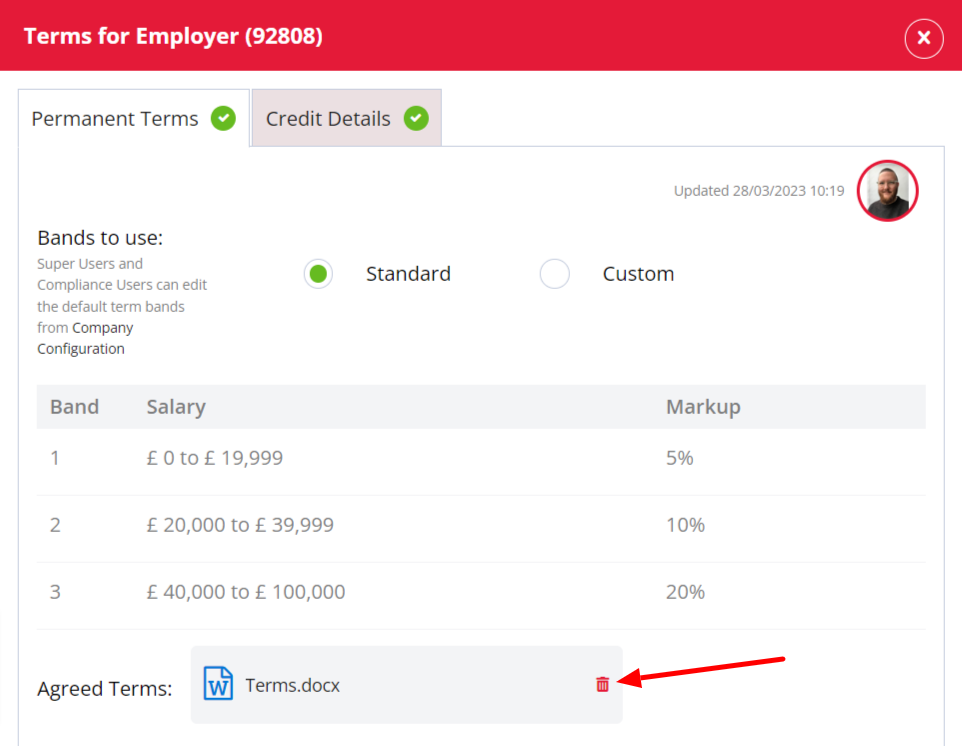
You may have different terms in place for a particular role, so to change these just click the Payment Terms status icon and remove the document, then click on the icon to add your new terms from your computer. This won't delete the original terms from the company record - just from this job:
On the job Summary, the Extra Info field is an area for you to upload a document which holds any information you may want to refer to during the hiring process. This doesn't auto-attach anywhere - it's just for your reference.
By attaching the Job Profile to the Summary page, it will automatically attach to your candidate emails when you arrange interviews, ensuring that they have clarity of the role increasing their chances of interview success:
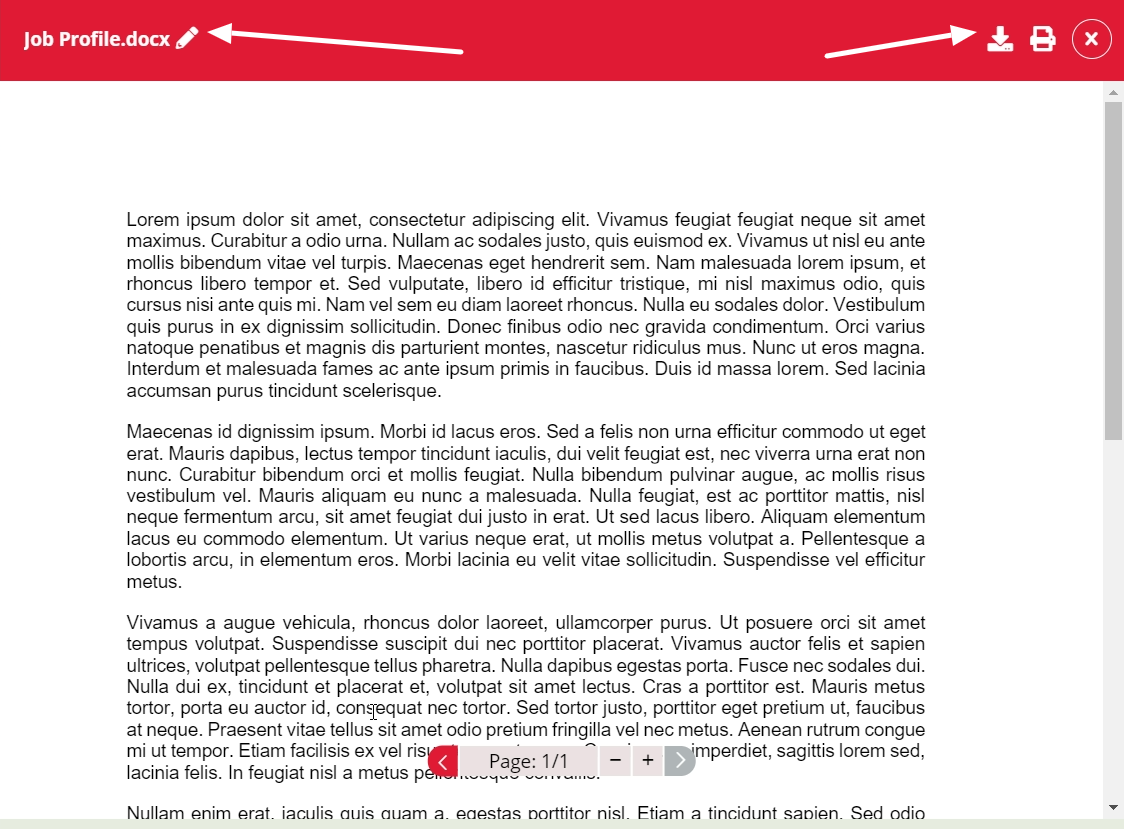
Once they have been added, you can click on any of the documents to open the document preview side panel. From here you are able to download, print and even rename the documents