Record all the information and documentation for each candidate, manage communication and perform other actions
![]()
Getting Started
Candidate Records are made of up several tabs which store all of a candidate's information in one place.
From the Candidate Record, you can view all data in the system held for that candidate, update their details and perform tasks relating to that candidate.

Below, you'll find information on each section of the Candidate Record and how to use it.
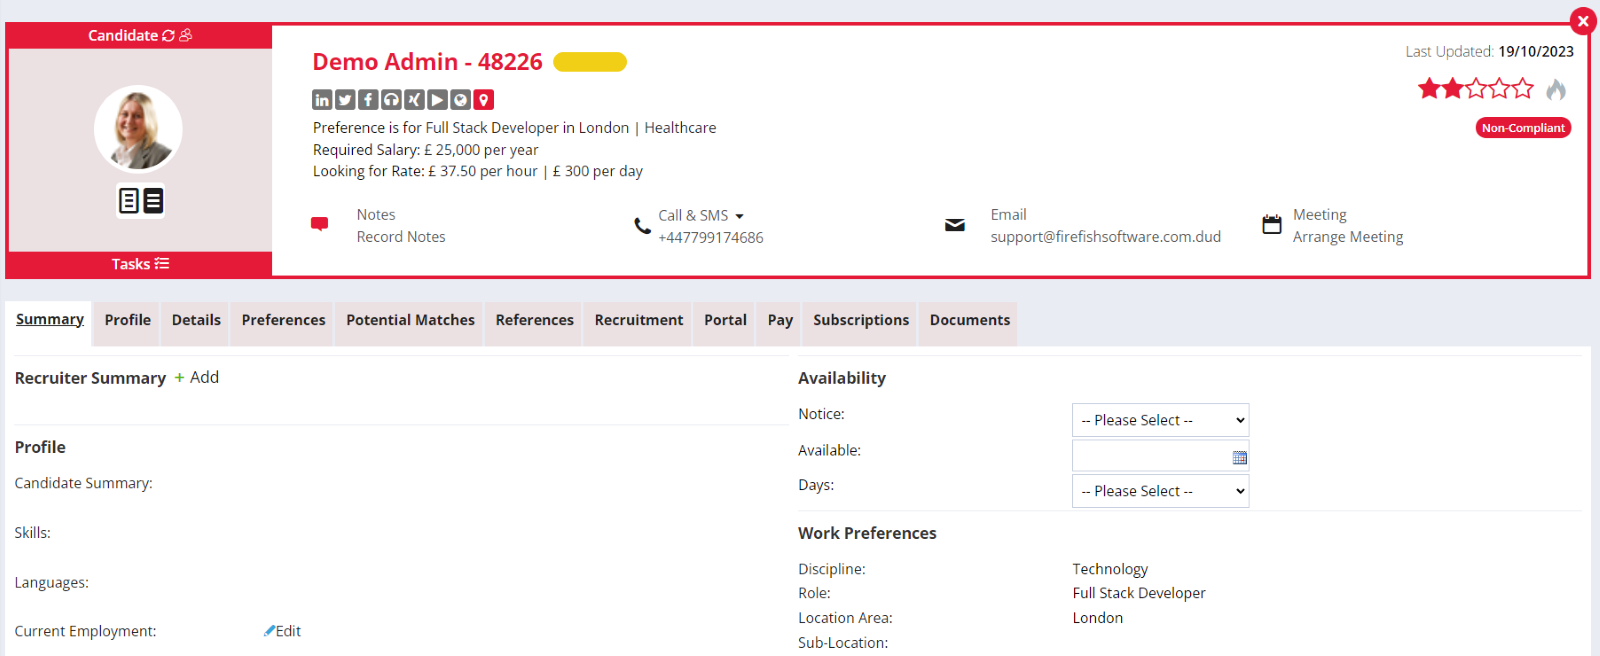
Header
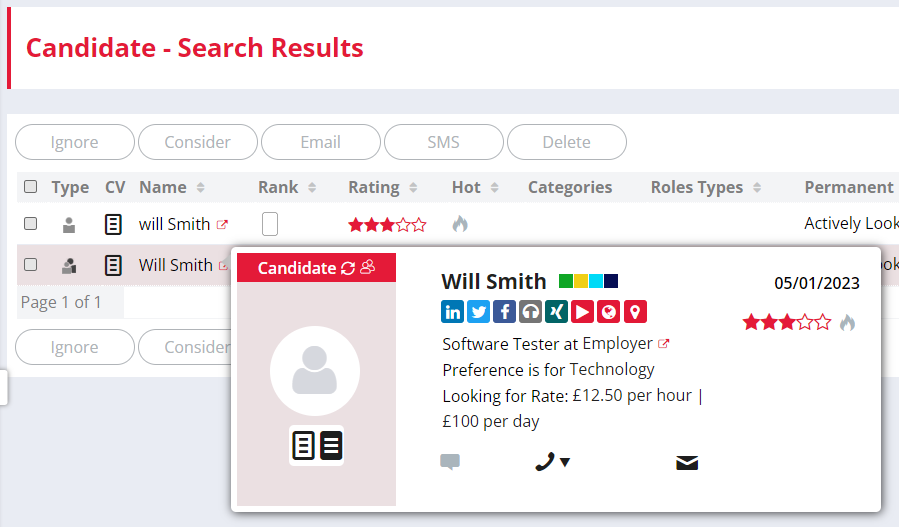
In the header section of the candidate record, you'll find the candidate's contact information, social, job preferences and compliance status. This gives you quick access to important candidate information, and the header will also appear as a pop-up when you hover over a candidate's name anywhere in Firefish.
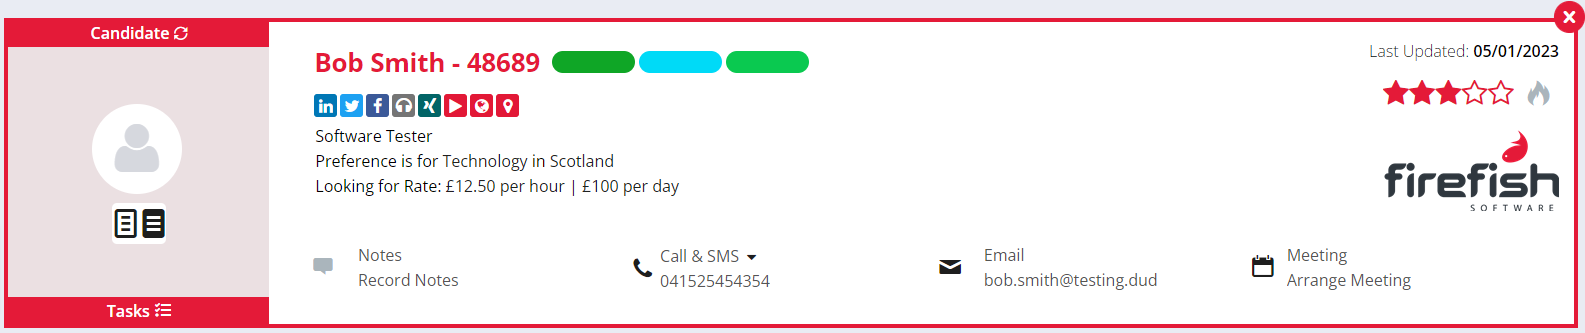
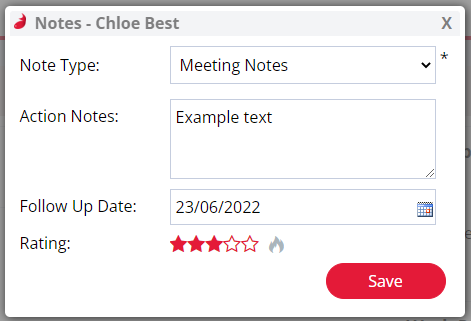
Within the header, you can click to preview a CV or formatted CV, record a quick note, link to their social networks, record a change in star rating or set the candidate as 'hot' (by clicking the flame icon).
You can also perform tasks such as merging candidates, send CV on spec, consider to a job, suggest to another recruiter, and delete or archive the candidate.
Any changes will automatically be saved against the candidate record and will be visible in their action history.
If a candidate is "Awaiting Compliance" or "Non Compliant", you can also click this icon to go straight to the Subscriptions tab where you can request the candidates agreement.
Summary & Recent Activity
The Summary tab on the Candidate Record will show you a general overview of the candidate's personal and recruitment details:
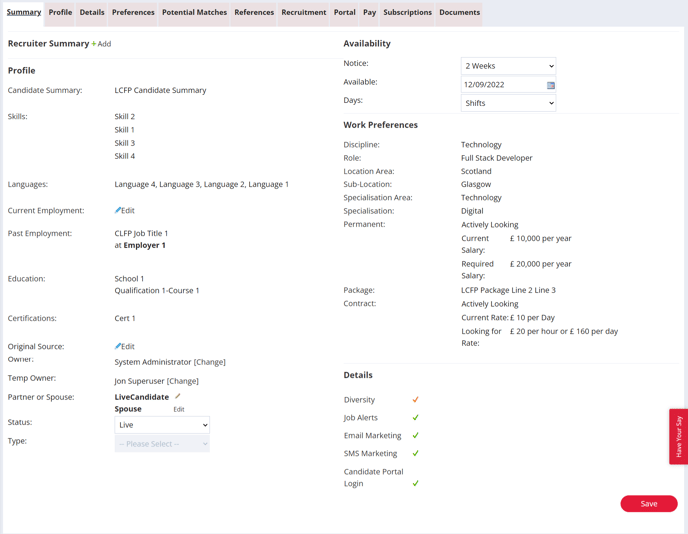
From there, you can view the candidate's profile details, their availability, work preferences and any other details that are listed for them.
You can also view the recent actions taken against the candidate. For example, any contact made with the candidate, their job or advert actions, notes and meetings and as well as any changes to the candidate's marketing preferences or compliance status.
You will also be able to add or edit the Recruiter Summary field. This is where you can add a summary of the candidate's experience, skills and achievements, which is visible only to Users.
Candidate Actions are also listed at the bottom of the Summary Tab under the Recent Activity section. There, you will see all of the actions and communication recorded for the candidate.
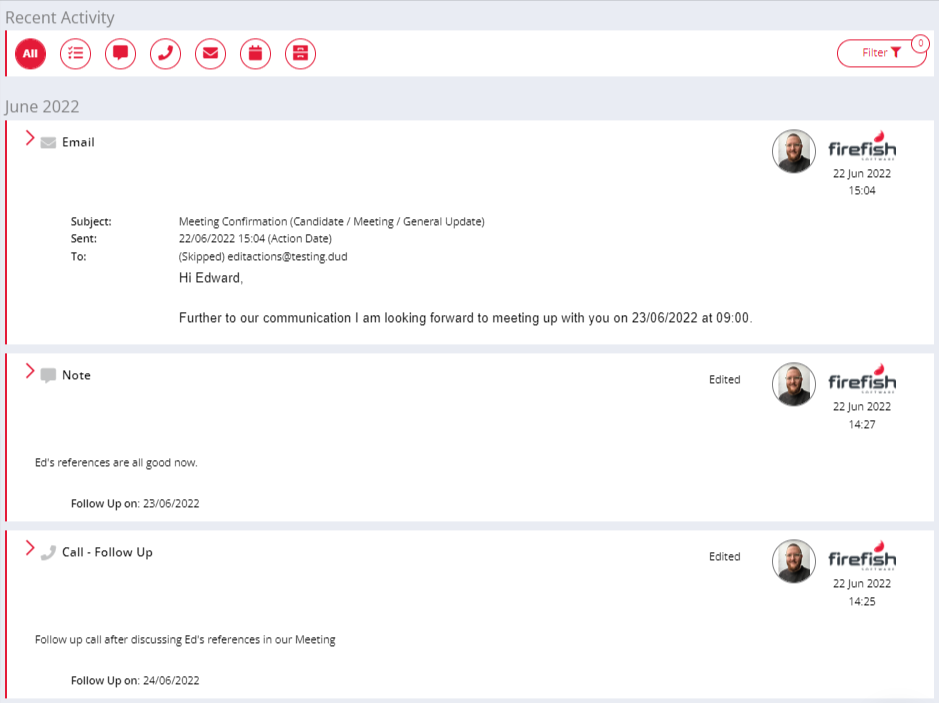
The actions are ordered chronologically by date, with the most recent action appearing at the top. By default, the Recent Activity will display the 5 most recent actions, but you can scroll to the bottom of the page and the next 5 actions will load automatically.
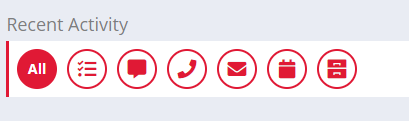
Using the icons on the right hand side, you can quickly filter Recent Activity and display by action type: All, Task, Note, Call & SMS, Email, Meeting and Recruitment:
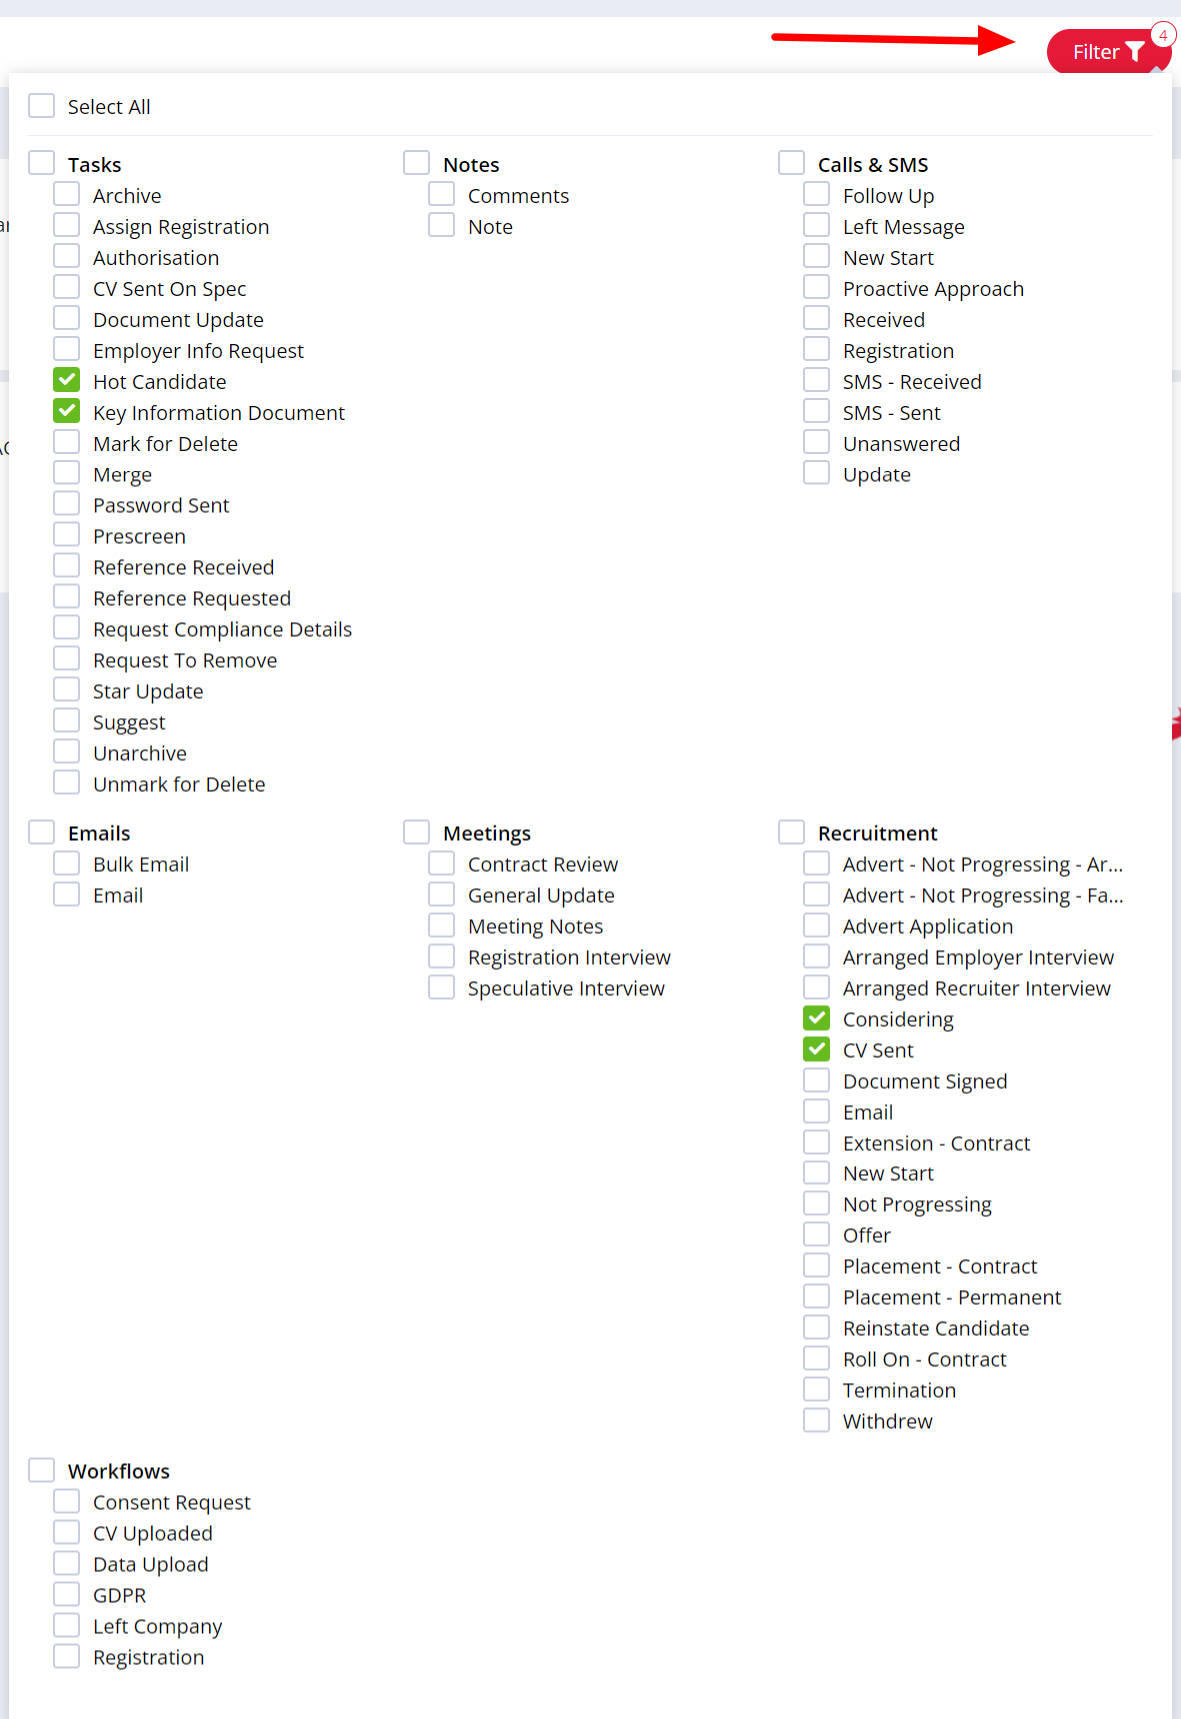
Click the filter button to select individual action types. This will allow you to view the full history of a specific or customised selection of actions:
Actions which display a red Bin icon when you hover your cursor over them can be deleted. Simply click the Bin and confirm you would like to delete them.
These include actions relating to Notes, Calls, Meetings and certain Emails.
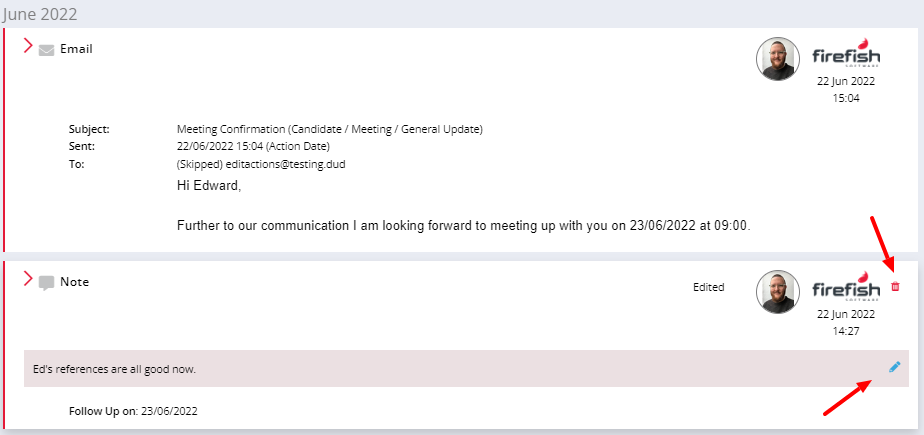
Actions which display a blue Pencil icon when you hover your cursor over them can be edited. Simply click the Pencil, edit the item as needed and Save.
Actions which can be edited are Notes, Calls and Meetings.
Recruiter Summary
The Suggest functionality in the recruiter summary uses Artificial Intelligence to generate a summary of the candidate, based on information from their parsed CV and preferred discipline or role.
How to use:
Navigate to the candidate you want to generate a recruiter summary for and ensure they have a parsed CV (dark grey icon ) and a preferred Role or Discipline
Select  next to Recruiter Summary to access the Suggest function then select
  to generate the summary:
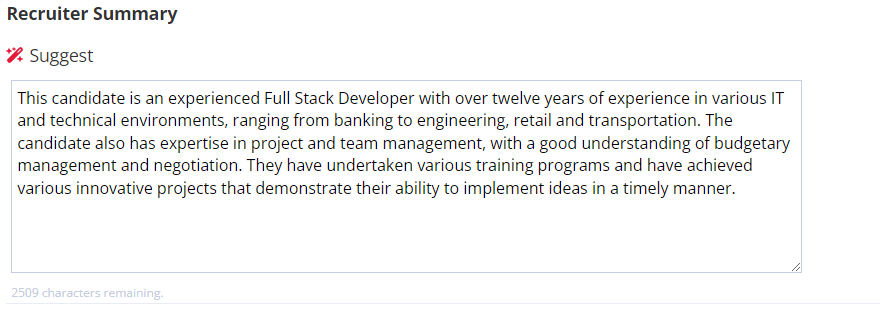
This will generate a summary of the candidate and their suitability for the preferred discipline/role based on the information included in the CV.
Requirements:
The candidate will need to have a CV that has been successfully parsed and is over 200 words.
Please note that if the CV is missing (grey icon  ), has not been processed (amber icon
  ) or is under 200 words (blue icon
  ), the Suggest icon will be greyed out.
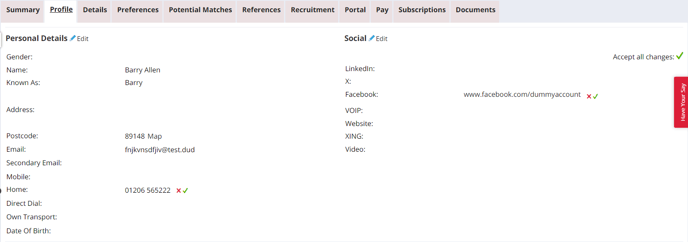
Profile Tab
The candidate's contact details are stored in the Personal Details & Social sections. The Firefish CV parser will automatically extract information (e.g. UK mobile and home phone numbers, UK postcode, email address, LinkedIn, X, and Facebook details).
You can either accept or reject the new information by using the green tick and red cross icons. You can also choose to Accept all changes at the top-right.
You’ll know when the CV parser has finished processing the CV, because the CV icon in the header will change from amber to dark grey. A light grey icon means the document hasn’t been uploaded yet.
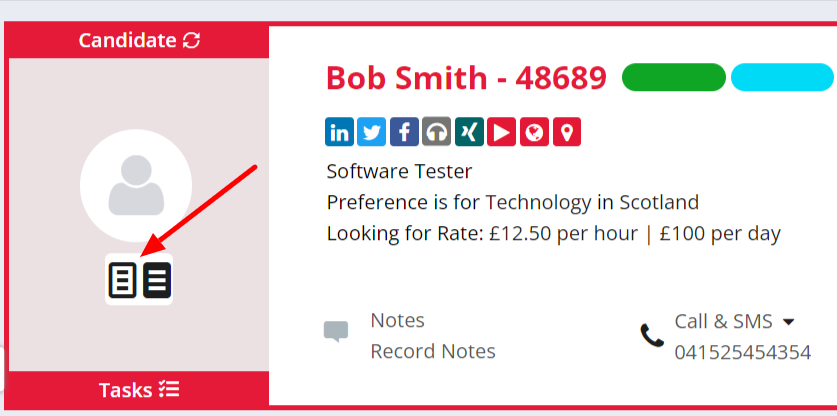
If the CV icon is blue, that's our way of letting you know that the CV contains less than 200 words. A blue CV icon means it's unlikely you've uploaded a full CV, but we'll still parse any relevant data.
You can Add or Edit more information on the Profile tab at any time by clicking on icons to the right of each of section.
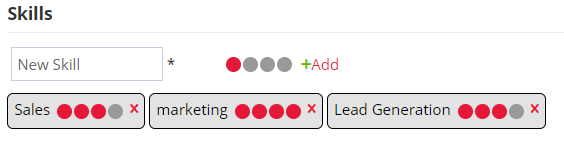
On the Profile tab, you can add Candidate Skills to a record. These allow you to free type new skills or select existing skills to code your candidates with. These are fully searchable and are a great way to add more information to the candidate record.
You can also add in how proficient the candidate is at the skill using the red circles.
Details Tab
On the details tab, fields that are bespoke to your database are displayed and can be updated. These can be used for data you need to hold on candidates, such as industry-specific certifications or licenses.
The details will all display and give users the ability to populate with a date, text, dropdown or document.
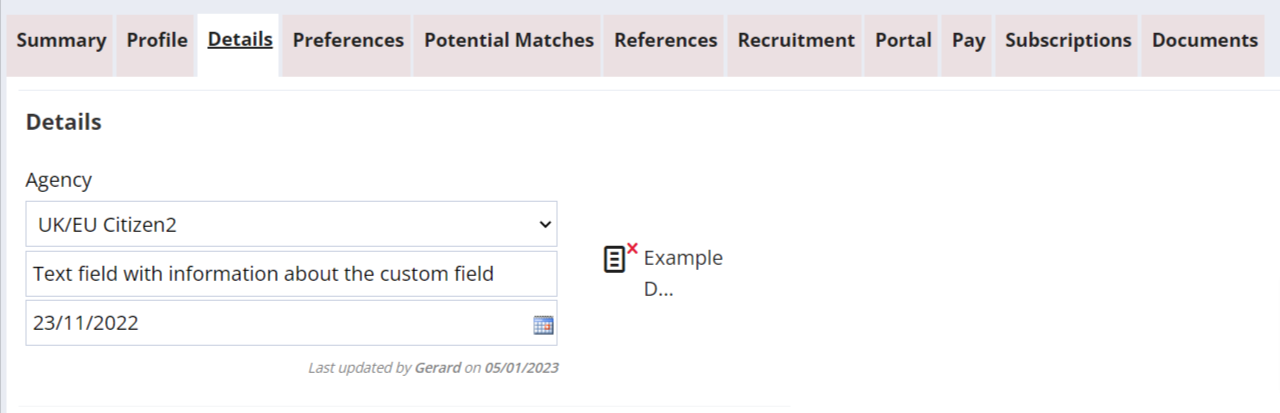
Uploaded documents that are a supported file type (doc, docx, rtf, pdf, tif) can be previewed by clicking the document to open the preview side panel.
From here you can easily download, print and even rename the document
Candidates are also able to update the details tab in their candidate portal; they will also be able to preview documents that they have uploaded as details.
Super Users can contact support to set up compliance details.
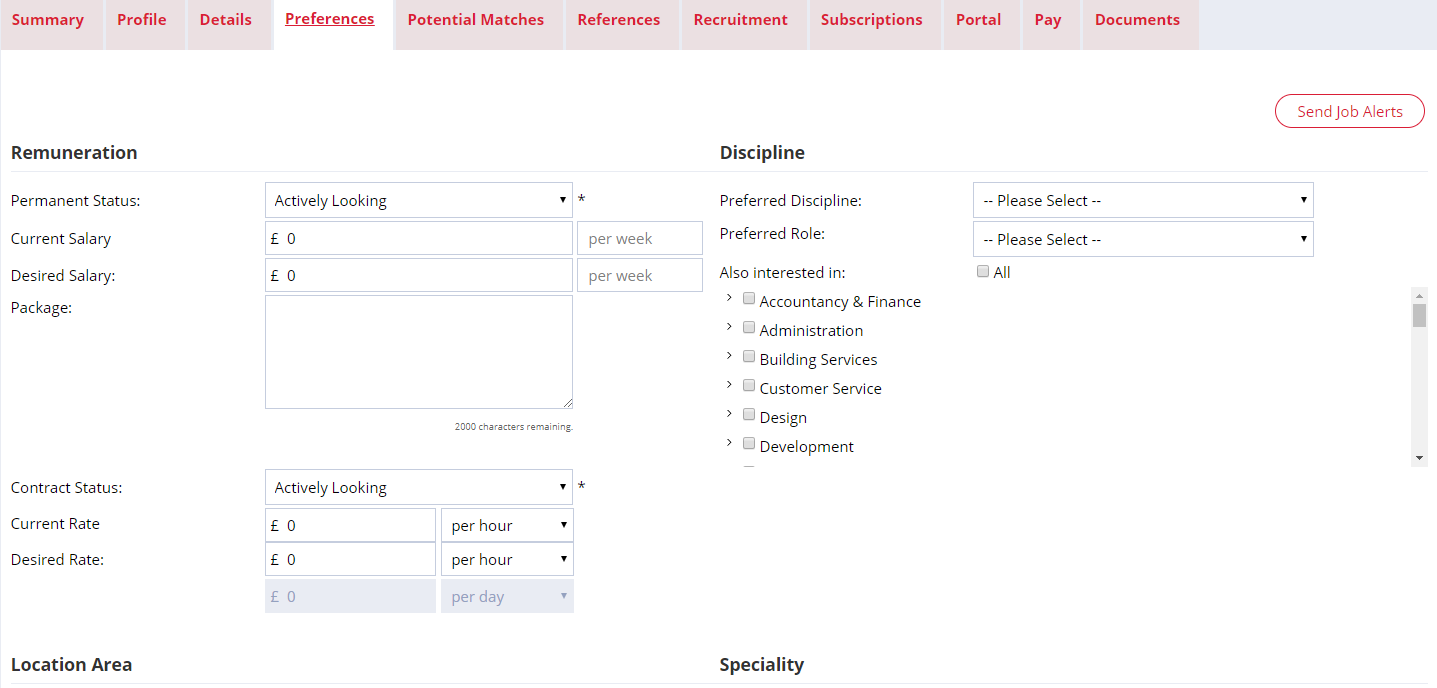
Preferences Tab
The information in the Preferences tab will determine which Potential Match lists the candidate appears on. This section of the record can be updated either by the candidate (if you have the Candidate Portal) or by the system user.
You can also set up a job alert for a candidate according to their preferences.
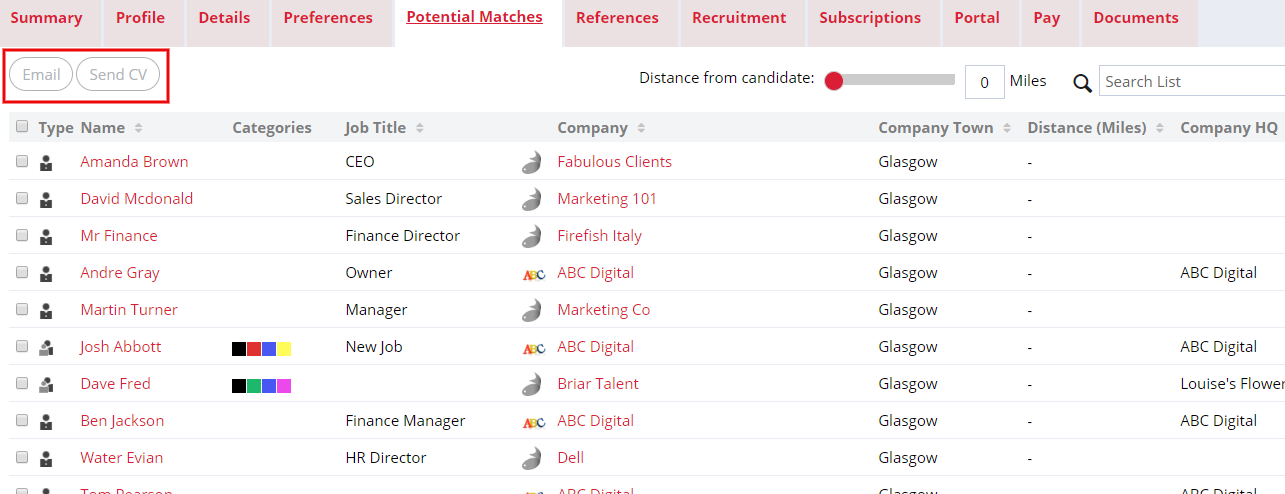
Potential Matches Tab
The Potential Matches tab will allow you to see contacts with hiring preferences that match the candidate's primary discipline/role, location and specialisation. From here, you can email or send the candidate's CV to the contacts returned in the list.
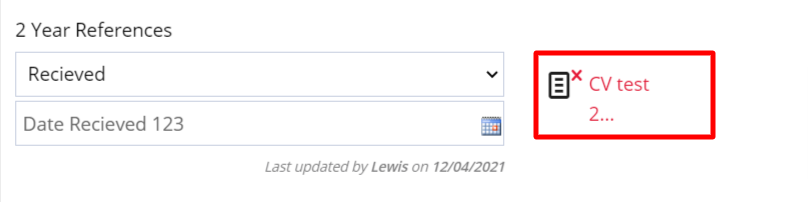
References Tab
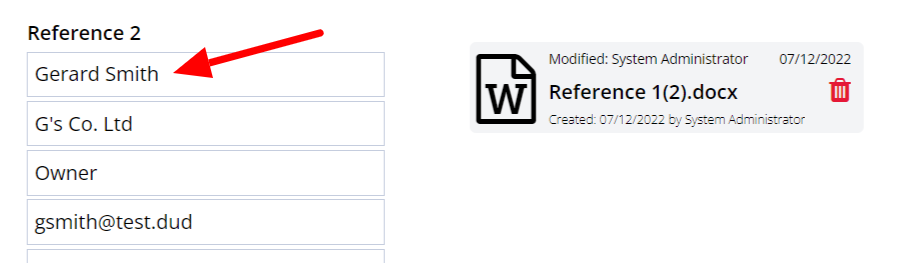
In the Reference tab, you can store candidate reference information as referee details or as documents. Documents can also be previewed, downloaded, printed and renamed by clicking the document icon.
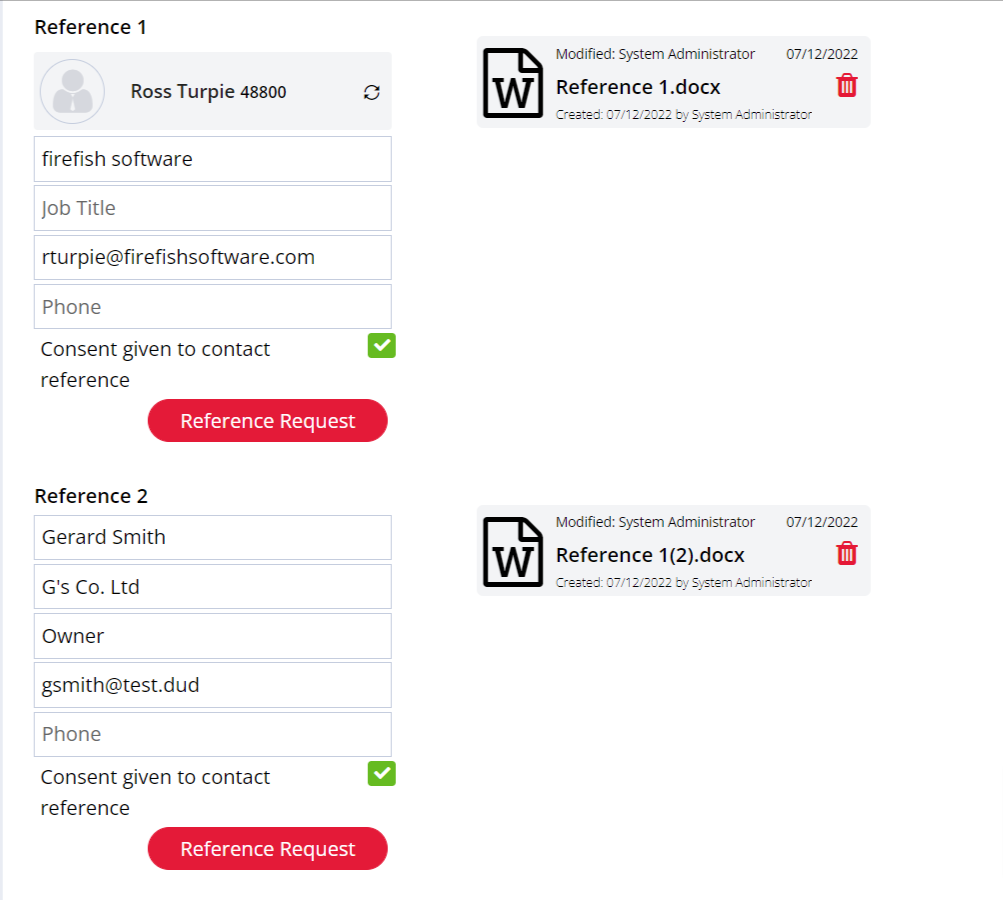
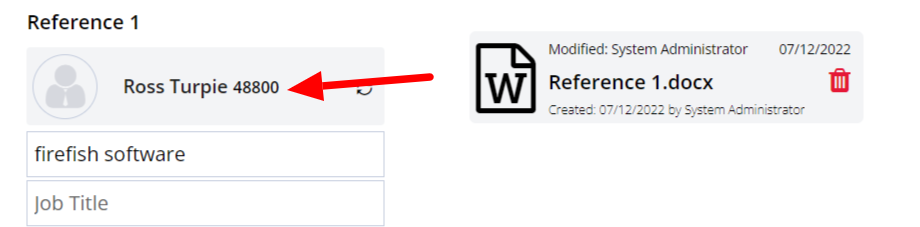
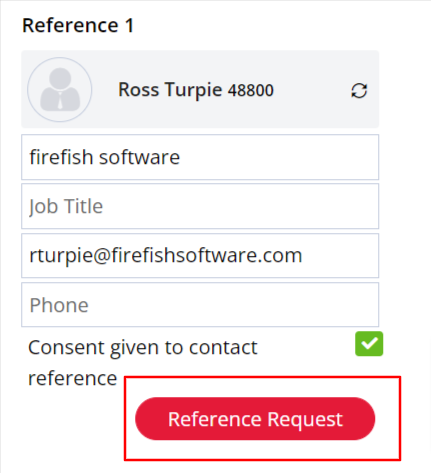
In this example, Reference 1 (Ross Turpie) was an existing contact on the system, so his name is also a hyperlink which would take you to his Contact page when you click it.
However, Reference 2 (Gerard Smith) is not on the system as a Contact, so his name does not show as a hyperlink.
When requesting a reference, you can use the Reference Request button to send the referee an email. This button is disabled until the 'Consent given to contact' tick box has been ticked.
When requesting a reference, a Reference Requested action will be created in the candidate's Recent Activity:

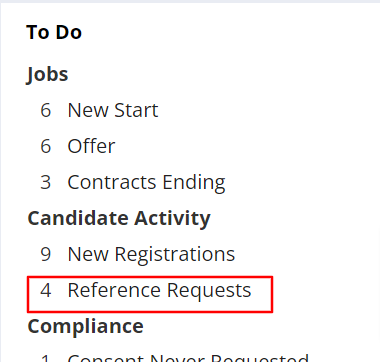
You'll also see an item has been added to your Reference Requested To Do List on your Dashboard:
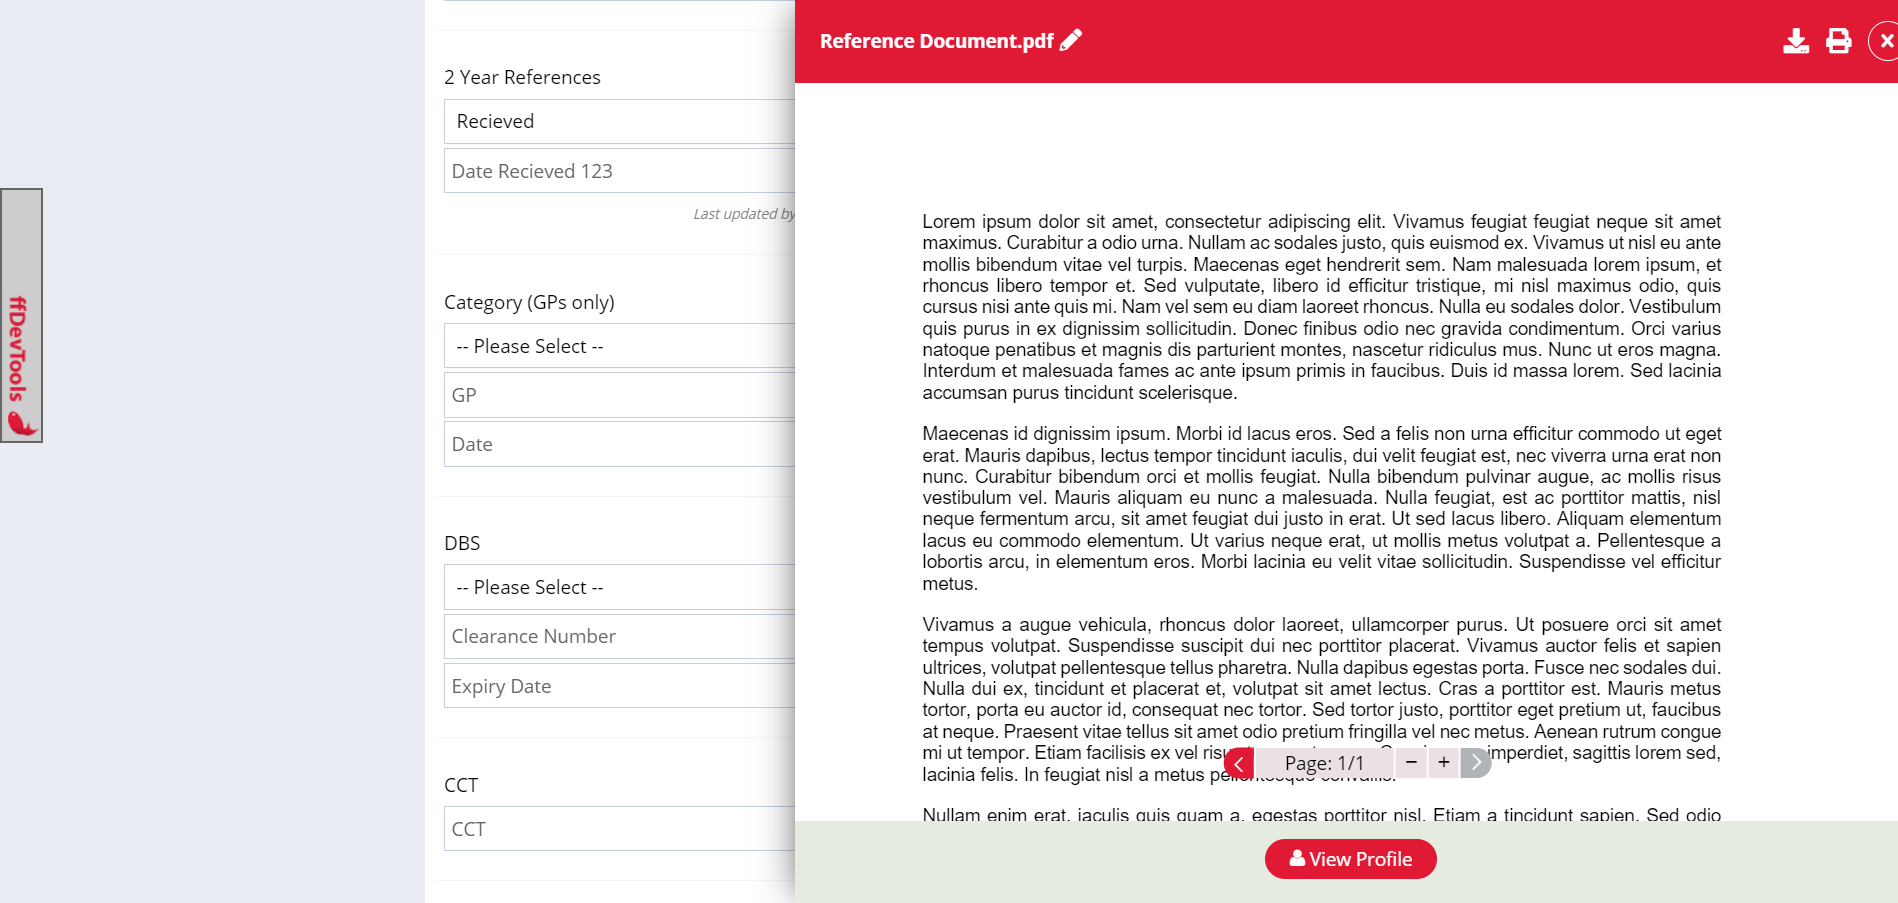
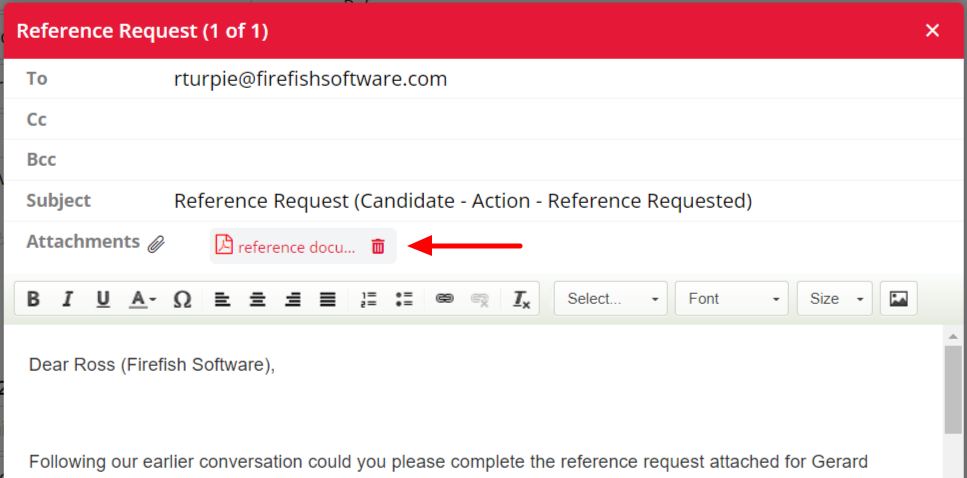
If you have uploaded a Reference Document to your System Document Library you'll see it automatically attached to the Reference Request email. Clicking the document will allow you to preview it before sending.
You'll also see a Reference Received action has been created in the candidate's Recent Activity. If you have information populated in the reference fields before you upload the document, then this information will appear in the action. If you haven't filled them out before the document is uploaded, the action is still created but it wont contain the reference information:

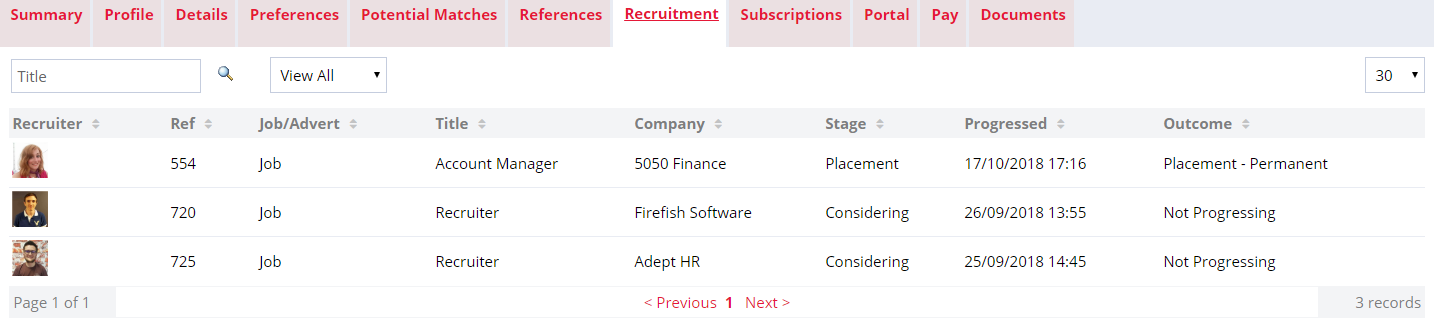
Recruitment Tab
The Recruitment tab displays a list of jobs that the candidate has been considered for and the furthest stage that they reached with each job.
Portal Tab (Professional & Enterprise users only)
In the Portal tab, you can see if the candidate is actively using the Candidate Portal.
If the candidate does not have an existing Candidate Portal login you can create one by selecting the appropriate website and clicking the Create Login button.
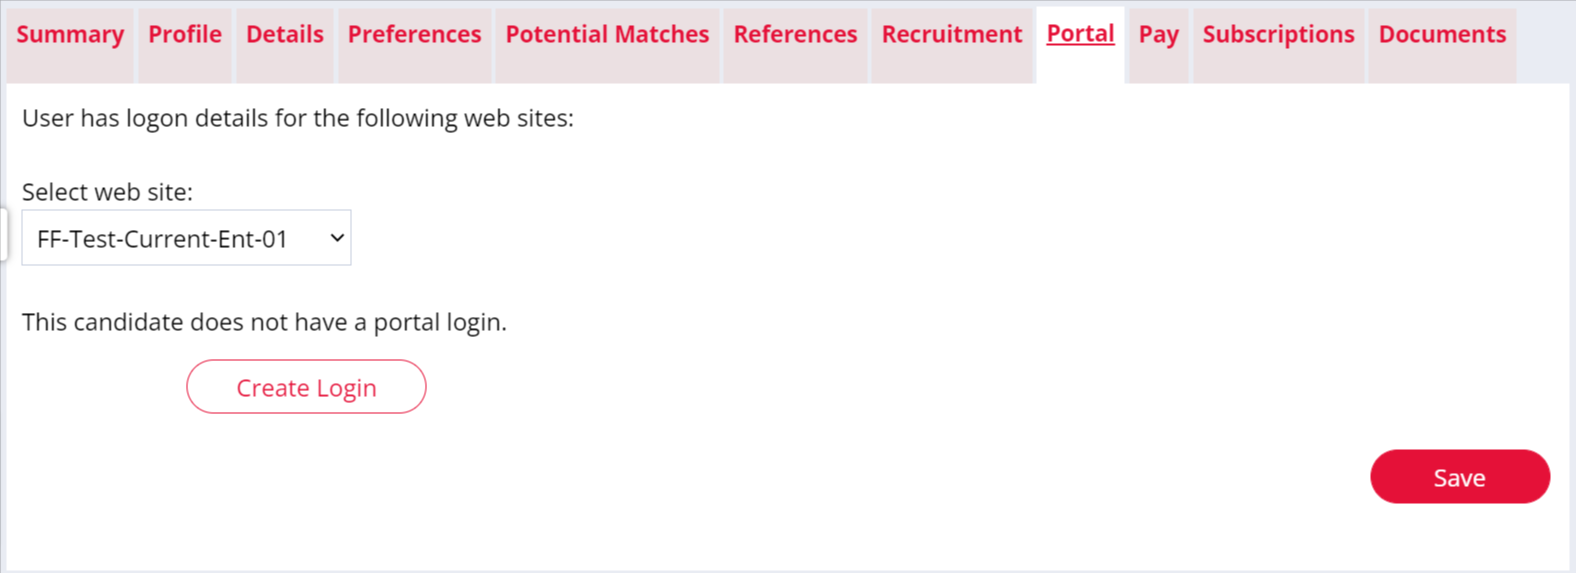
You can also send an existing user a temporary password by clicking the Send Password button.

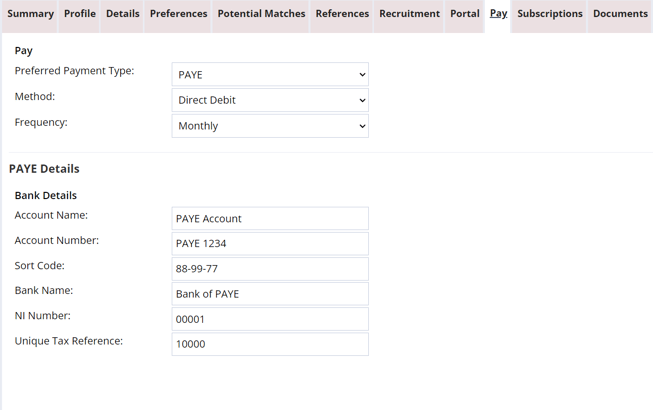
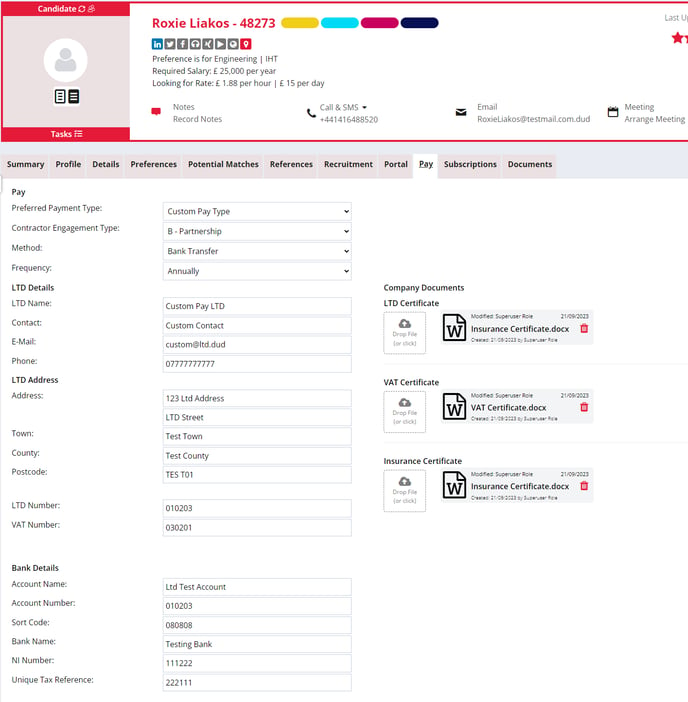
Pay Tab
The Pay Tab is where you can store any candidate payment information, such as bank details or Ltd company details for contractors.
Here you can select the a candidates preferred payment type of PAYE, Self Employed or any custom pay types that have been added.
When PAYE is Selected, the following fields become available:
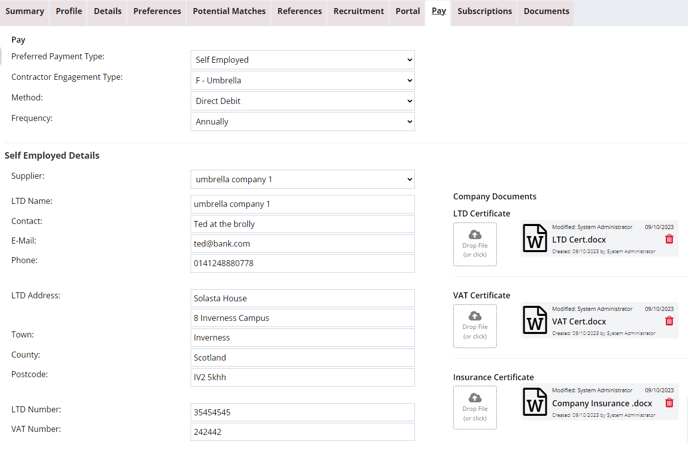
When Self Employed is selected the Contract Engagement Type field becomes available. From this drop down you can select one of the following values depending on the country setting selected in System Configuration > Date & Calendar Settings:
If a candidate is using an Umbrella company, you can select this and auto-populate their details from your Supplier Directory.
The following fields are available when Self Employed is selected:
When a custom pay type is selected the following fields are available:
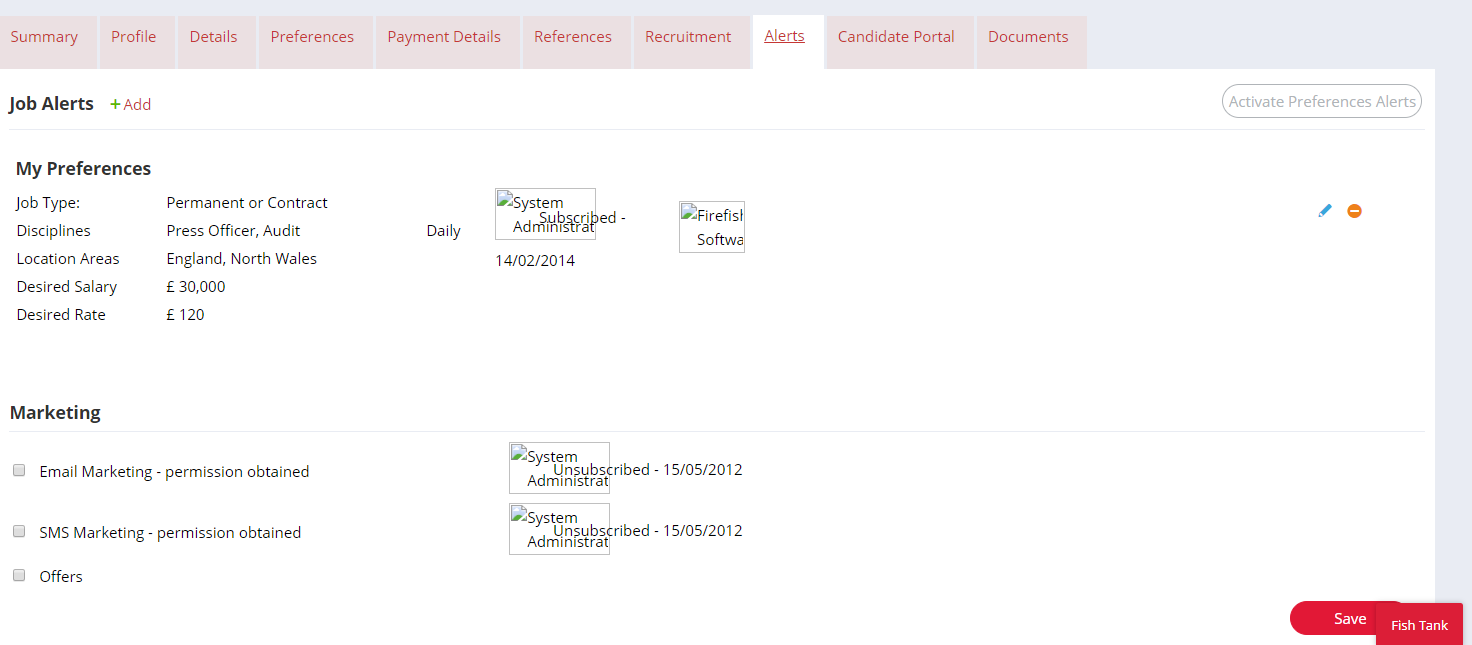
Subscriptions Tab
Manage all candidate marketing preferences via the Subscriptions tab. From here, Professional and Enterprise users can also set up and manage candidate job alerts to get the best reach possible.
Note: If you're a Professional or Enterprise user, you need to enter the candidate's email address in the Profile tab before you can set up a job alert.
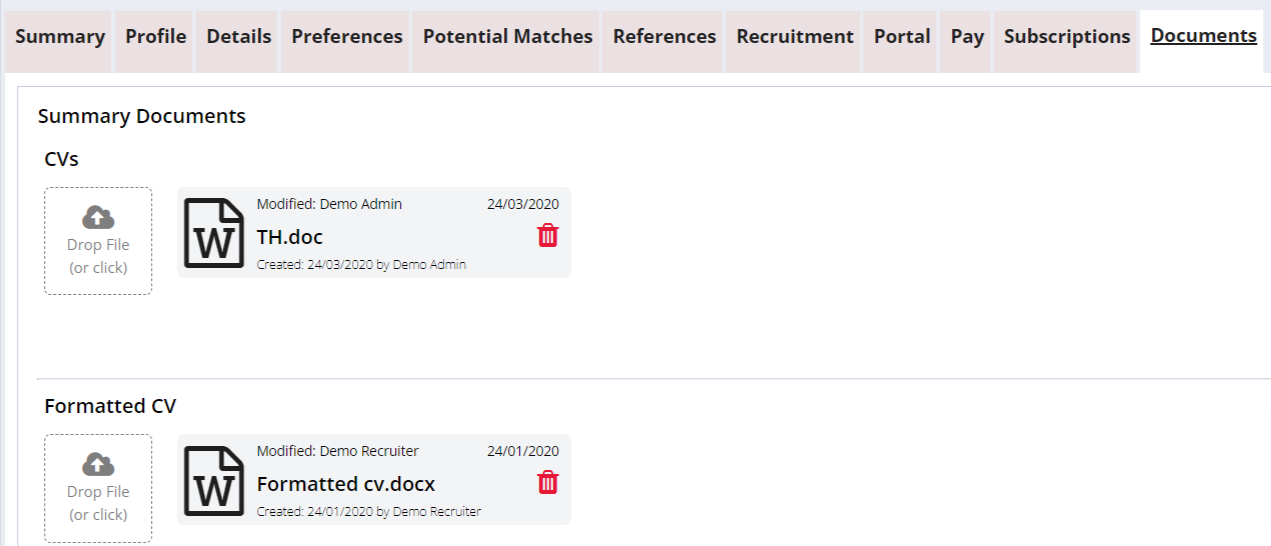
Documents Tab
You can find all Candidate documents in the Documents tab.
There, you can upload the candidate's CV, Formatted CV or any other relevant documents by dragging and dropping a file or clicking the upload icon to search for a file on your computer.
In the record header, you'll see document icons - the colour of these icons tell you what stage CV processing is at:
Orange = CV is awaiting processing
Blue = CV has processed but contains less than 200 words
Black = CV has processed successfully
Red = CV has failed processing
The most recently uploaded CV will be processed and searched in all keyword searches throughout the system.
If you click the CV or Formatted CV icon, the CV document will appear in the side panel instead of downloading. If you want to download the CV, click the download icon in the side panel.
You can also see who uploaded each CV document and when it was uploaded.
Don't forget that all documents can be previewed, downloaded, printed and renamed from here. Just click the document to open the preview side panel!