Set up your system email settings to ensure automated emails (such as job alerts, application confirmations, and engagement communications) are sent reliably from Firefish. Only Super Users can manage these settings.
Use the options below to connect Firefish to your Microsoft 365, Gmail, or a custom SMTP account.
Microsoft 365
Use this method to send emails via your Microsoft 365 account.
- Go to Settings > System Configuration > Email Settings.
- Select Microsoft 365 as the provider.

- Click Log in and follow the authentication steps on the Microsoft 365 site.
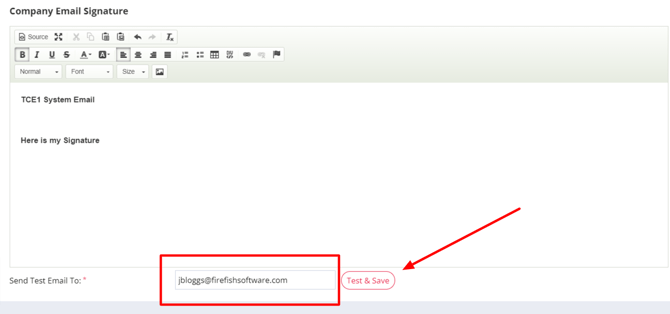
- Once authenticated, you can set up your signature, then send a Test & Save email.
🚨 Important: This must be a valid Microsoft 365 account. Ensure the account has permission to send mail and MFA (if enabled) is passed during sign-in.
Gmail
Use this method to send emails via your Gmail or Google Workspace account.
- Navigate to Settings > System Configuration > Email Settings.
- Choose Gmail as your provider.

- Click Sign in with Google and complete the sign-in process, ensuring you give all the requested permissions when prompted.

- Once authenticated, you can set up your signature, then send a Test & Save email.
🚨 Important: Ensure that the Google account used has mail-sending permissions and has enabled access for third-party apps if required.
Custom SMTP
Use this if you’re using a different email provider or have your own mail server.
- Go to Settings > System Configuration > Email Settings.
- Select Custom SMTP from the list.
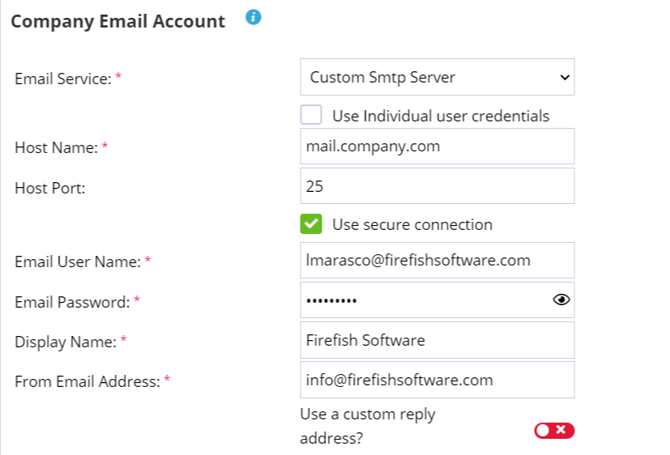
- Enter your full SMTP details:
- Email address: The sending address (e.g. mail@youragency.com)
- SMTP server: Provided by your email host (e.g. smtp.yourprovider.com)
- Port: Usually 587 for secure connection or 25 for non-secure
- Username and Password: As provided by your host
- Use secure connection: Tick this if your provider requires TLS/SSL
- You can set up your signature, then send a Test & Save email.
💡Tip: If unsure about port or security options, check with your email host or IT provider.
Test and Save Settings
After setting up any provider:
- Click Send Test Email to check the configuration.
- A confirmation message will appear if successful.
- Click Save to apply the settings.

If the test fails, check credentials and configuration, or refer to our Email Troubleshooting Guide.