Manage Company Records
Record and manage all information, documents and activity relating to a company.
Company records contain relevant information relating to the company, including contact details, staff information, and recruitment history.
Check out our video guide or click to jump to the section you'd like to learn more about:
![]()
The header section of a company gives you a quick overview of information such as contact details, social links and the last action date on the company record.

Here you can add a 'quick note' using the note icon. By doing so you can also add a follow-up date to create a To-Do item on your Dashboard. Another benefit of adding a 'quick note' is that it'll always be pinned to the header of the company record.
You'll notice the note icon highlighted yellow when a note has been added:

You'll also see an ellipsis icon at the right hand side of the company header where you can add more detailed Notes, send an Email or Archive the company record:

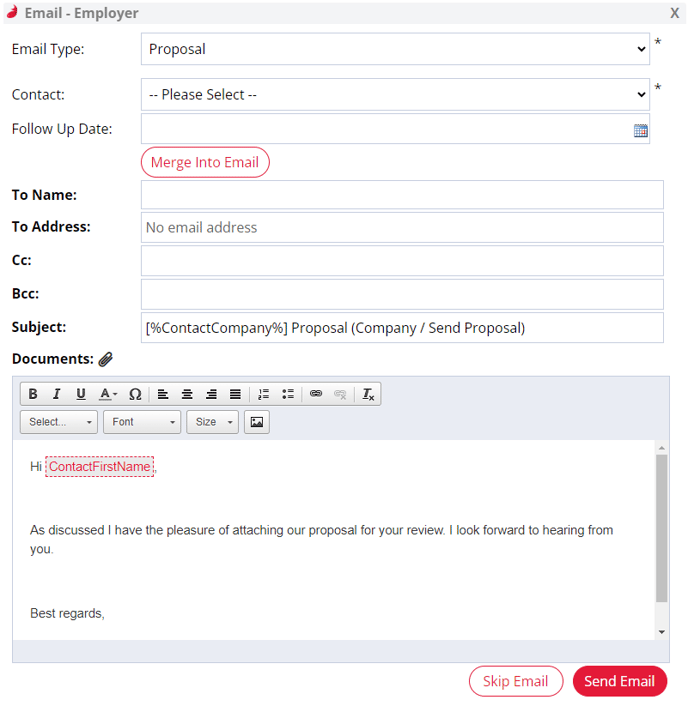
To generate an email via a company record, select Email from the same menu:

You can then select one of the three Email Templates, attach documents and make edits to the content and subject line. You can select the Contact you'd like to email and include additional recipients here if necessary:
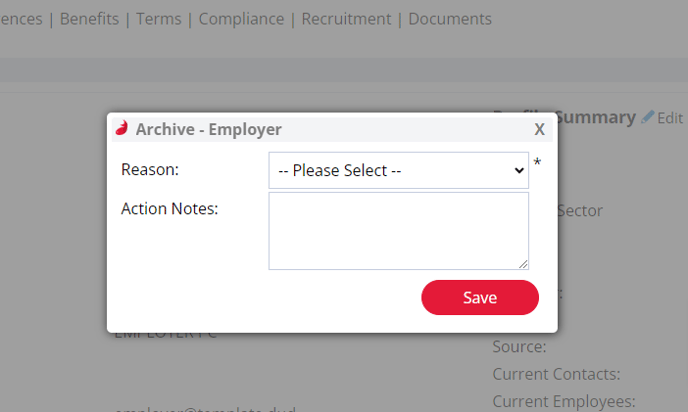
If you need to Archive a company record for any reason, click the ellipsis (...) and select Archive.

You'll then be prompted to select a reason for archiving:
Archived companies will appear greyed out and will display the Unarchive button in the centre of the screen. You can click this button to unarchive the company at any time:
If you click Unarchive, you'll again be prompted to enter a reason, and also be given the option to add a note to log against the action:
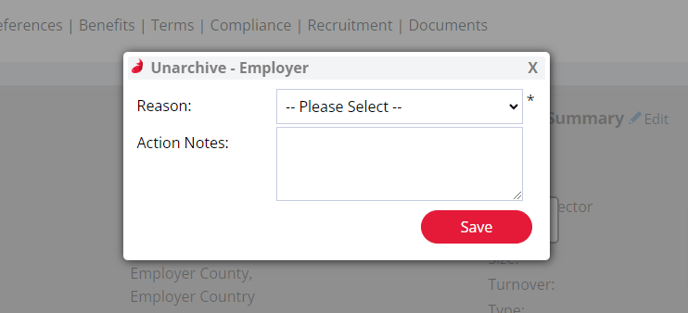
Archive and Unarchive reasons can be customised by a Super User within Drop Down Settings.
The Summary tab is where you record key information such as Address, Company Size, and Turnover.
You can use the Company Status field to distinguish between companies that may be a current Client, Partner, or Prospect and those who aren't. The default status for most new companies will be 'New Company', but Super Users can change the default by going to settings > Company Configuration > General > Company Fields > Status.
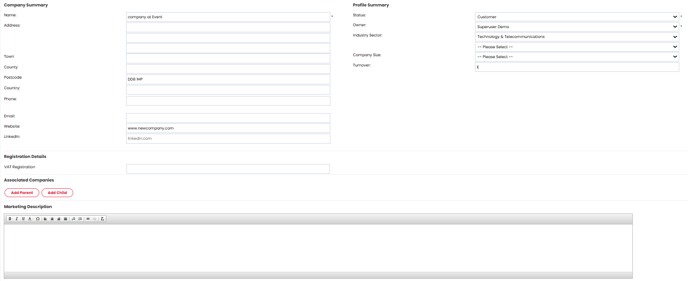
The Associated Companies section of the Summary tab gives you the ability to create parent and child relationships between different company records e.g. where a company has different branches, divisions or brands.
By creating this relationship, users will be able to create a job or advert for either the parent or child company, but then select a contact from an associated company at interview, offer and/or placement stage.
Check out this video to find out how to associate company records or follow the instructions further below:
To create a relationship with another company, simply click Add Parent or Add Child:
.png?width=542&height=155&name=Untitled%20design%20(52).png)
Upon clicking either button, a side panel will open allowing you to search for the company you want to associate with. A list of companies will appear as you type allowing you to select then Save:
-1.png?width=688&height=274&name=Untitled%20design%20(53)-1.png)
Note:
Each company record in Firefish can have only one parent company associated. However, there is no limit to how many child companies a parent company can be linked to.
A child company can also act as a parent company to its own associated child companies.
Once saved, any child companies will be listed on the Summary of the company:
-1.png?width=688&height=137&name=Untitled%20design%20(54)-1.png)
You can tell if a company is a parent company by the 'P' icon which will appear next to it:
.png?width=303&height=141&name=Untitled%20design%20(55).png)
To remove an associated company simply click the red cross next to the company record you want to remove.
Now that you've associated company records together, check out how to assign a contact from any associated company when creating a job, arranging an interview or recording a placement.
At the bottom of the Summary page you will also see the Recent Activity section. This displays all of the actions relating to the company, including contact actions, jobs and company notes:
.png?width=688&height=206&name=Untitled%20design%20(56).png)
The actions are ordered by date, with the most recent action appearing at the top of the list. By default, the Recent Activity will display the 5 most recent actions but if you scroll to the bottom of the page, the next 5 actions will load.
Using the icons on the left-hand side, you can quickly filter Recent Activity and display by action type (e.g. Task, Note, Call & SMS, Email, Meeting, Recruitment, as well as All):
.png?width=409&height=121&name=Untitled%20design%20(57).png)
By clicking the Filter button, you can also select individual action types and view the full history of a specific or customised selection of actions:
.png?width=688&height=890&name=Untitled%20design%20(58).png)
Click on the Contacts tab to see all current and past contacts at that company:
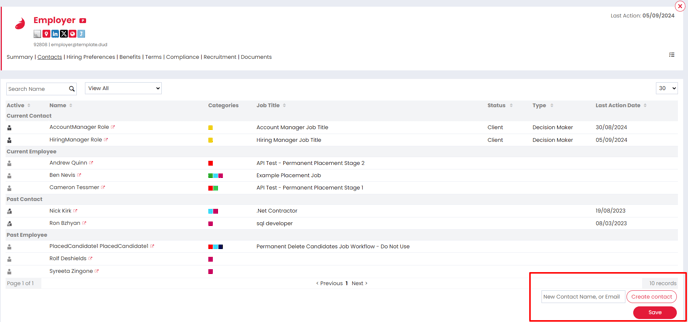
You can also add a new contact by clicking the Create Contact button at the bottom right-hand side of the page.
The Hiring Preferences tab allows you to build up a picture of the types of candidates that the company likes to hire or is interested in hearing about.
.png?width=688&height=599&name=Untitled%20design%20(59).png)
If you'd like to add or remove benefits from a company record, go to the Benefits tab. You can even Copy Benefits from Parent Company if the company has a parent company.
The Terms tab lets you record your agreed terms per company, with settings for Recruiters, Review Dates, Agreed Rates and Terms for permanent and contract roles.
You can also record the Credit Details for each company on this tab.
For Permanent terms, Super Users and Compliance Users can select up to five pay bands with distinct fees which will be used for jobs for all new companies on the Company Configuration page. These terms bands will pull through to the Terms tab where you can customise them further if necessary.
.png?width=688&height=650&name=Untitled%20design%20(60).png)
Similarly, for Contract terms, Super Users and Compliance Users can select up to five standard rate bands with additional rates and distinct fees applied. The standard terms set up on the Company Configuration page will pull through to new companies, but Contract terms don't pull through to new jobs for those companies.

Clicking Change in the Permanent or Contract Terms sections will open a side panel where you can configure the terms bands for this company. The From and To columns select the pay range of each band and the final column shows the fee to be applied to each band.
Underneath the terms bands table, you can update the Agreed Terms document. Uploaded Terms that are a supported file type (doc, docx, pdf, rtf, tif) can be previewed by clicking the document icon to open the preview sidebar
From here you can download, print and rename your Terms documents
.png?width=688&height=376&name=Untitled%20design%20(61).png)
You can also update the Recruiter and the Review Date in this side panel. If the Review Date is changed, then the Review Terms to do list will appear on the Recruiter's dashboard. If the Recruiter field isn't populated, the to do list will appear on the Company Owner's dashboard.
Be sure to hit Save so that any changes in the side panel are not lost.
.png?width=688&height=332&name=Untitled%20design%20(63).png)
Enterprise Users
Enterprise users can enable authorisation on the Company Configuration page. This allows your chosen Super Users or Compliance Users to review changes made to Company Contract terms by Recruiters.
Credit Details
In this section, you can fill in the Credit Details for the company. If you need to make changes, click the Change button to open the side panel. Each field within this section is audited, so you can see when the field was last updated and who it was updated by.
You can configure these fields via your Properties Settings. If all of the Credit Details Properties are disabled, then the Credit Details section won't be visible.
If the Review Date is changed, then the Review Terms to do list will appear on the Company Owners dashboard.
Compliance
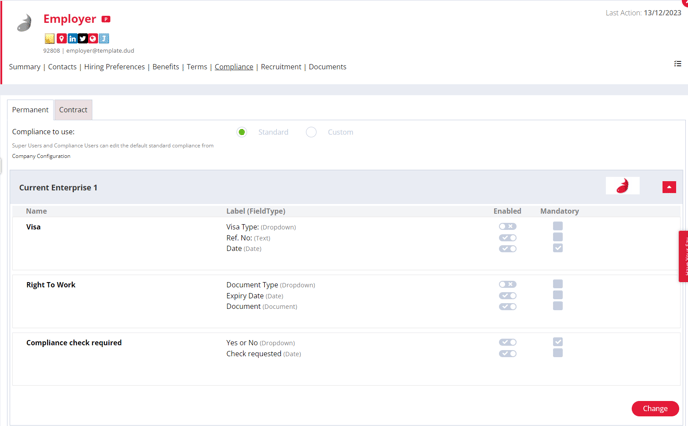

Enterprise Users

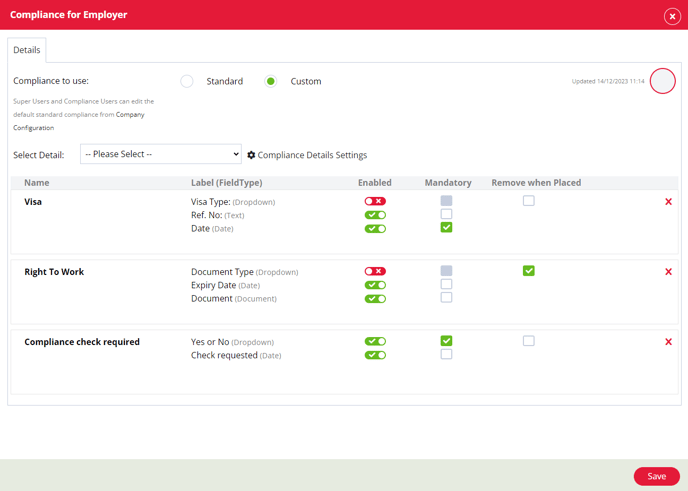
Enterprise Users
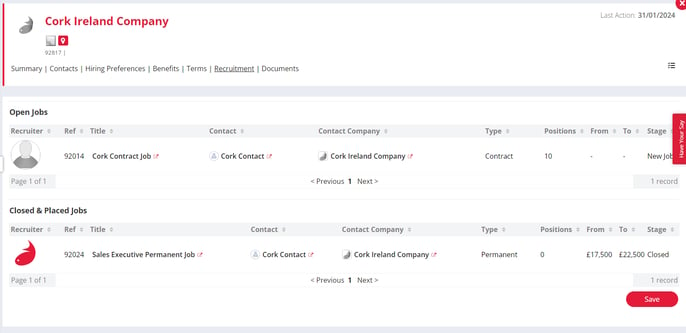
The Recruitment tab lets you see all the recruitment history for the company, for Opens Jobs and Closed and Past Jobs owned by all users.
Documents
Use the Documents tab to store important company documents directly onto the company record (e.g. Proposals and Permanent/Contract Terms). There's also a more general Company Documents store that you can use for anything else relevant.
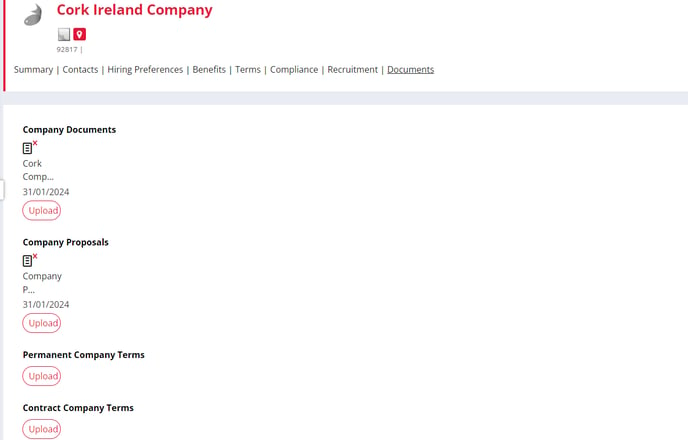
Don't forget that as long as they are supported file types (doc, docx, pdf, rtf, tif) you can preview each document by clicking the document icon. You'll be able to download, print and rename the documents from here too.